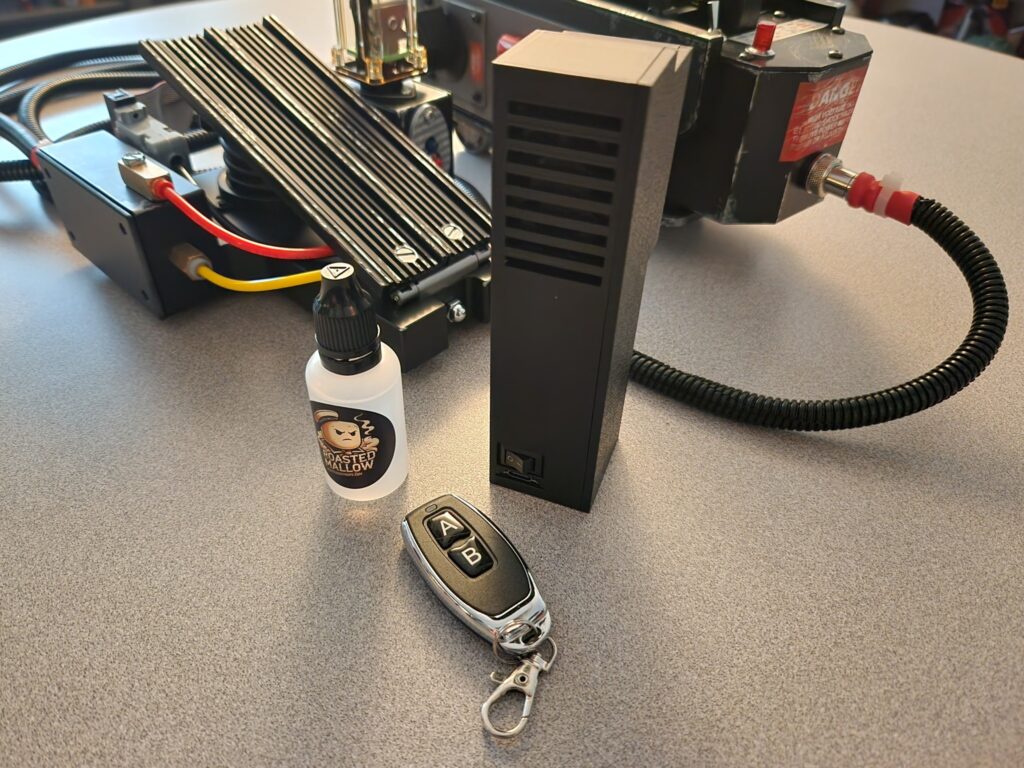
First off, I grabbed their awesome Phantasm Fogger smoke kit. The kit drops right into the trap without any modifications, comes with a hand held remote, a remote trigger switch for the pedal, and custom blended Roasted Mallow fog solution.
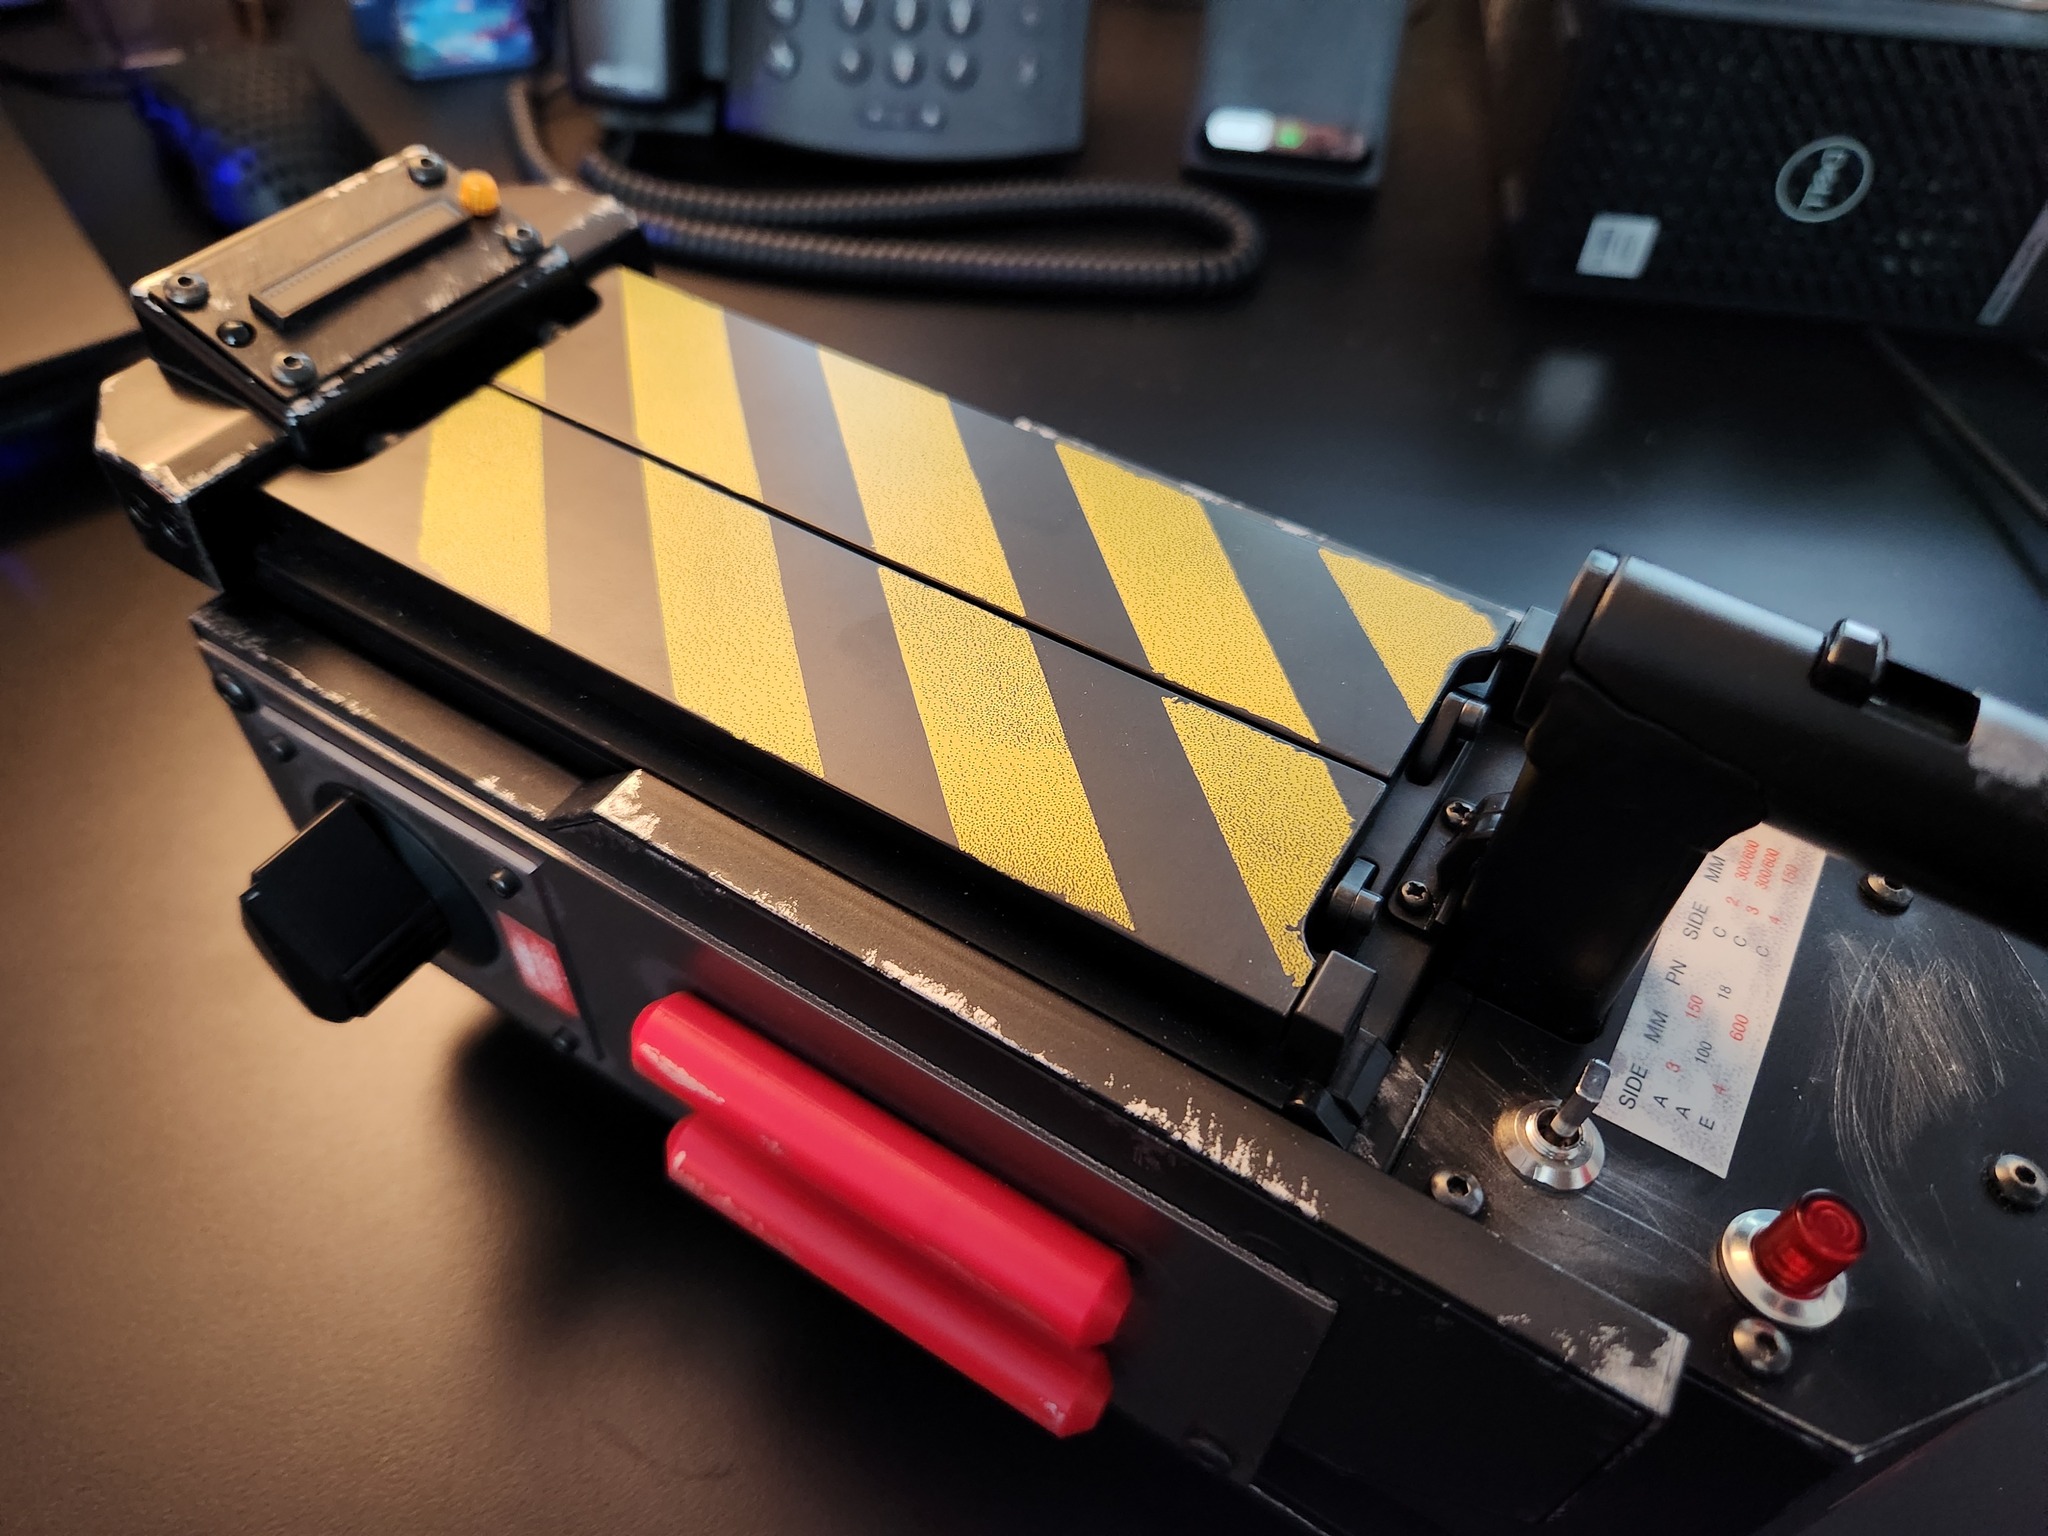
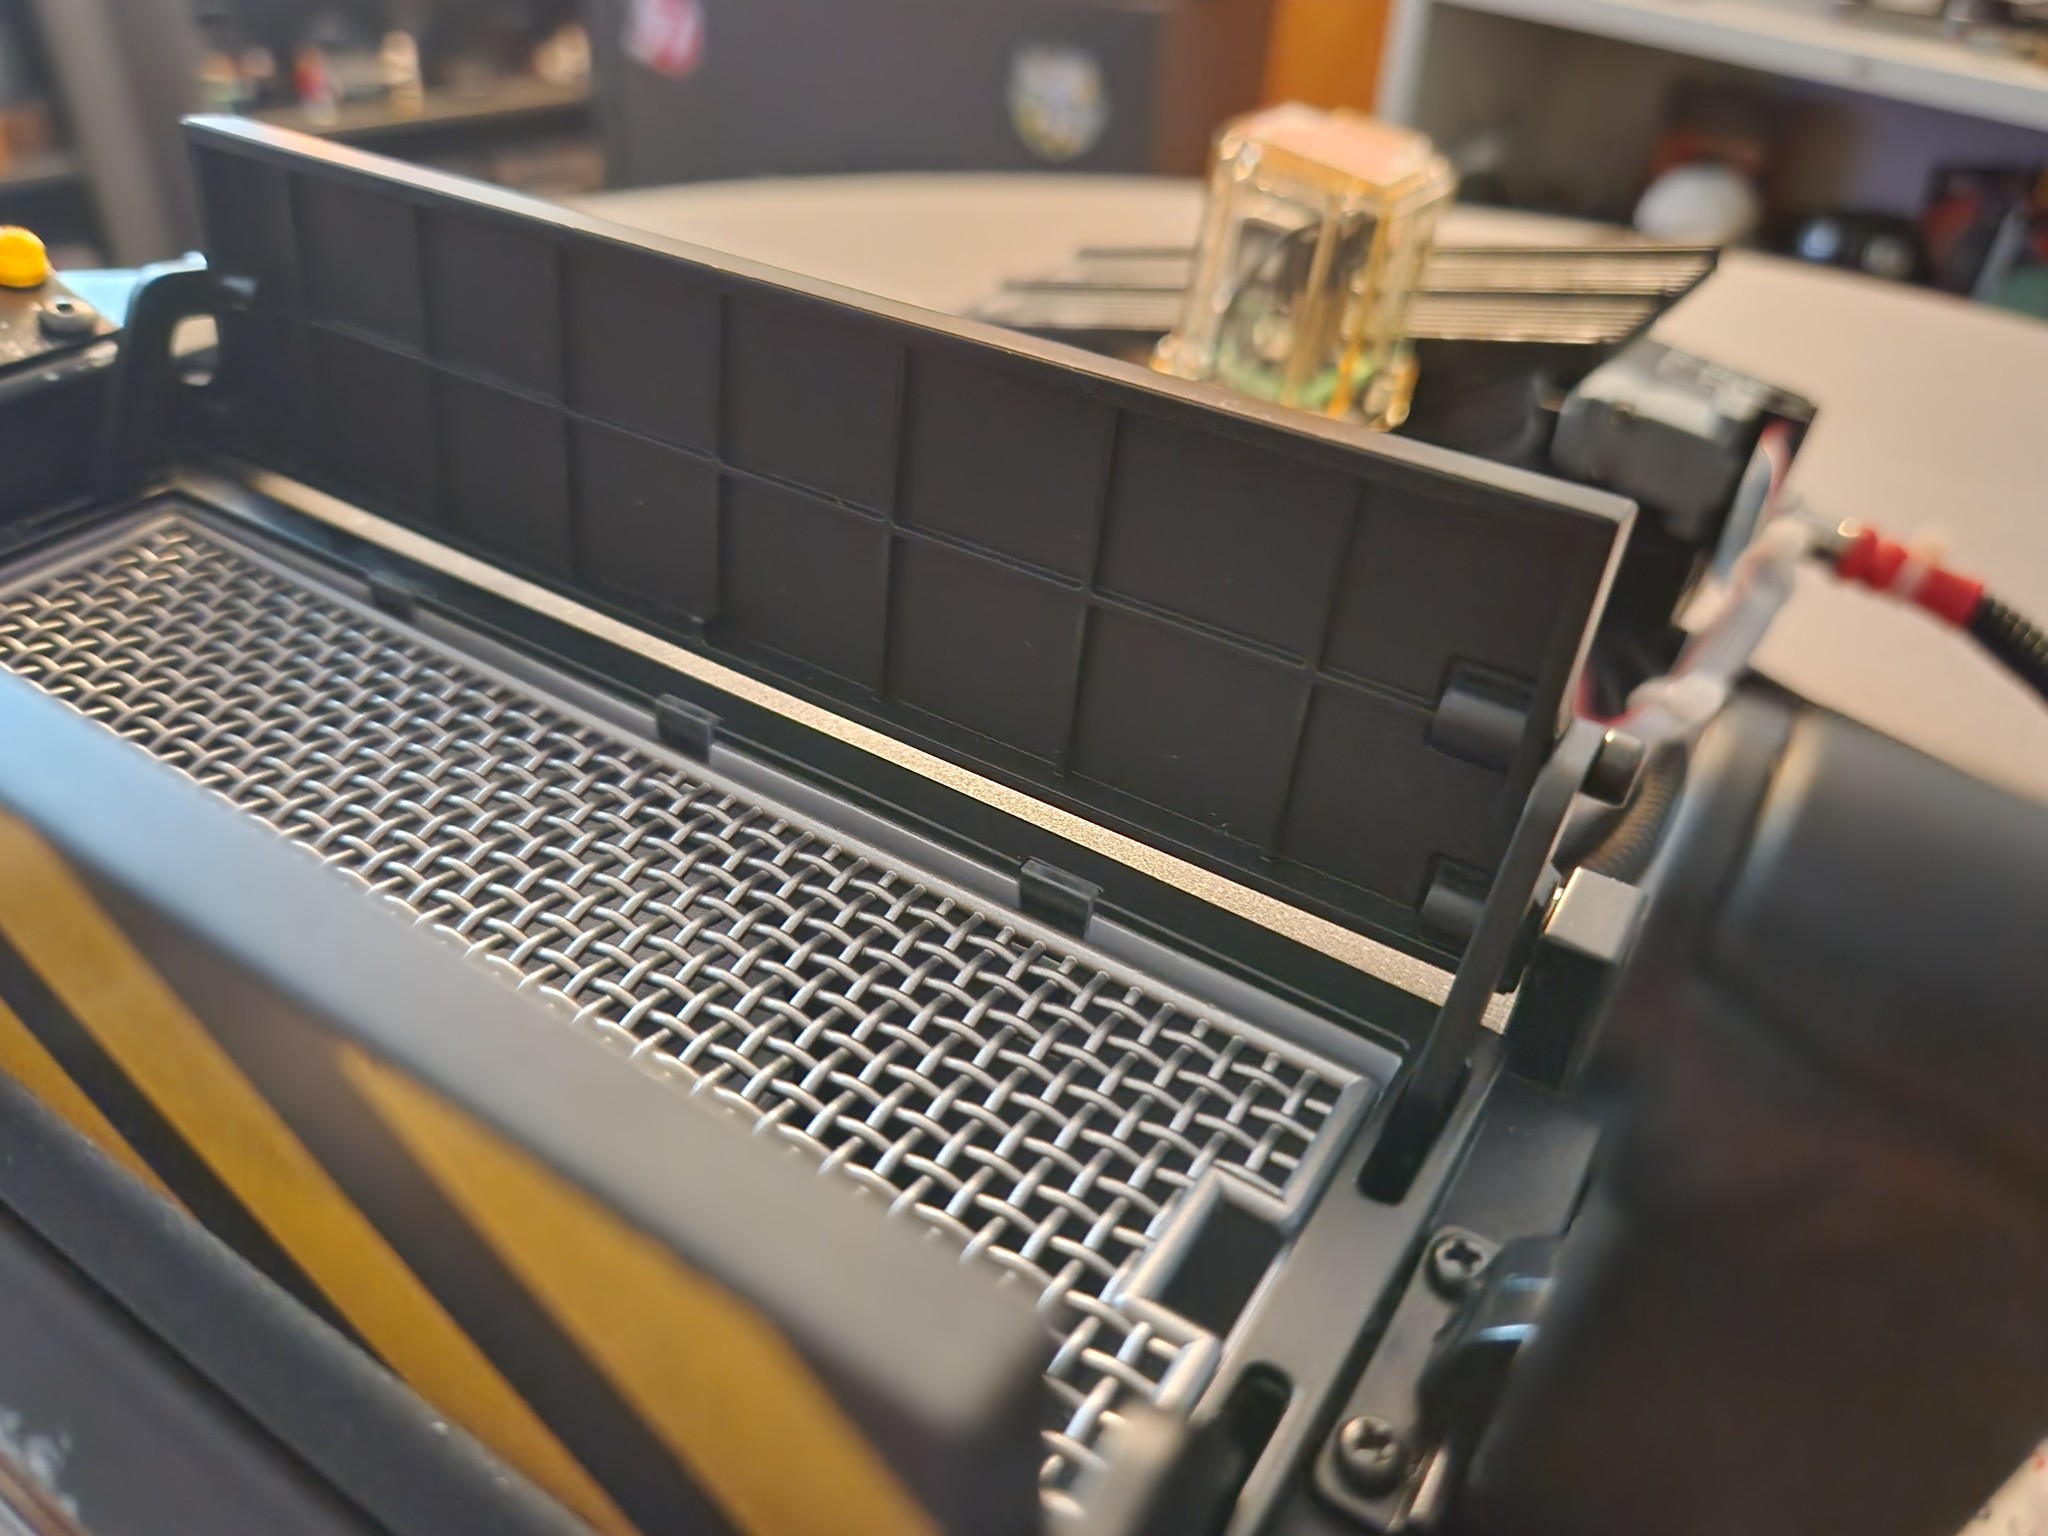
Second, I grabbed their “Inner Door Movie Prop Cover” inserts that bring the trap a little close to the movie version. These snap right in, and hide the cheap looking supports that can be seen when open.
With two settings on the pedal trigger, I can choose to start and stop the fogger on pedal push, or to trigger the smoke after the trap closes. I can’t decide which I like more, but it’s nice that I have the option to choose. I can also start and stop the fogger with the included remote.
This should finish off the trap. I honestly don’t know what else I can do to the thing. The Ghostbuster community is so cool. So many fans making great products that I would never be able to create myself.
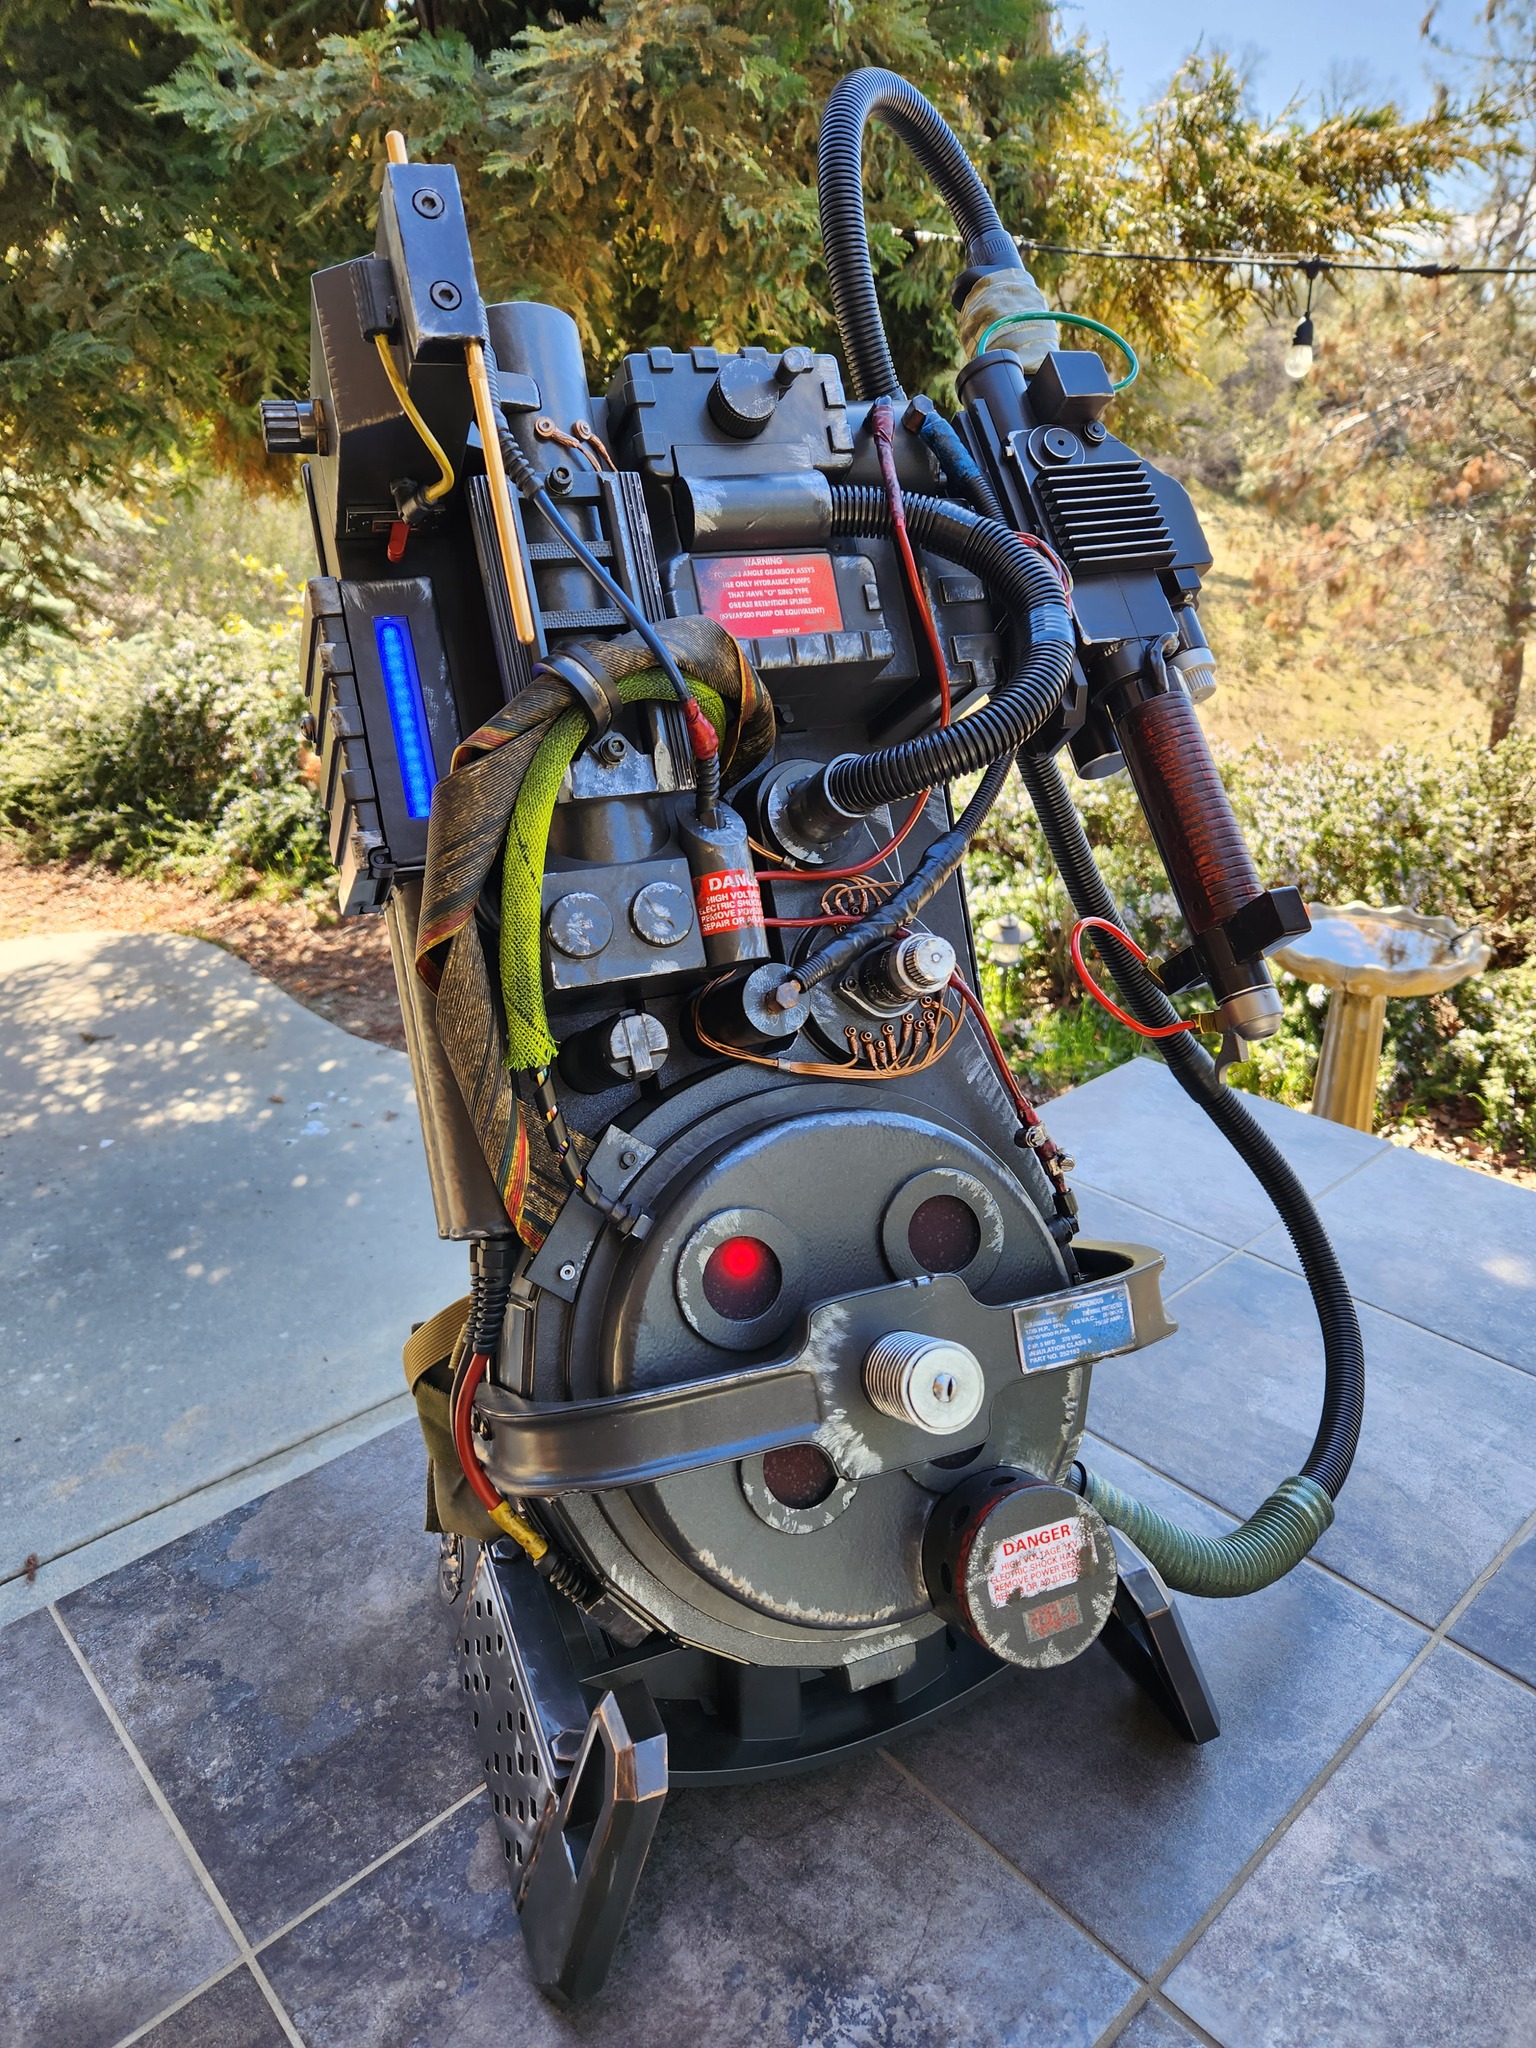
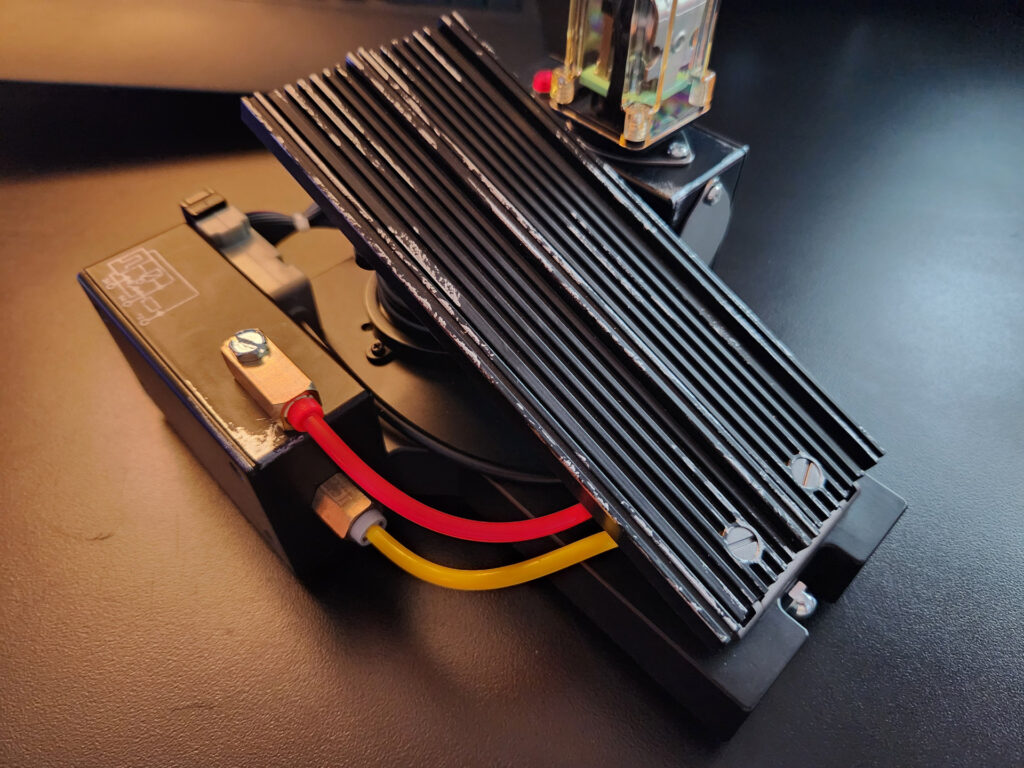
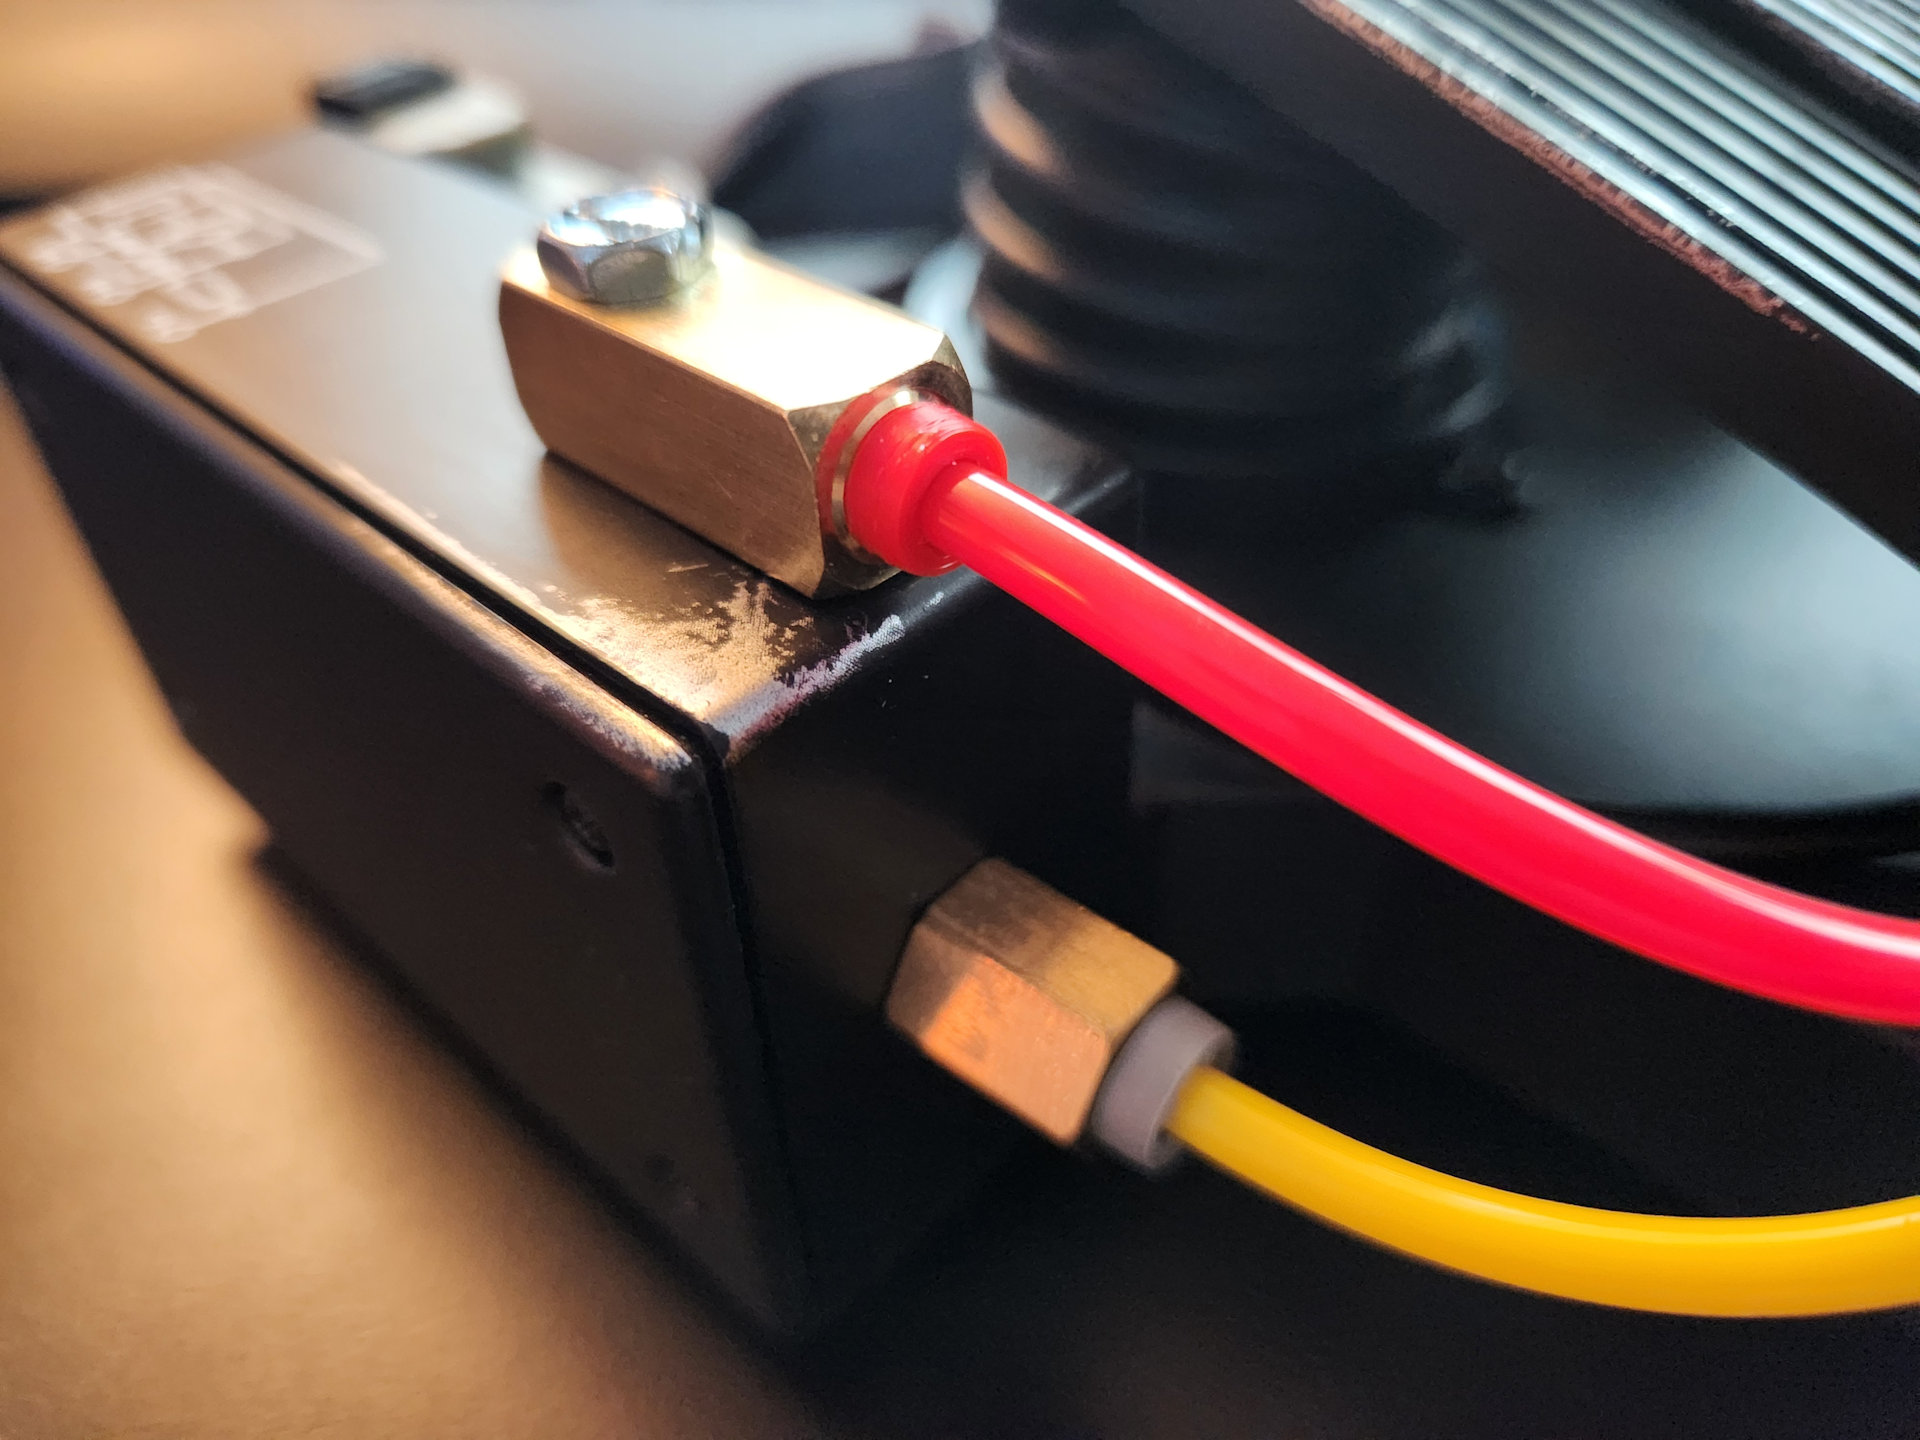
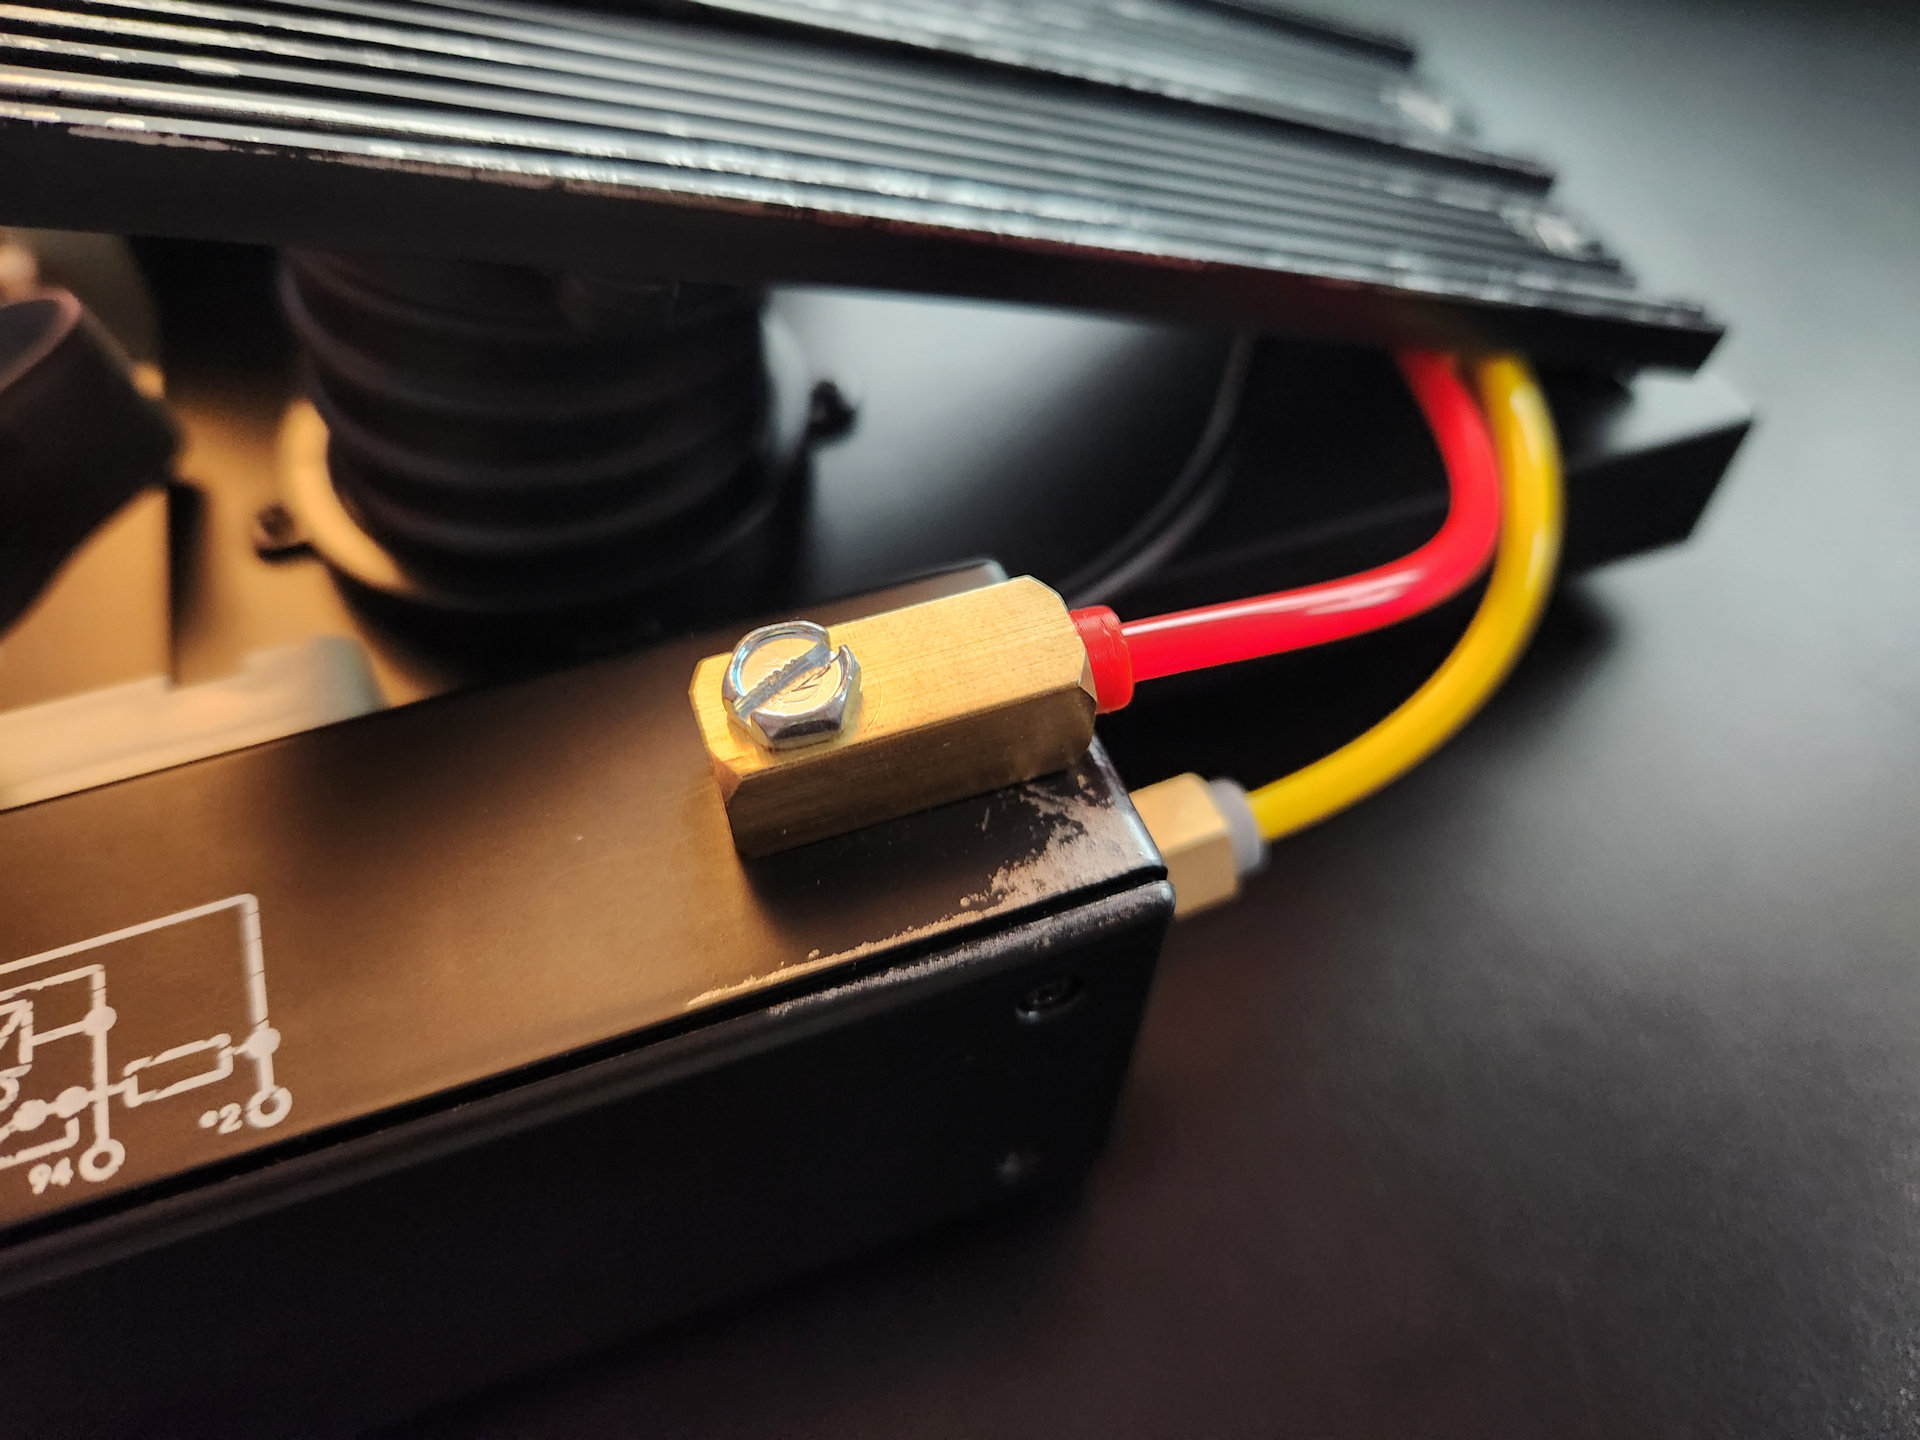
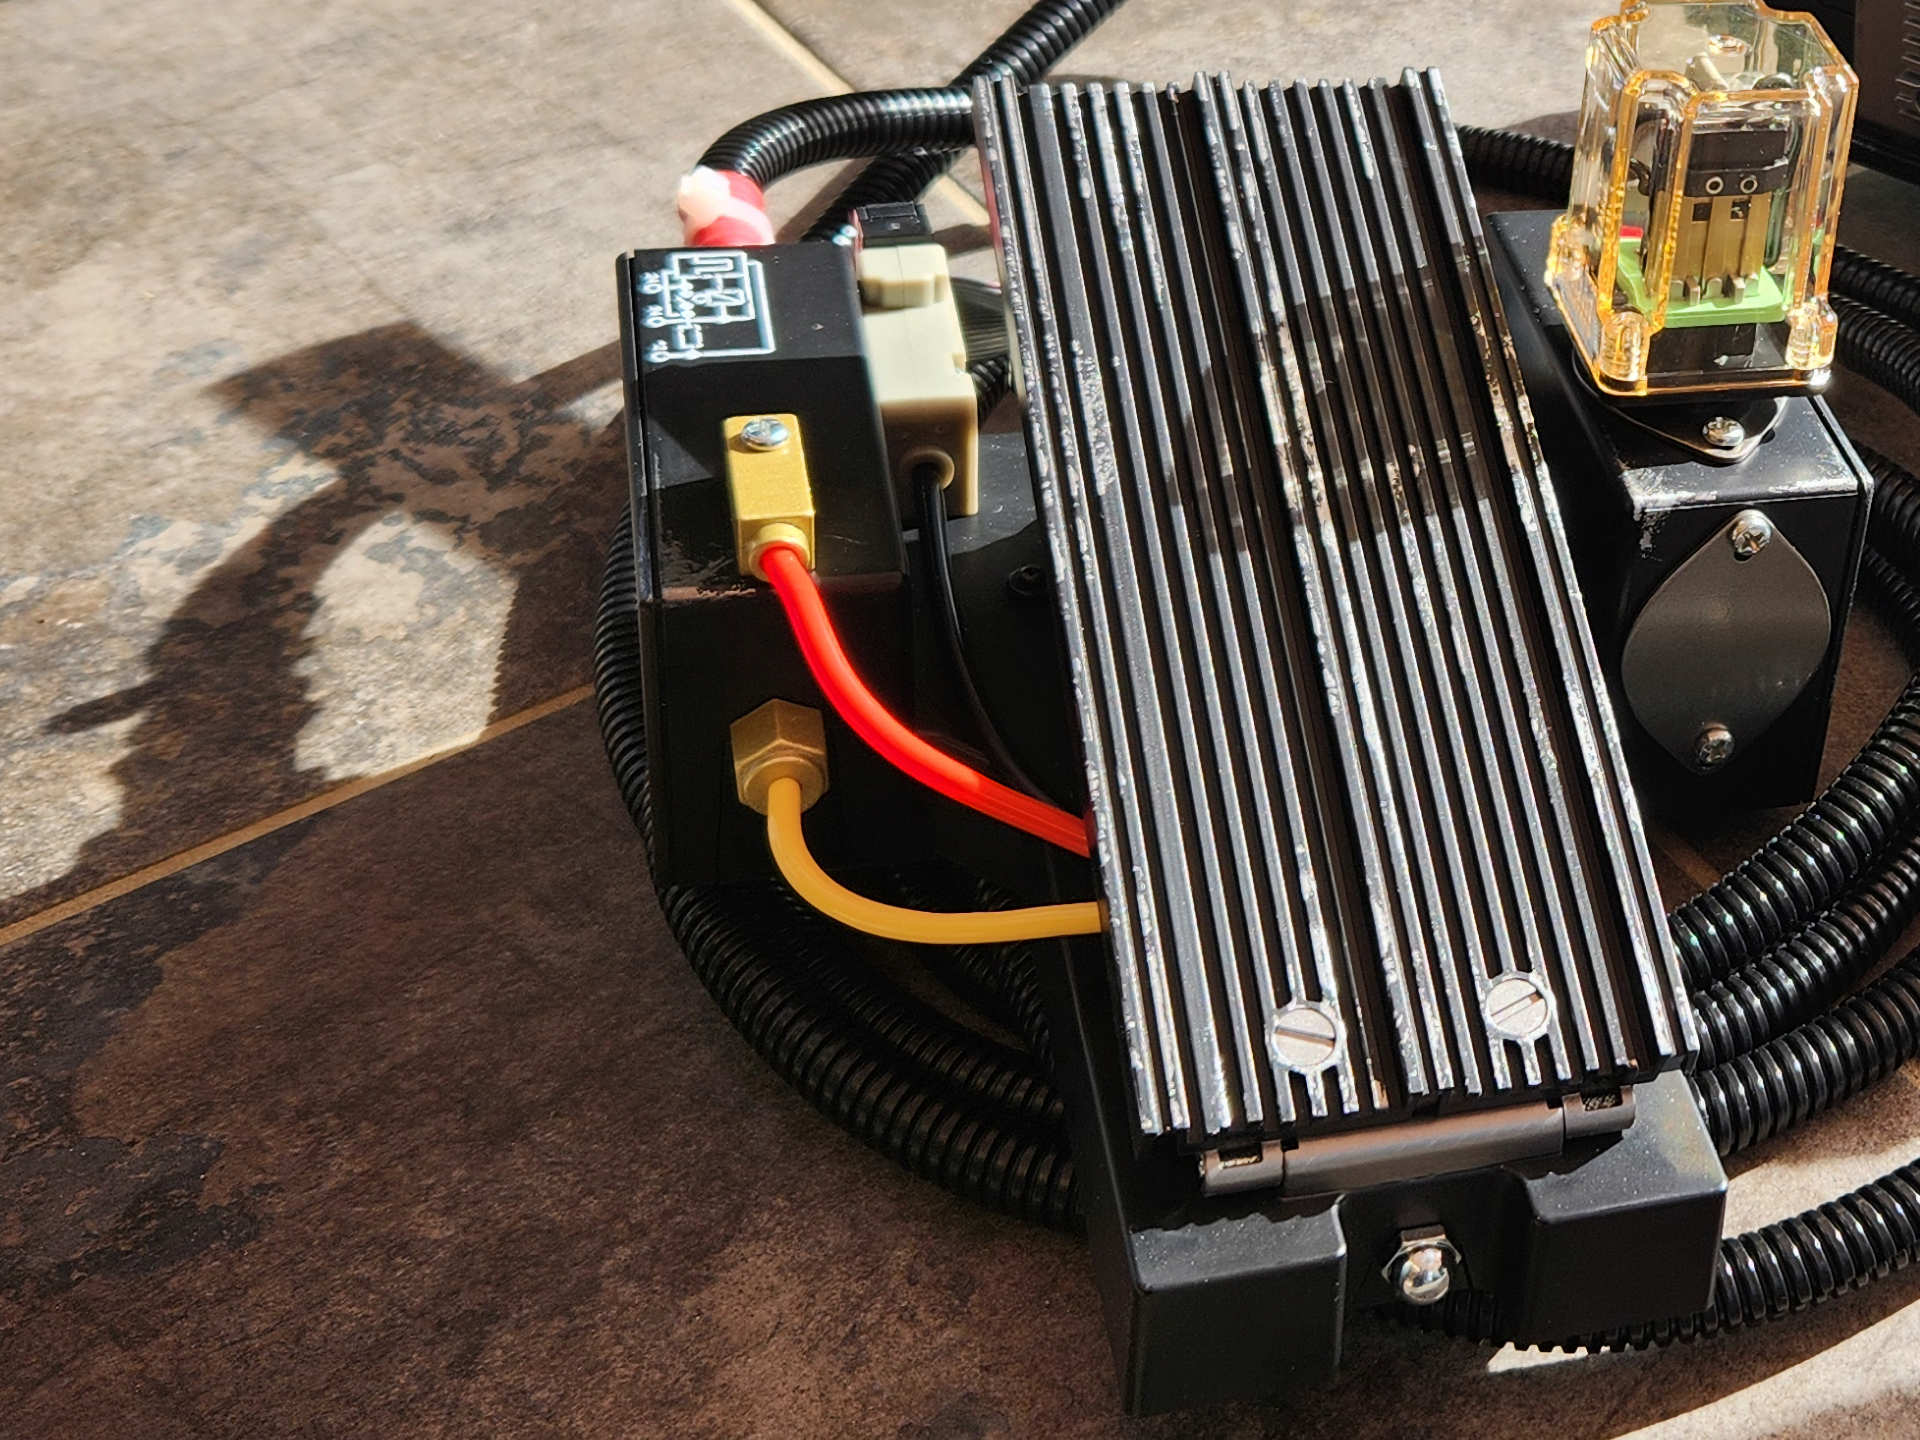
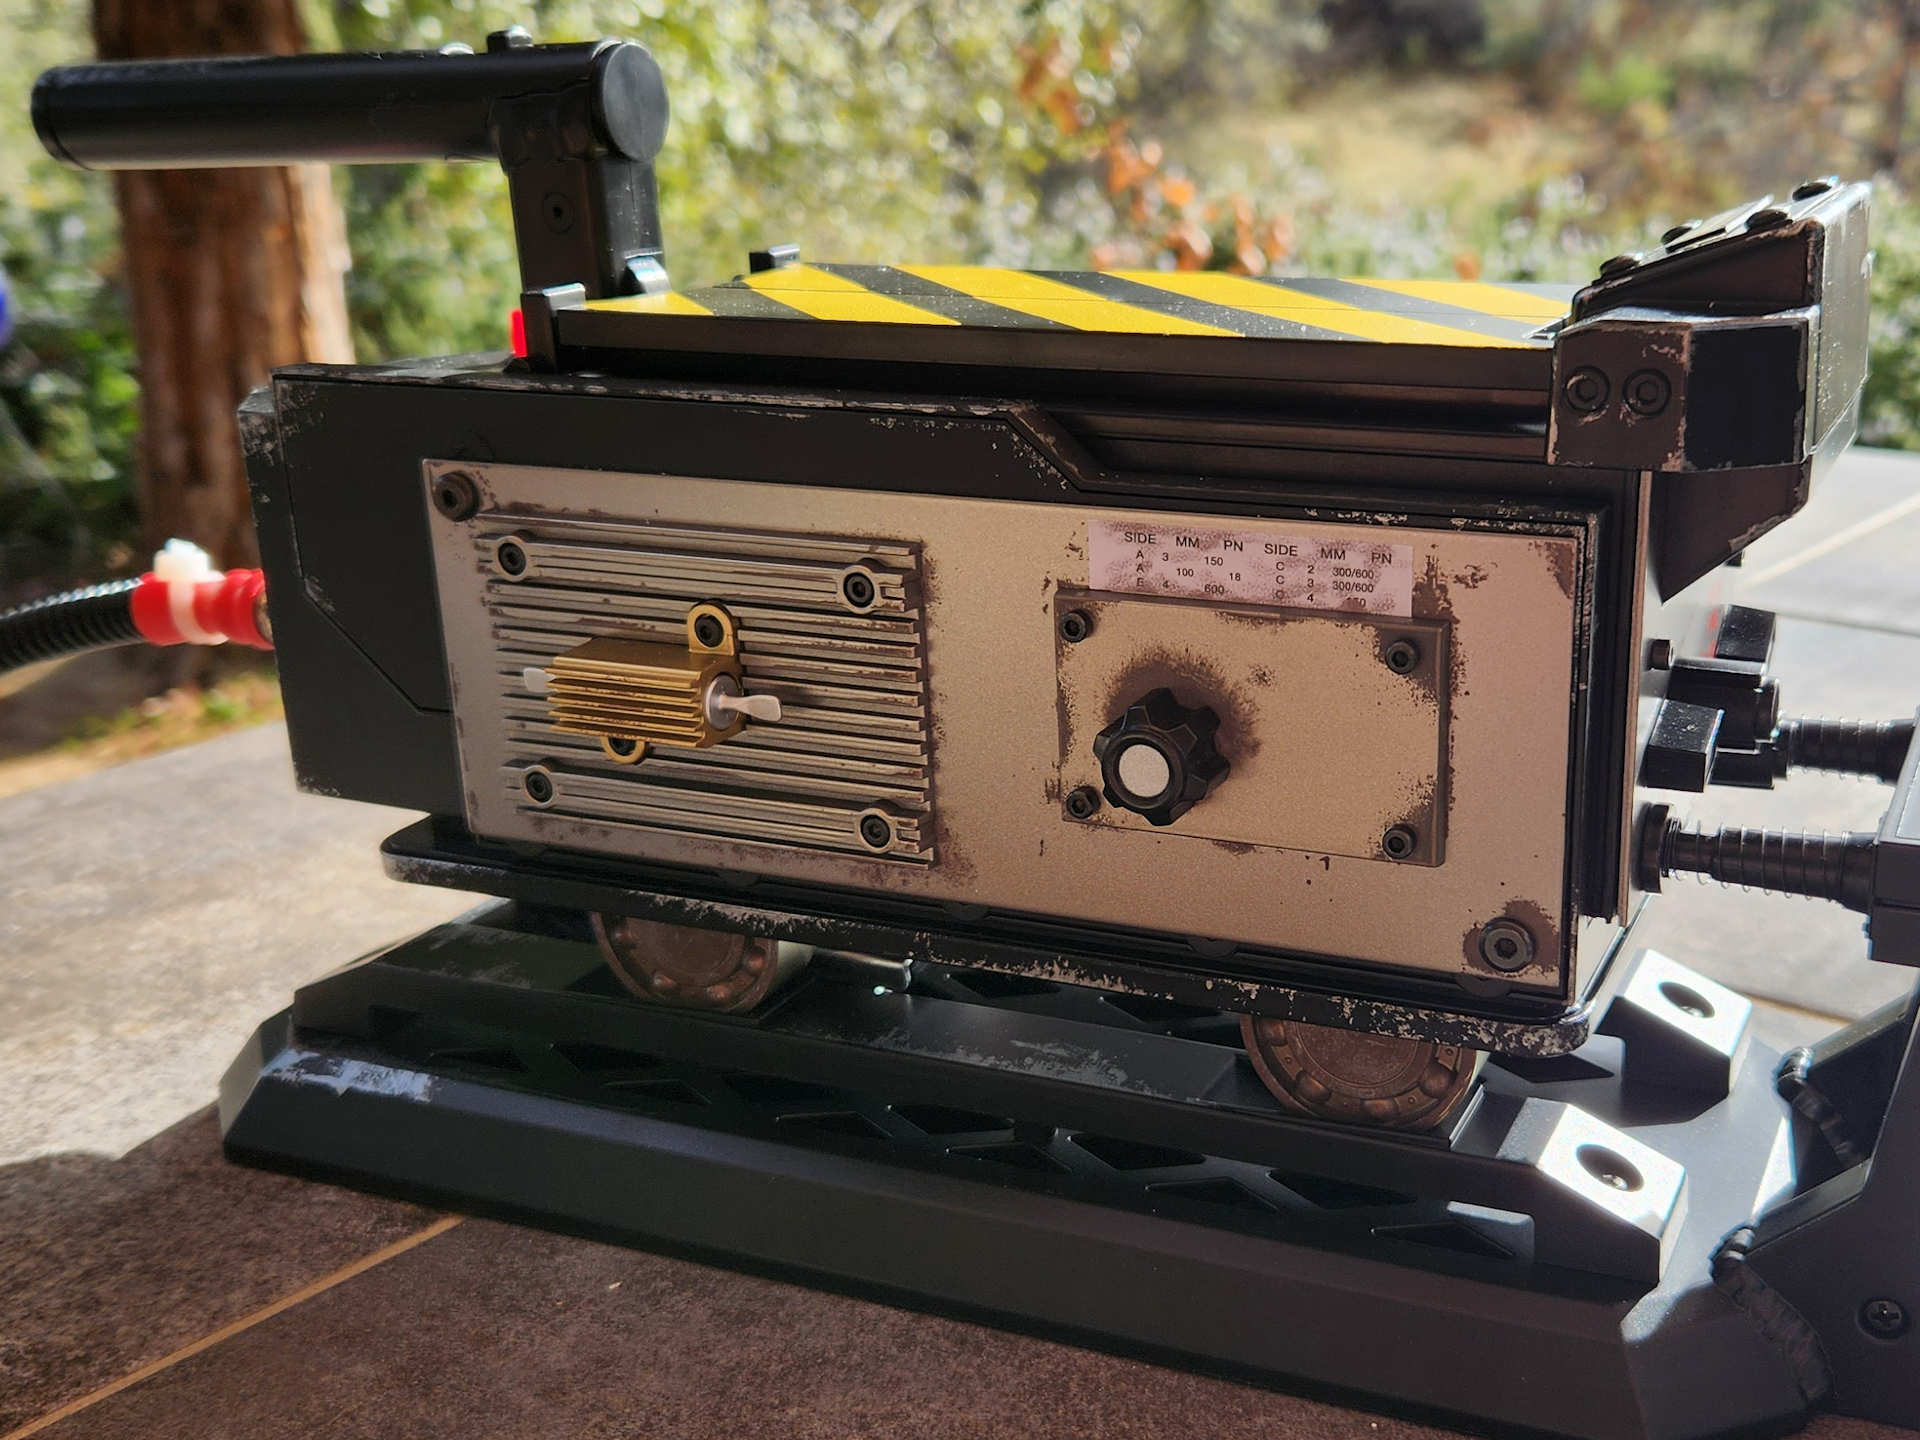
I was again very hesitant to attempt the Ghost Lab 42’s “Custom Brass Fittings & Tubing” kit, as it takes some tricky grinding to get the job done. But after a good ‘ol fashioned pep talk from the man himself, Doug convinced me to give it a try. My biggest concern was the grinding of the top portion of the box that houses the brass fitting. I was worried I would mess it up and the brass fitting wouldn’t cover my mistakes.
I was very careful, taking my time with the Dremel speed set pretty slow and it turns out it was easier than I thought. The tricky part for me was using the Dremel to carve out the mount on the inside as it needed to be flat for the nut. Again, I took my time and made the cuts needed to secure the brass fitting without screwing anything up.
I was kind of on the fence about whether I wanted to change the brass fittings at all as I thought I was happy with the stock setup. But damn, after getting the new kit installed, it makes such a big difference I’m so glad I did it.
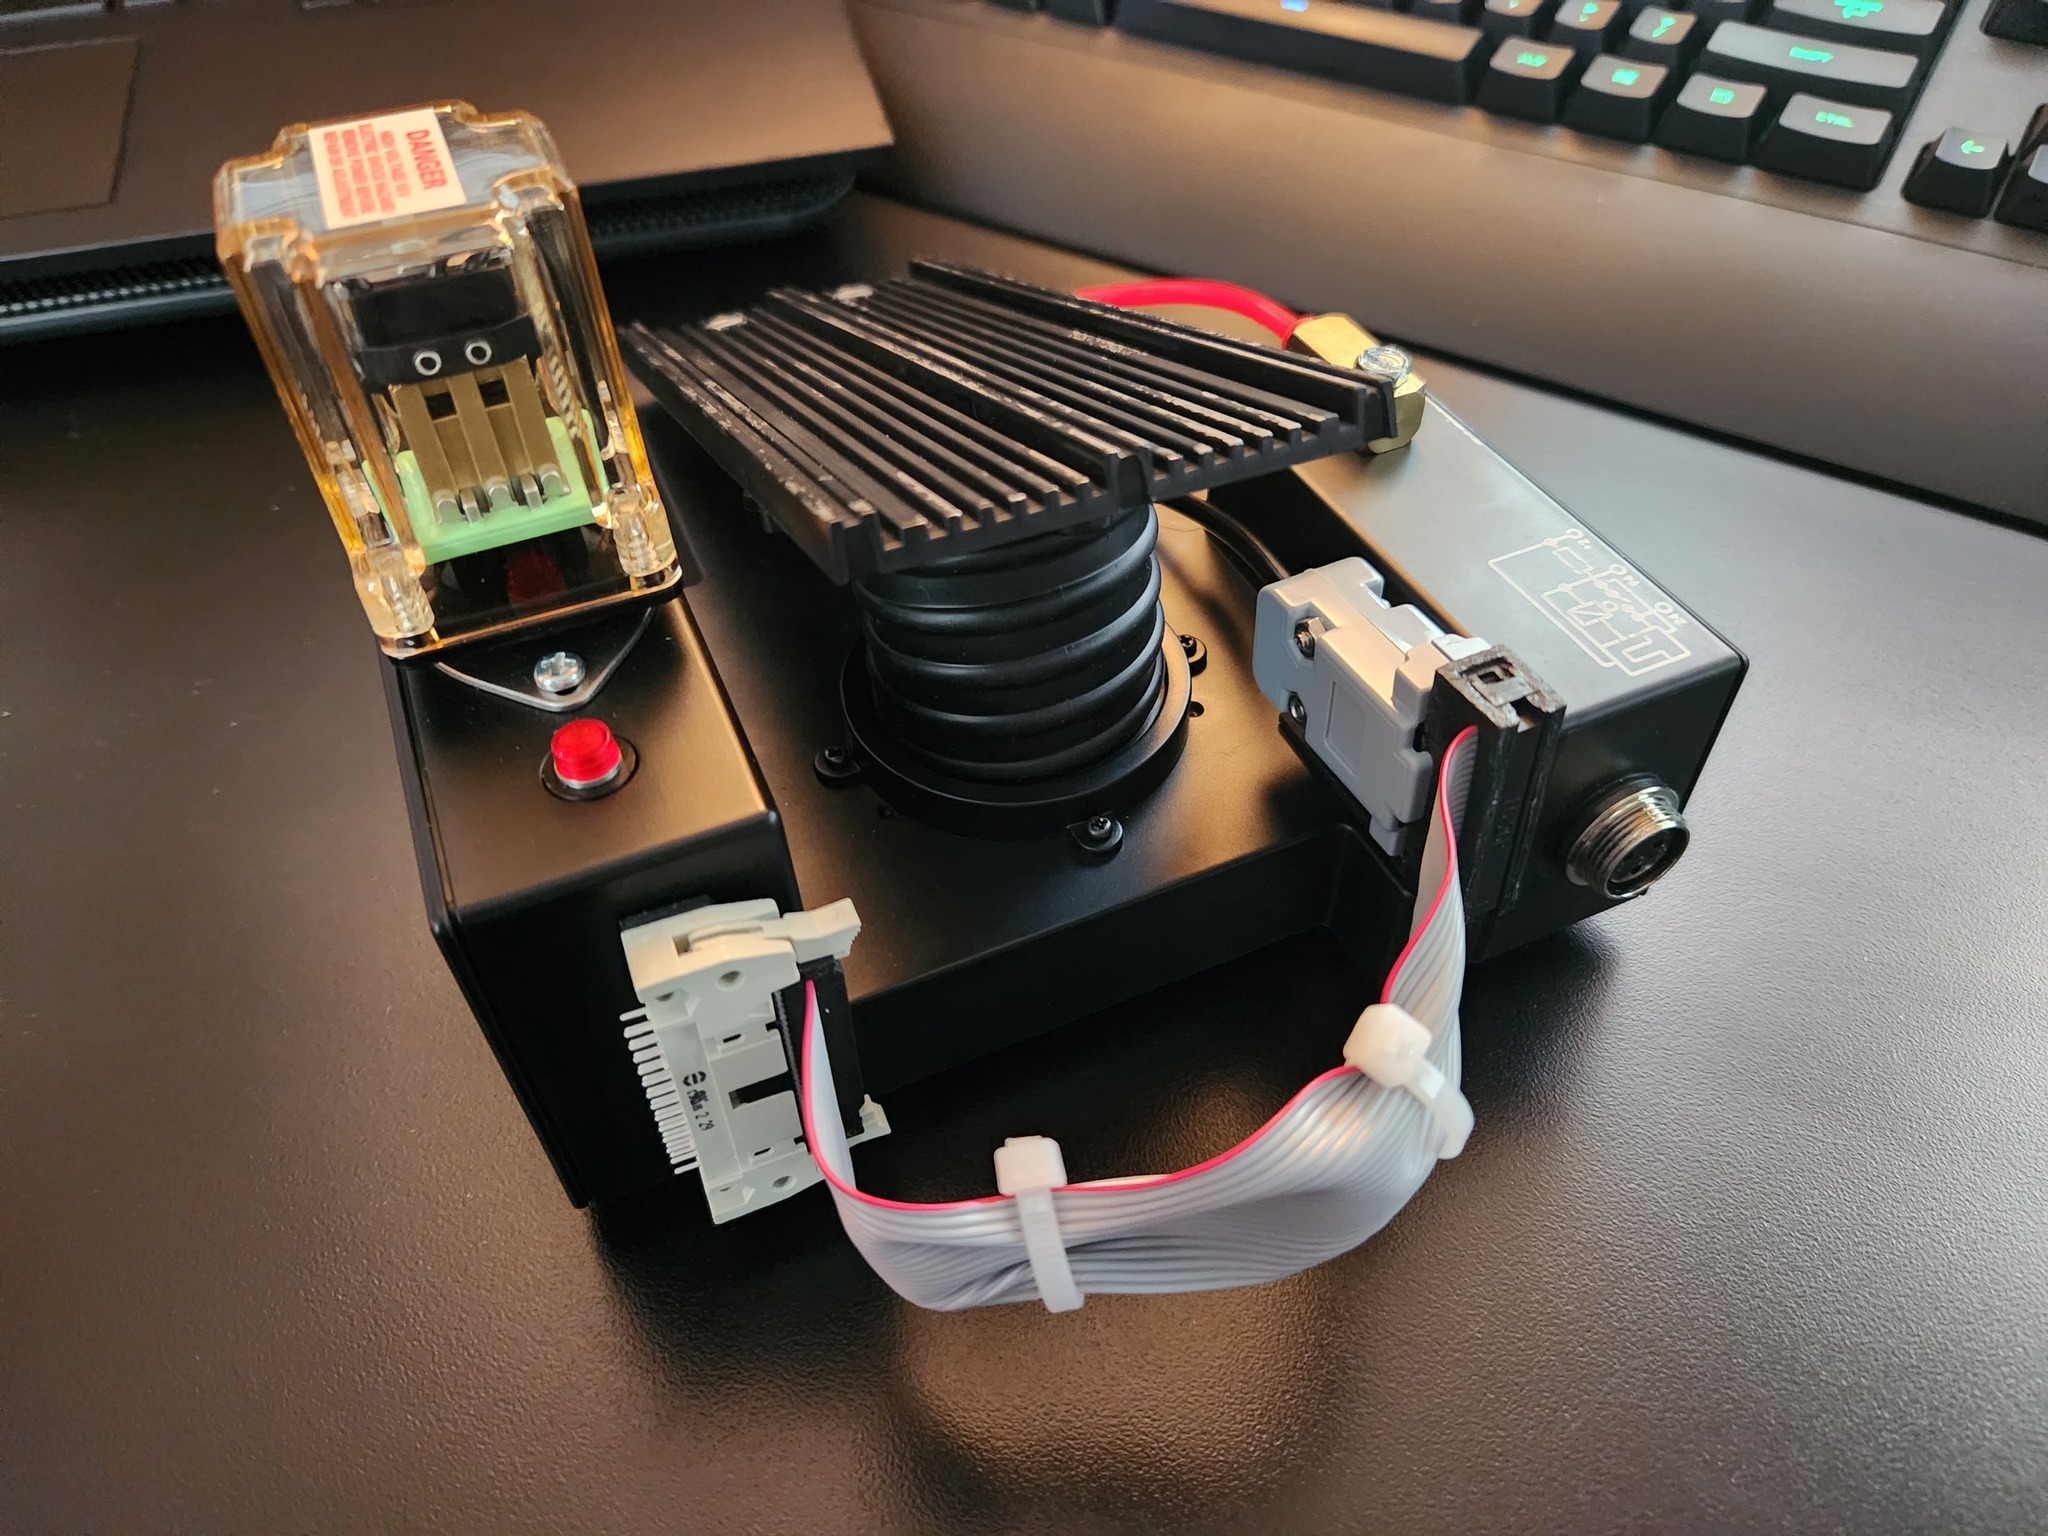
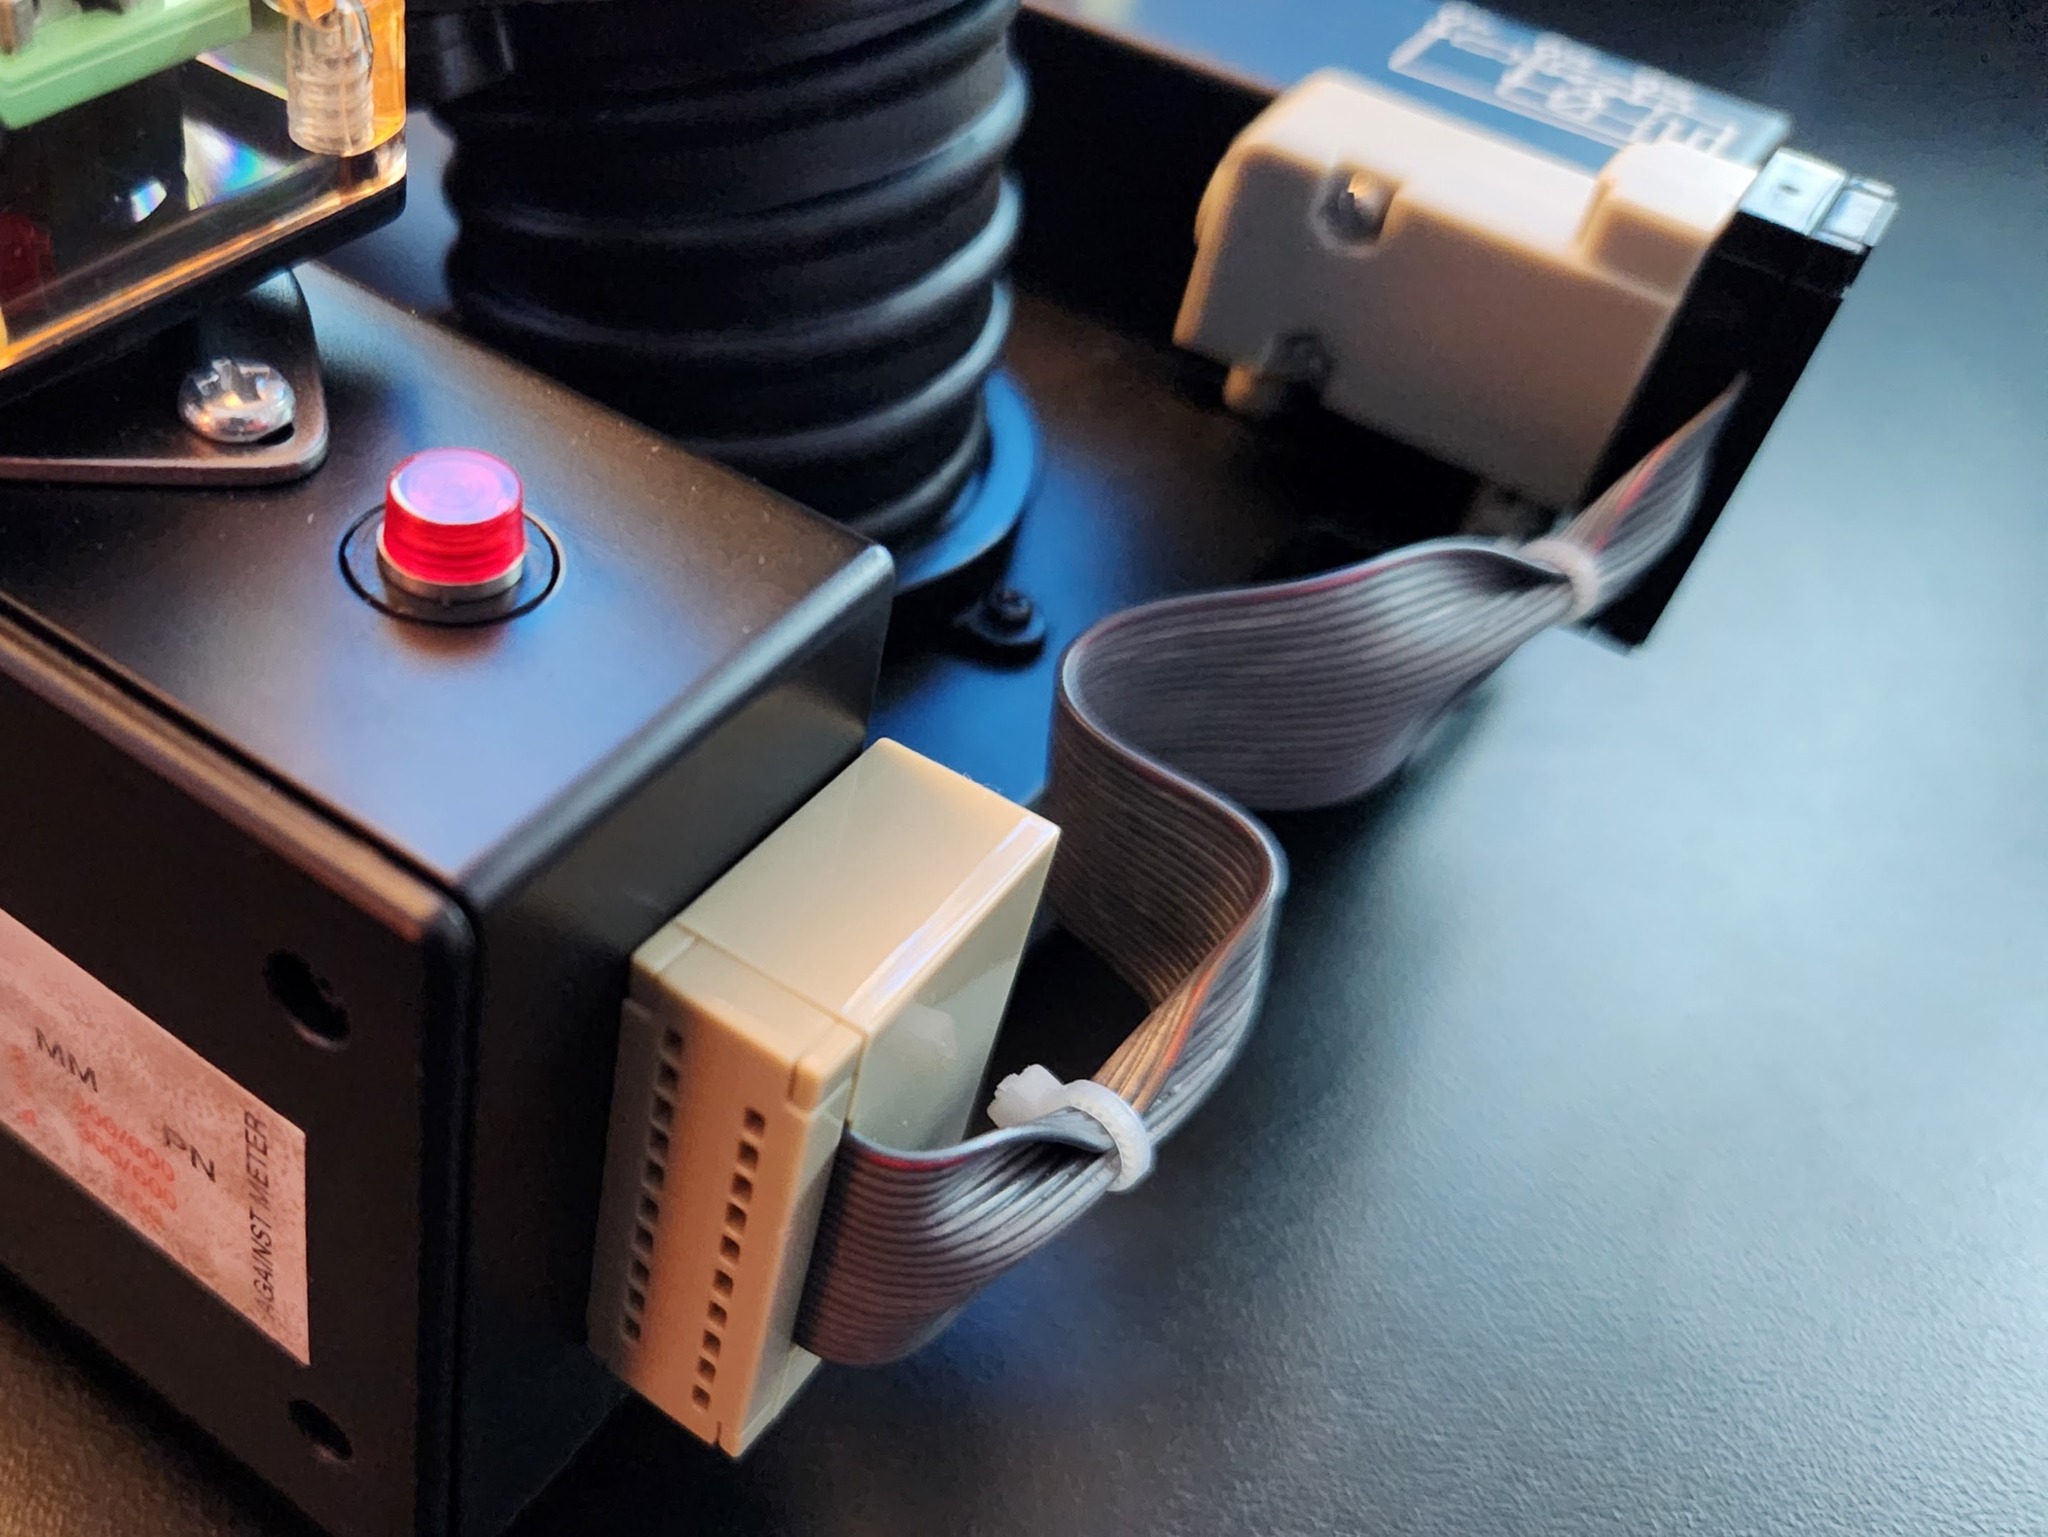
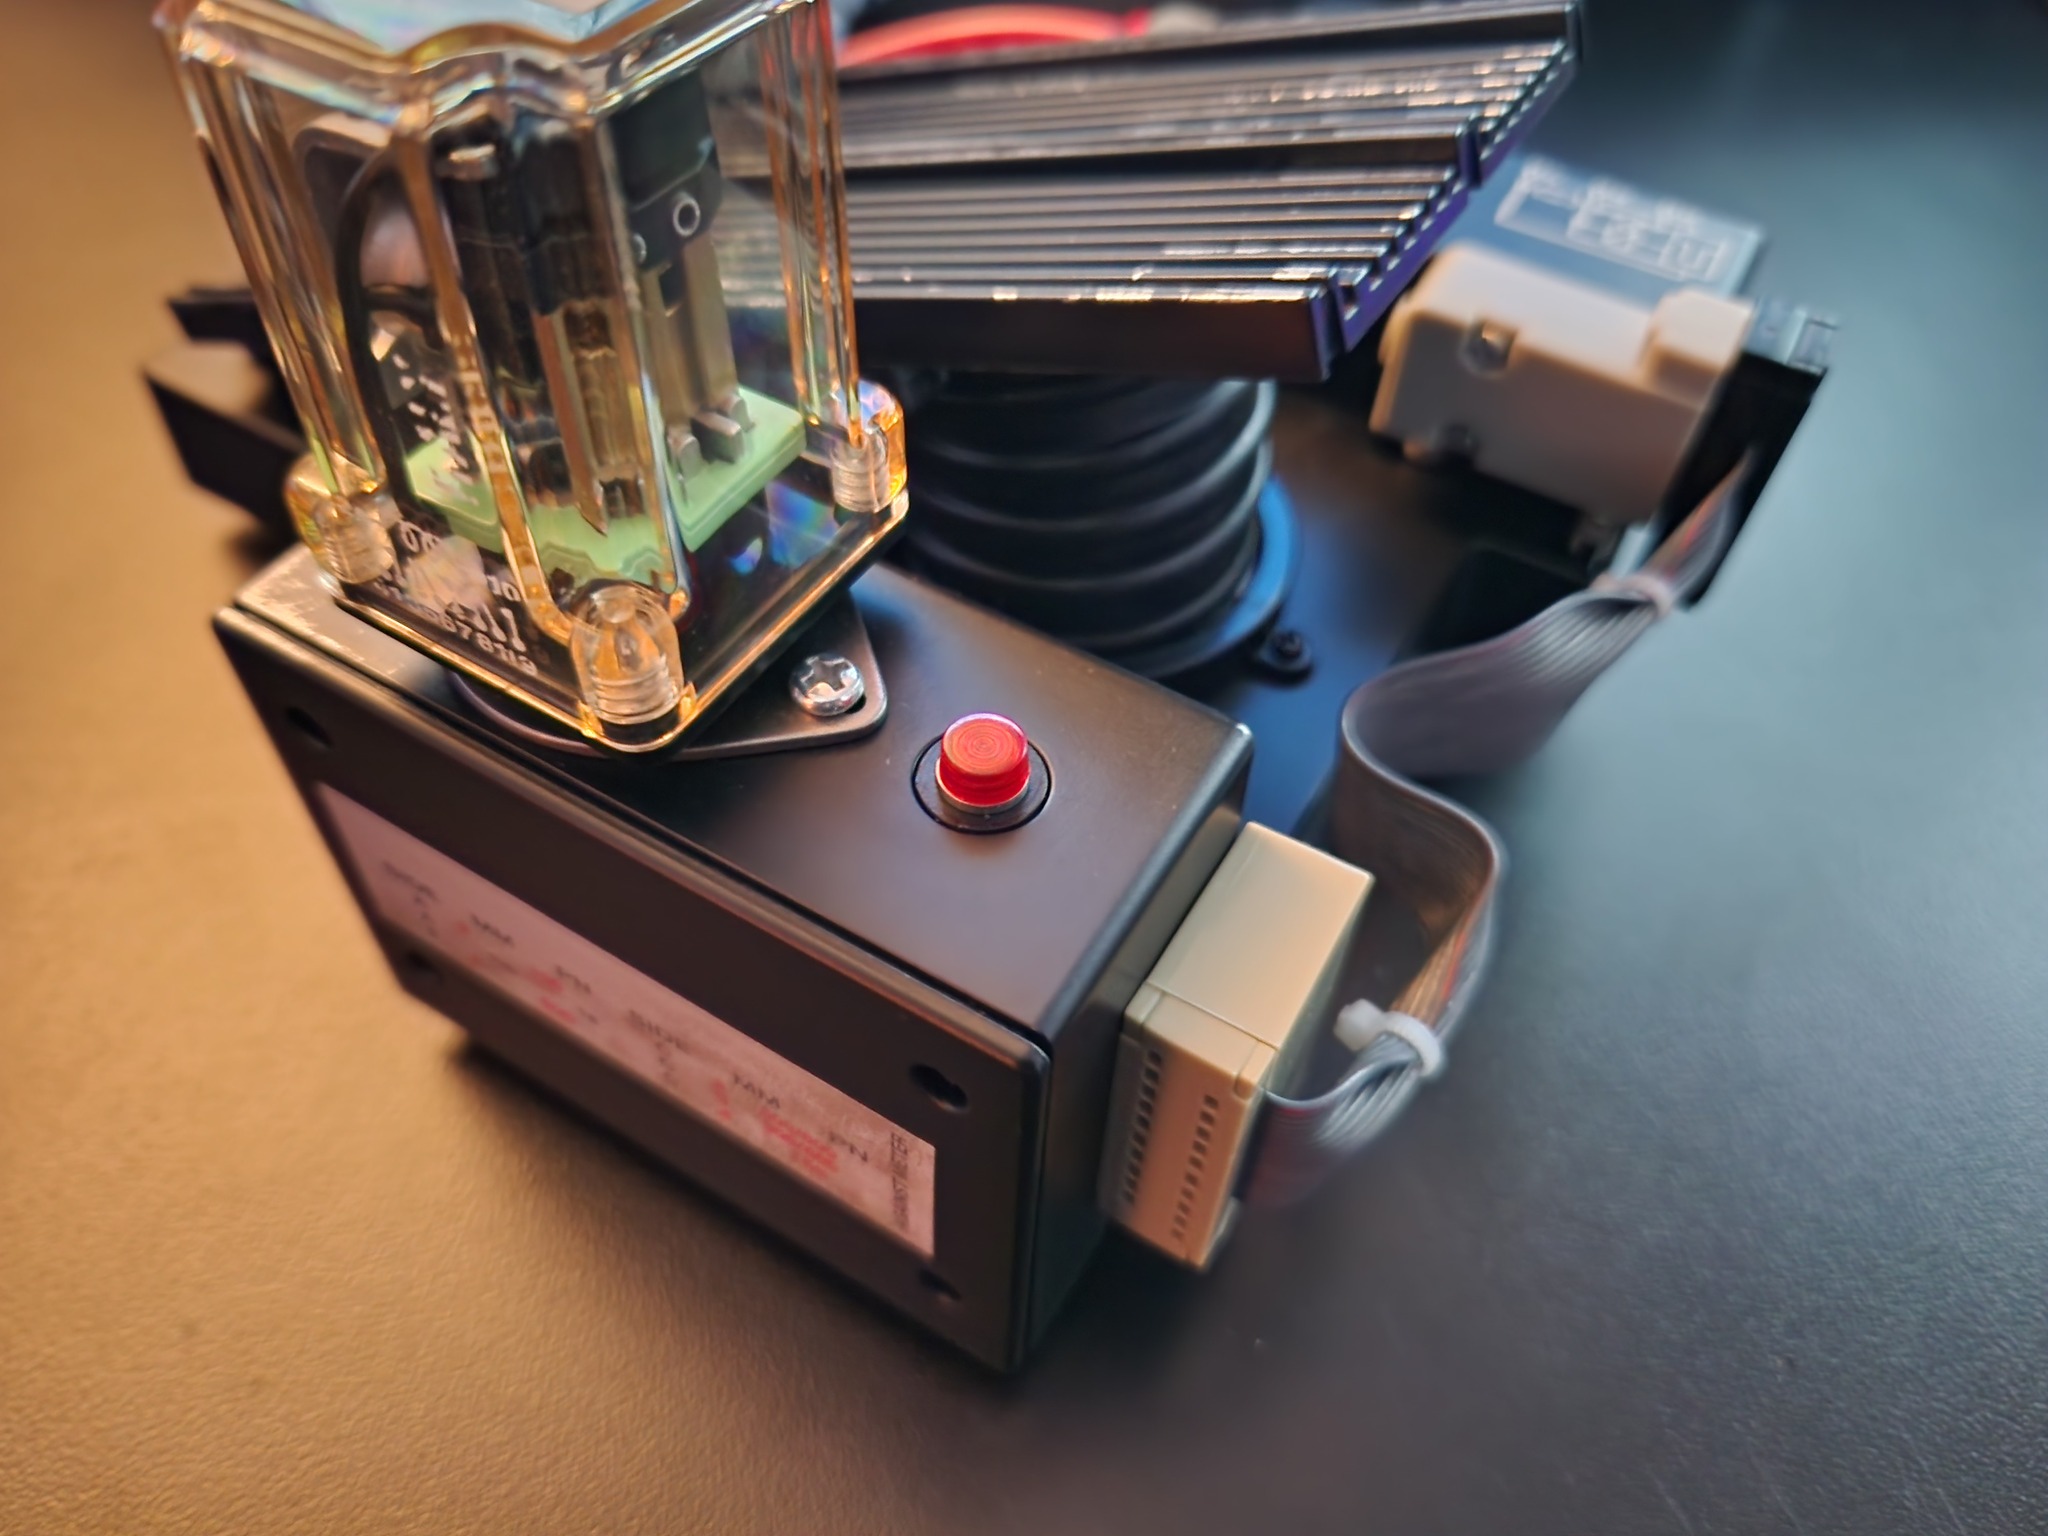
This is the “Drop-In Ribbon Cable Assembly” kit from Chris at DragonWorkshop on Etsy. You can choose between the FE style grey cable, or a rainbow cable. You can also choose either black or white cable ties to complete the look you want.
I never really liked the cheap look of the stock Hasbro setup, so I was happy to find this complete kit that requires no permanent modifications to the trap. Just remove a few screws, swap our the connectors and screw it all back together.
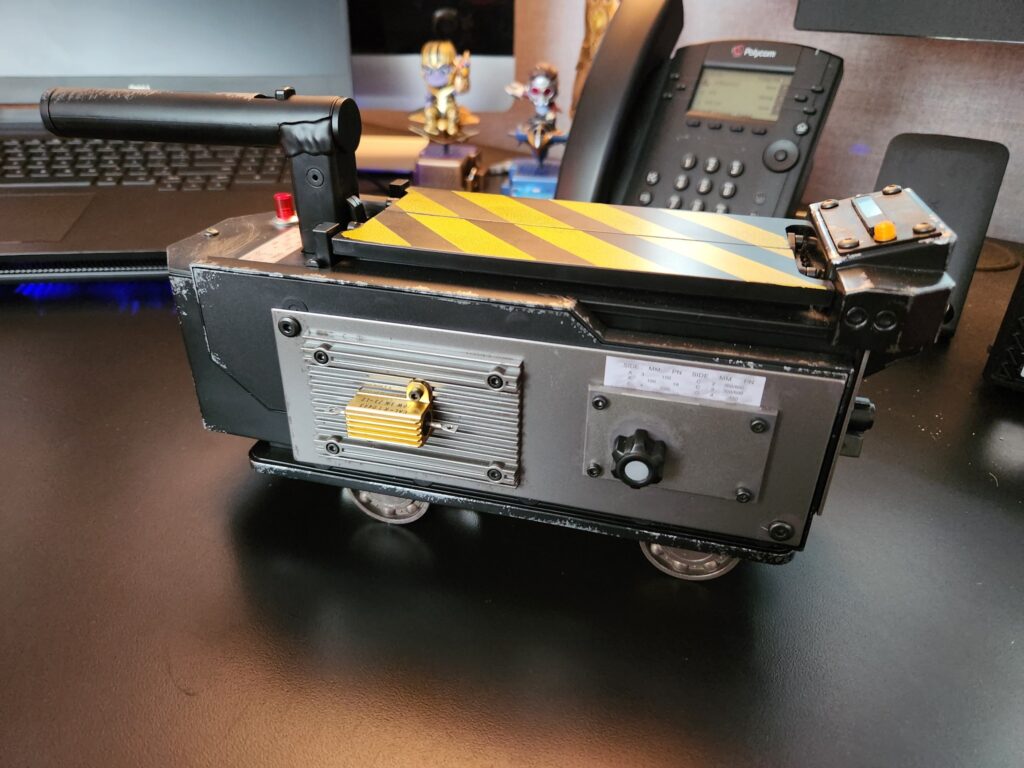
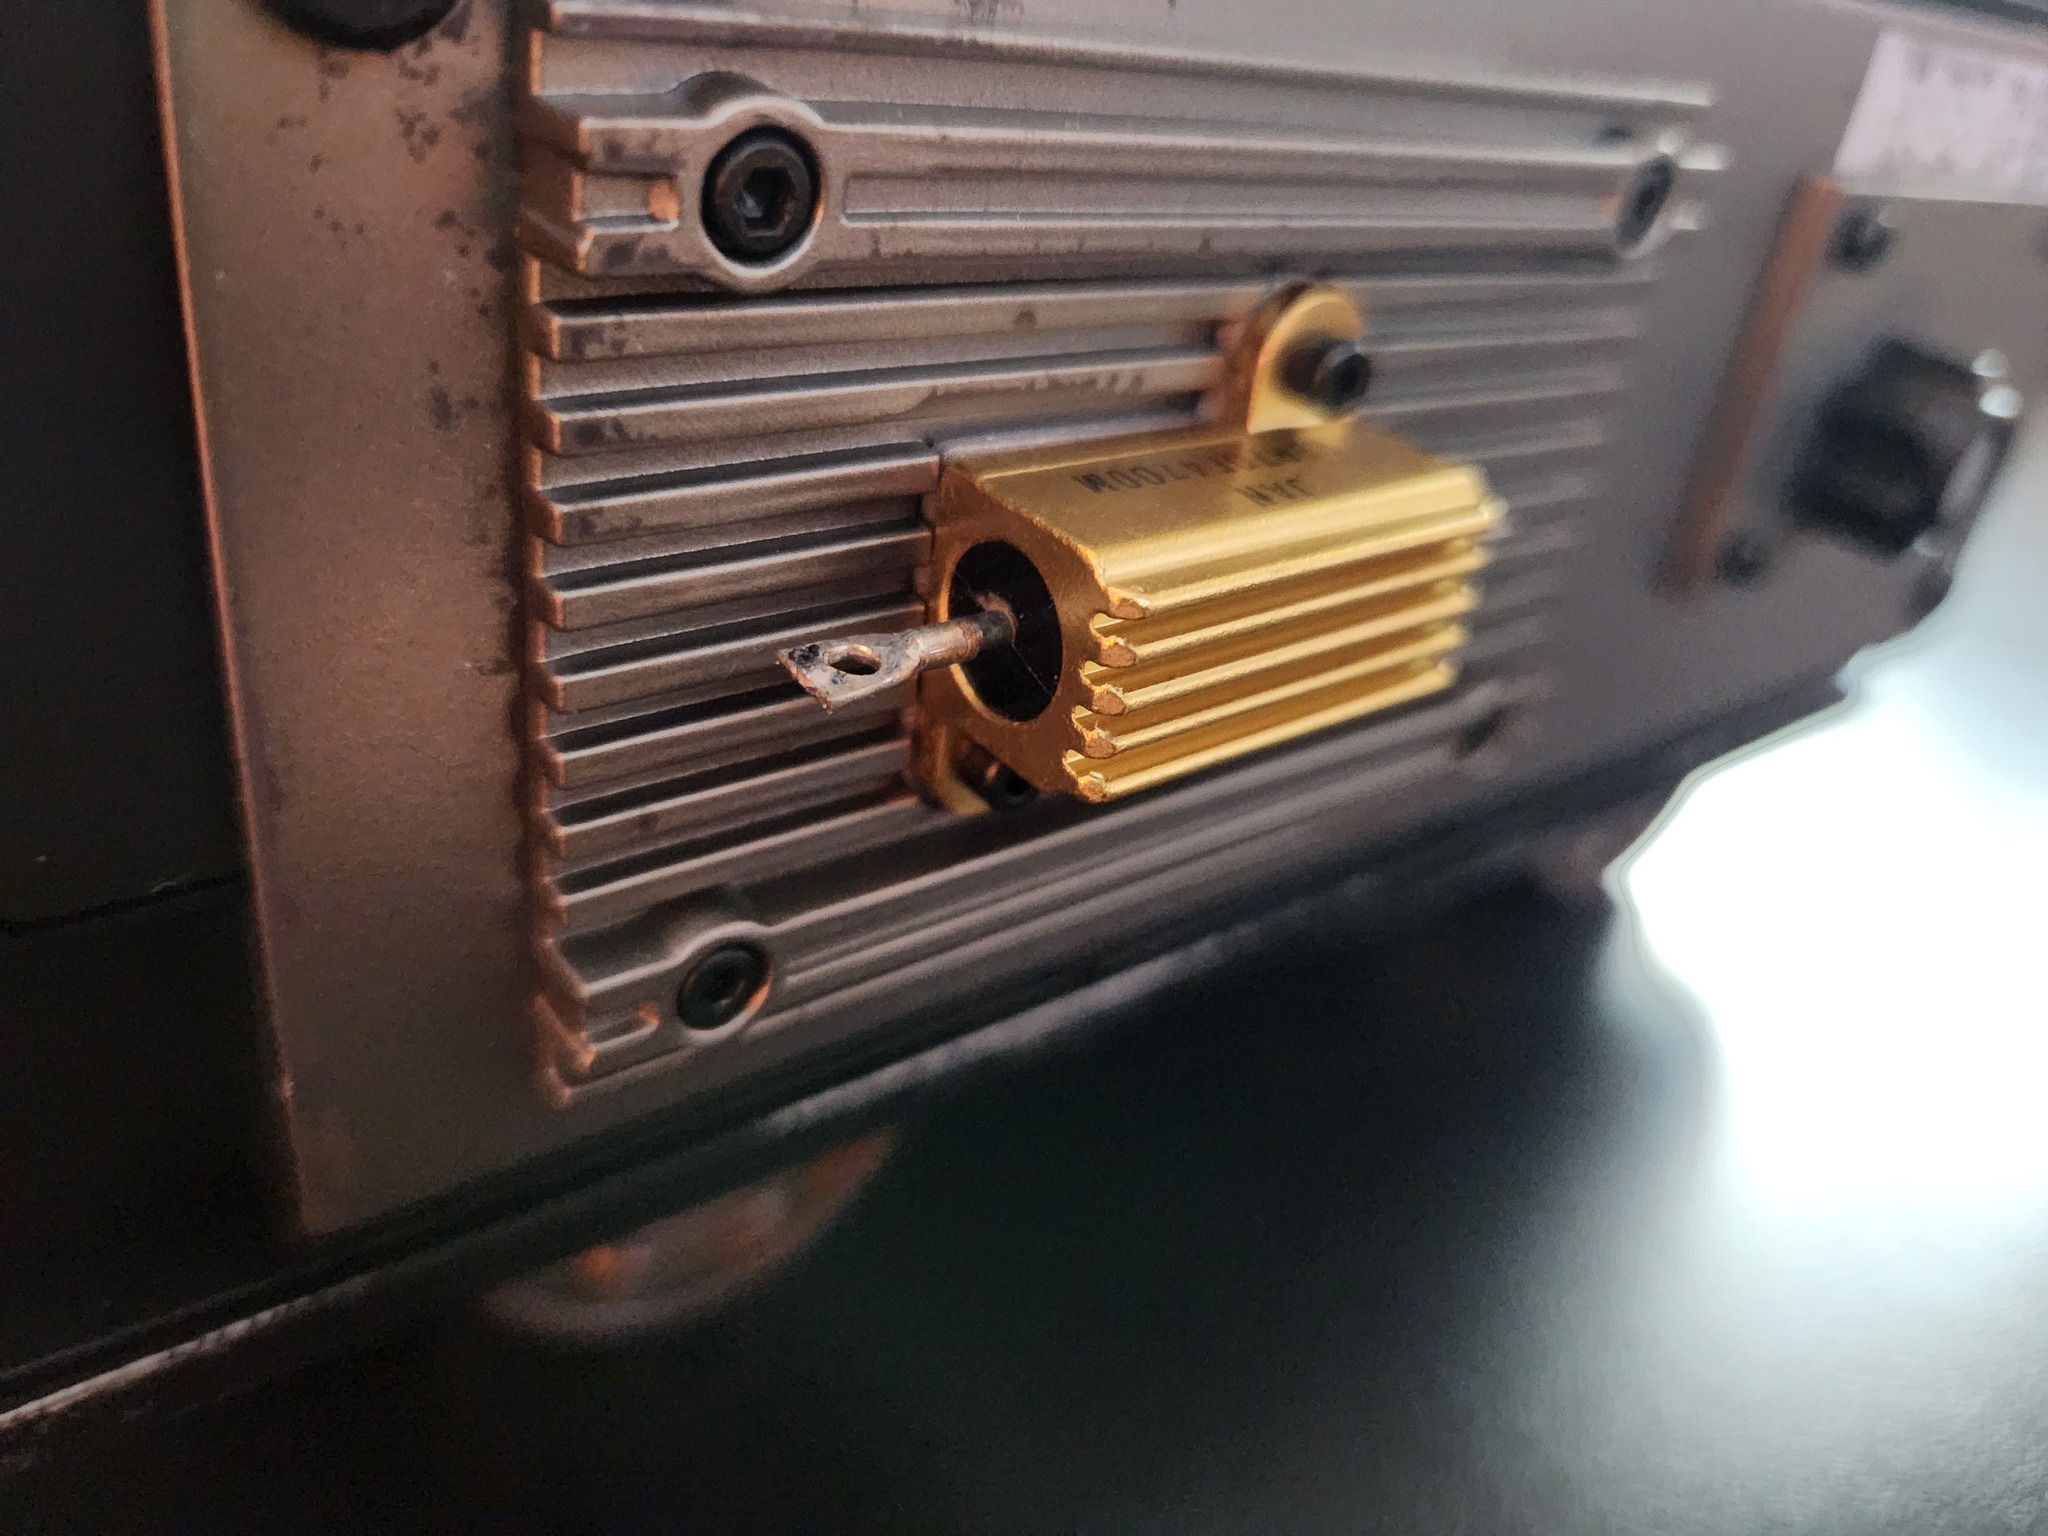
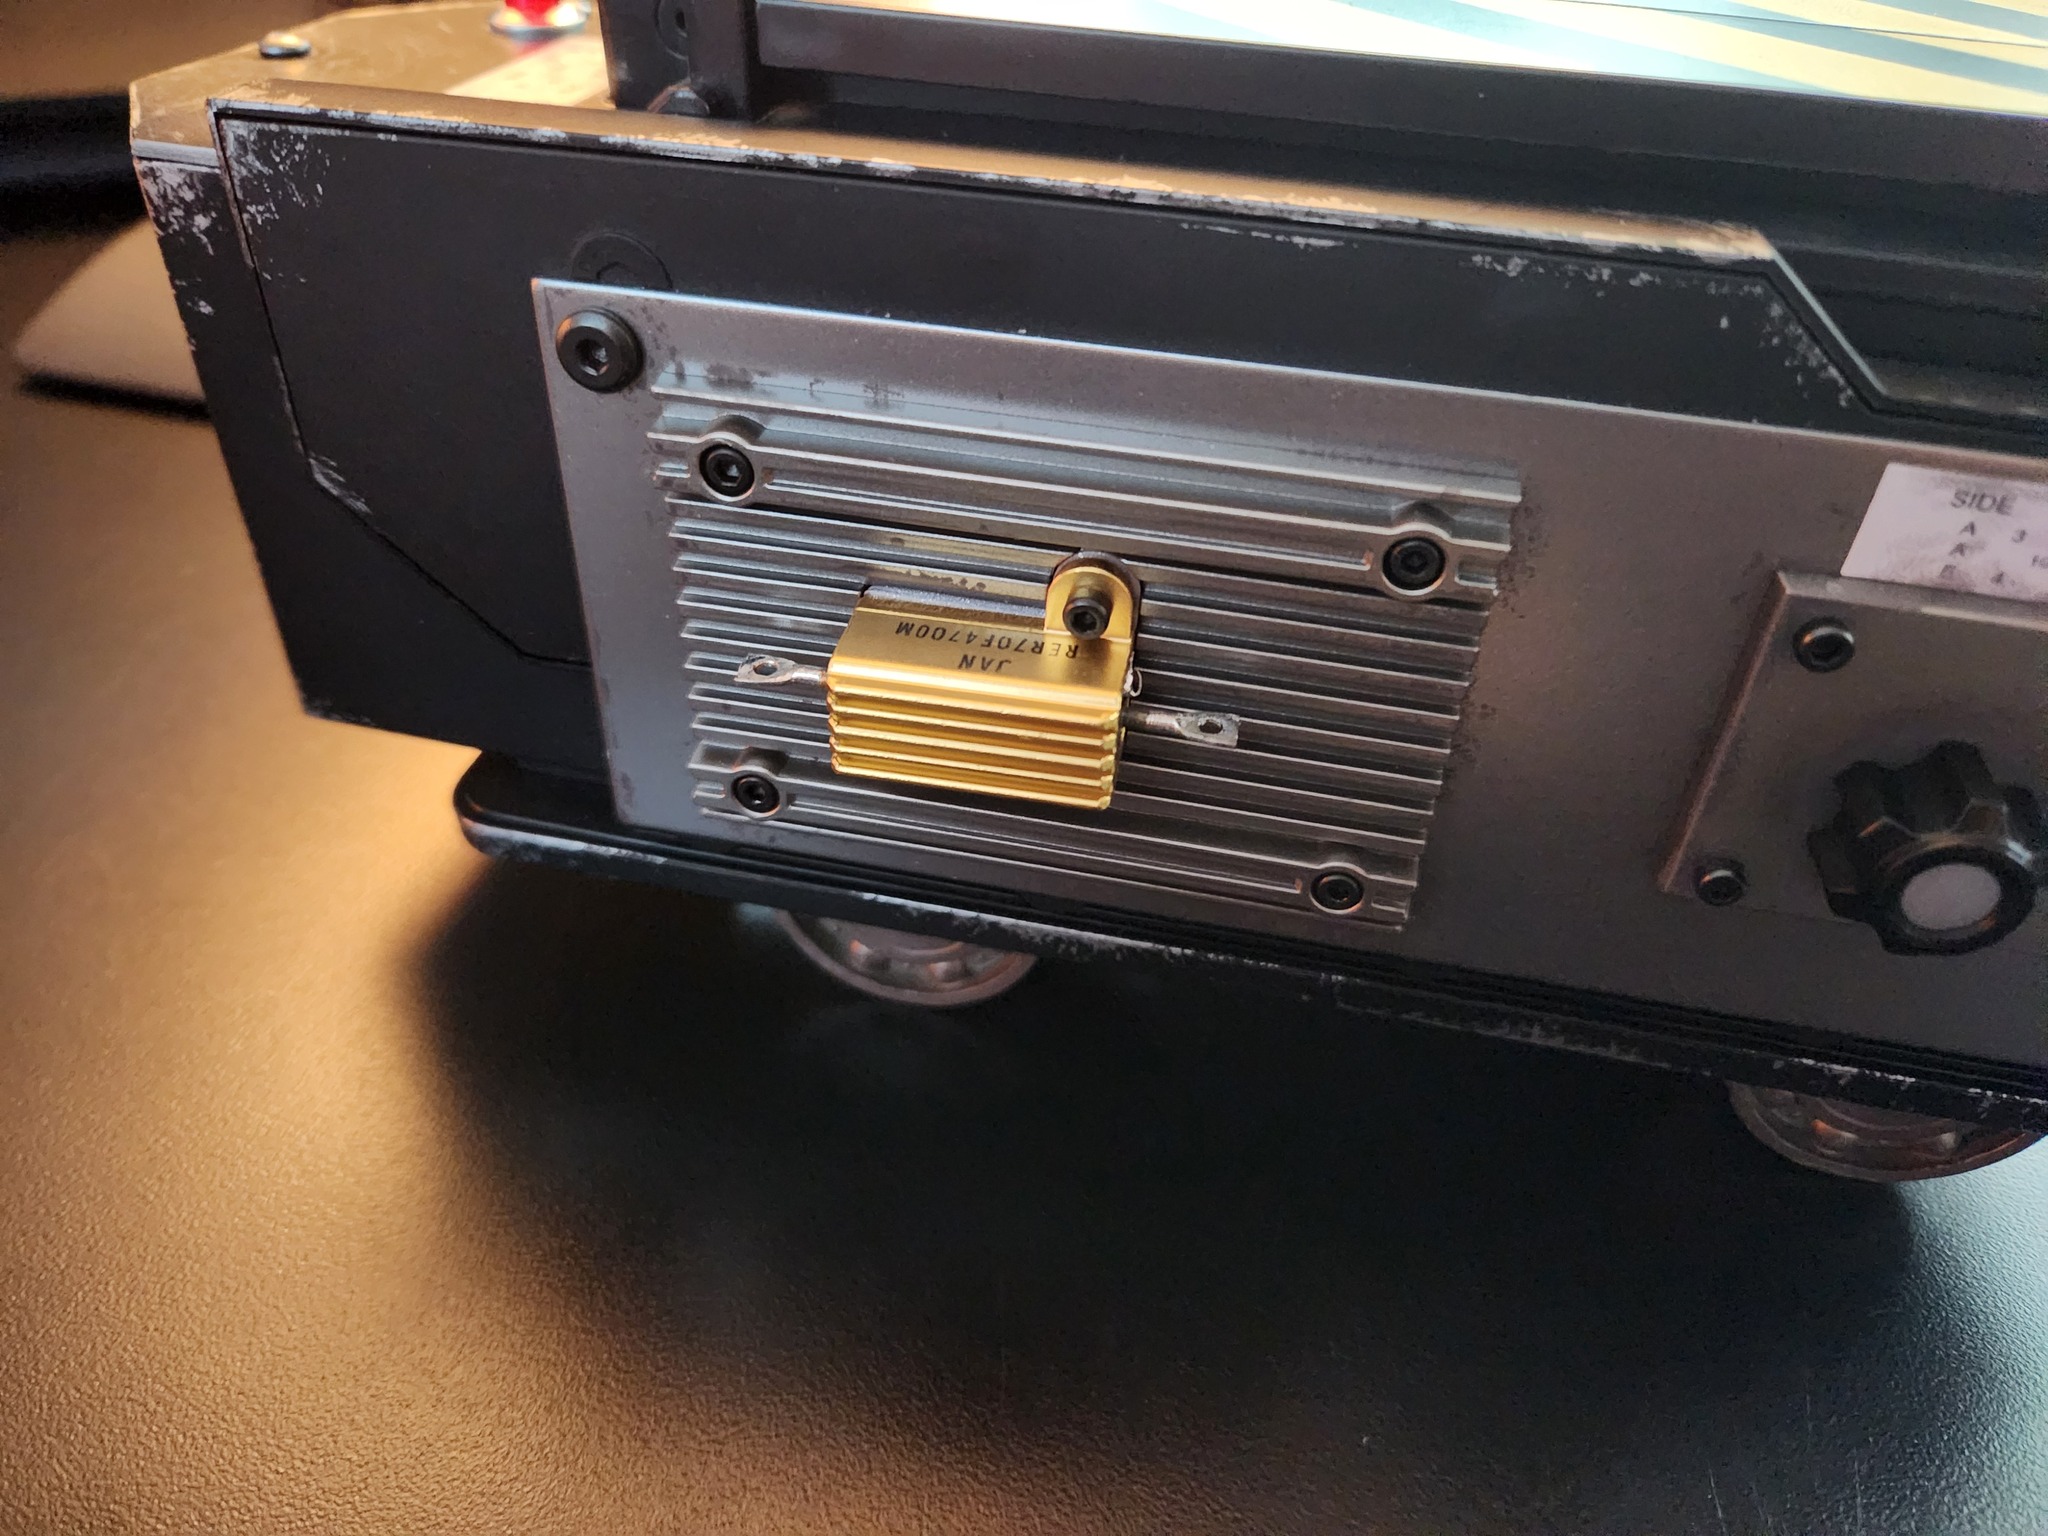
I also added Ghost Lab 42’s “CAL-R Real Resistor and Mounting Plate” upgrade which was very simple to install. Just removed the screws holding on the plate and stock resistor, and then snipped off the stock resistor mount with a pair of dykes.
Add this mod to the list of Doug’s kits that I didn’t know I needed until I installed them.
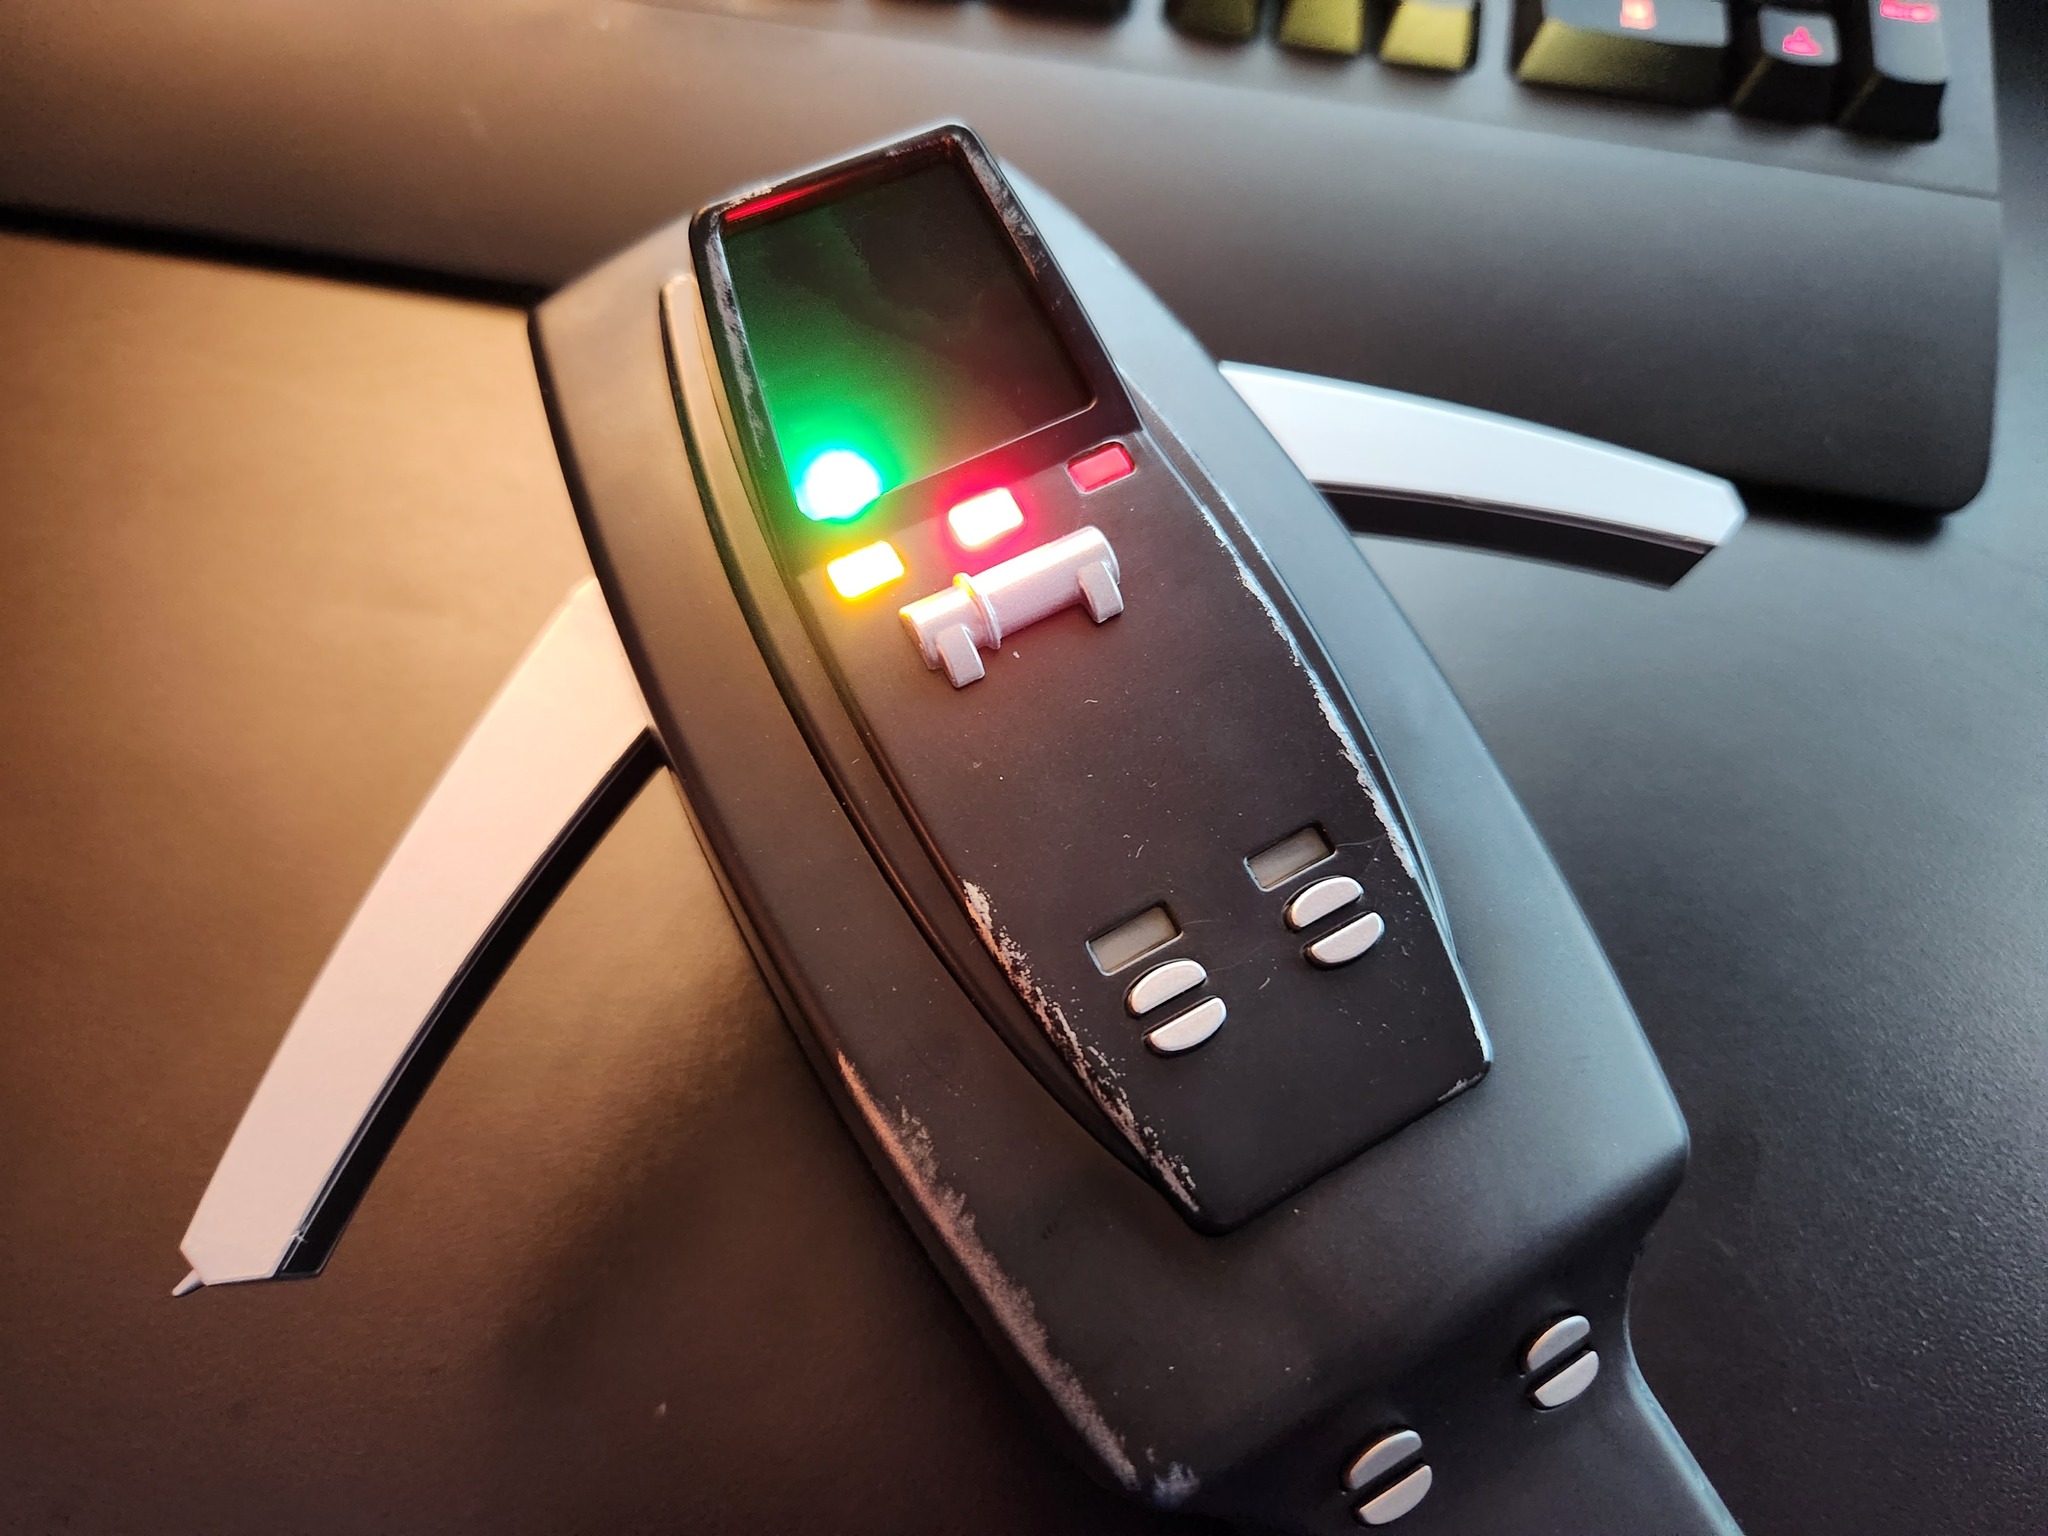
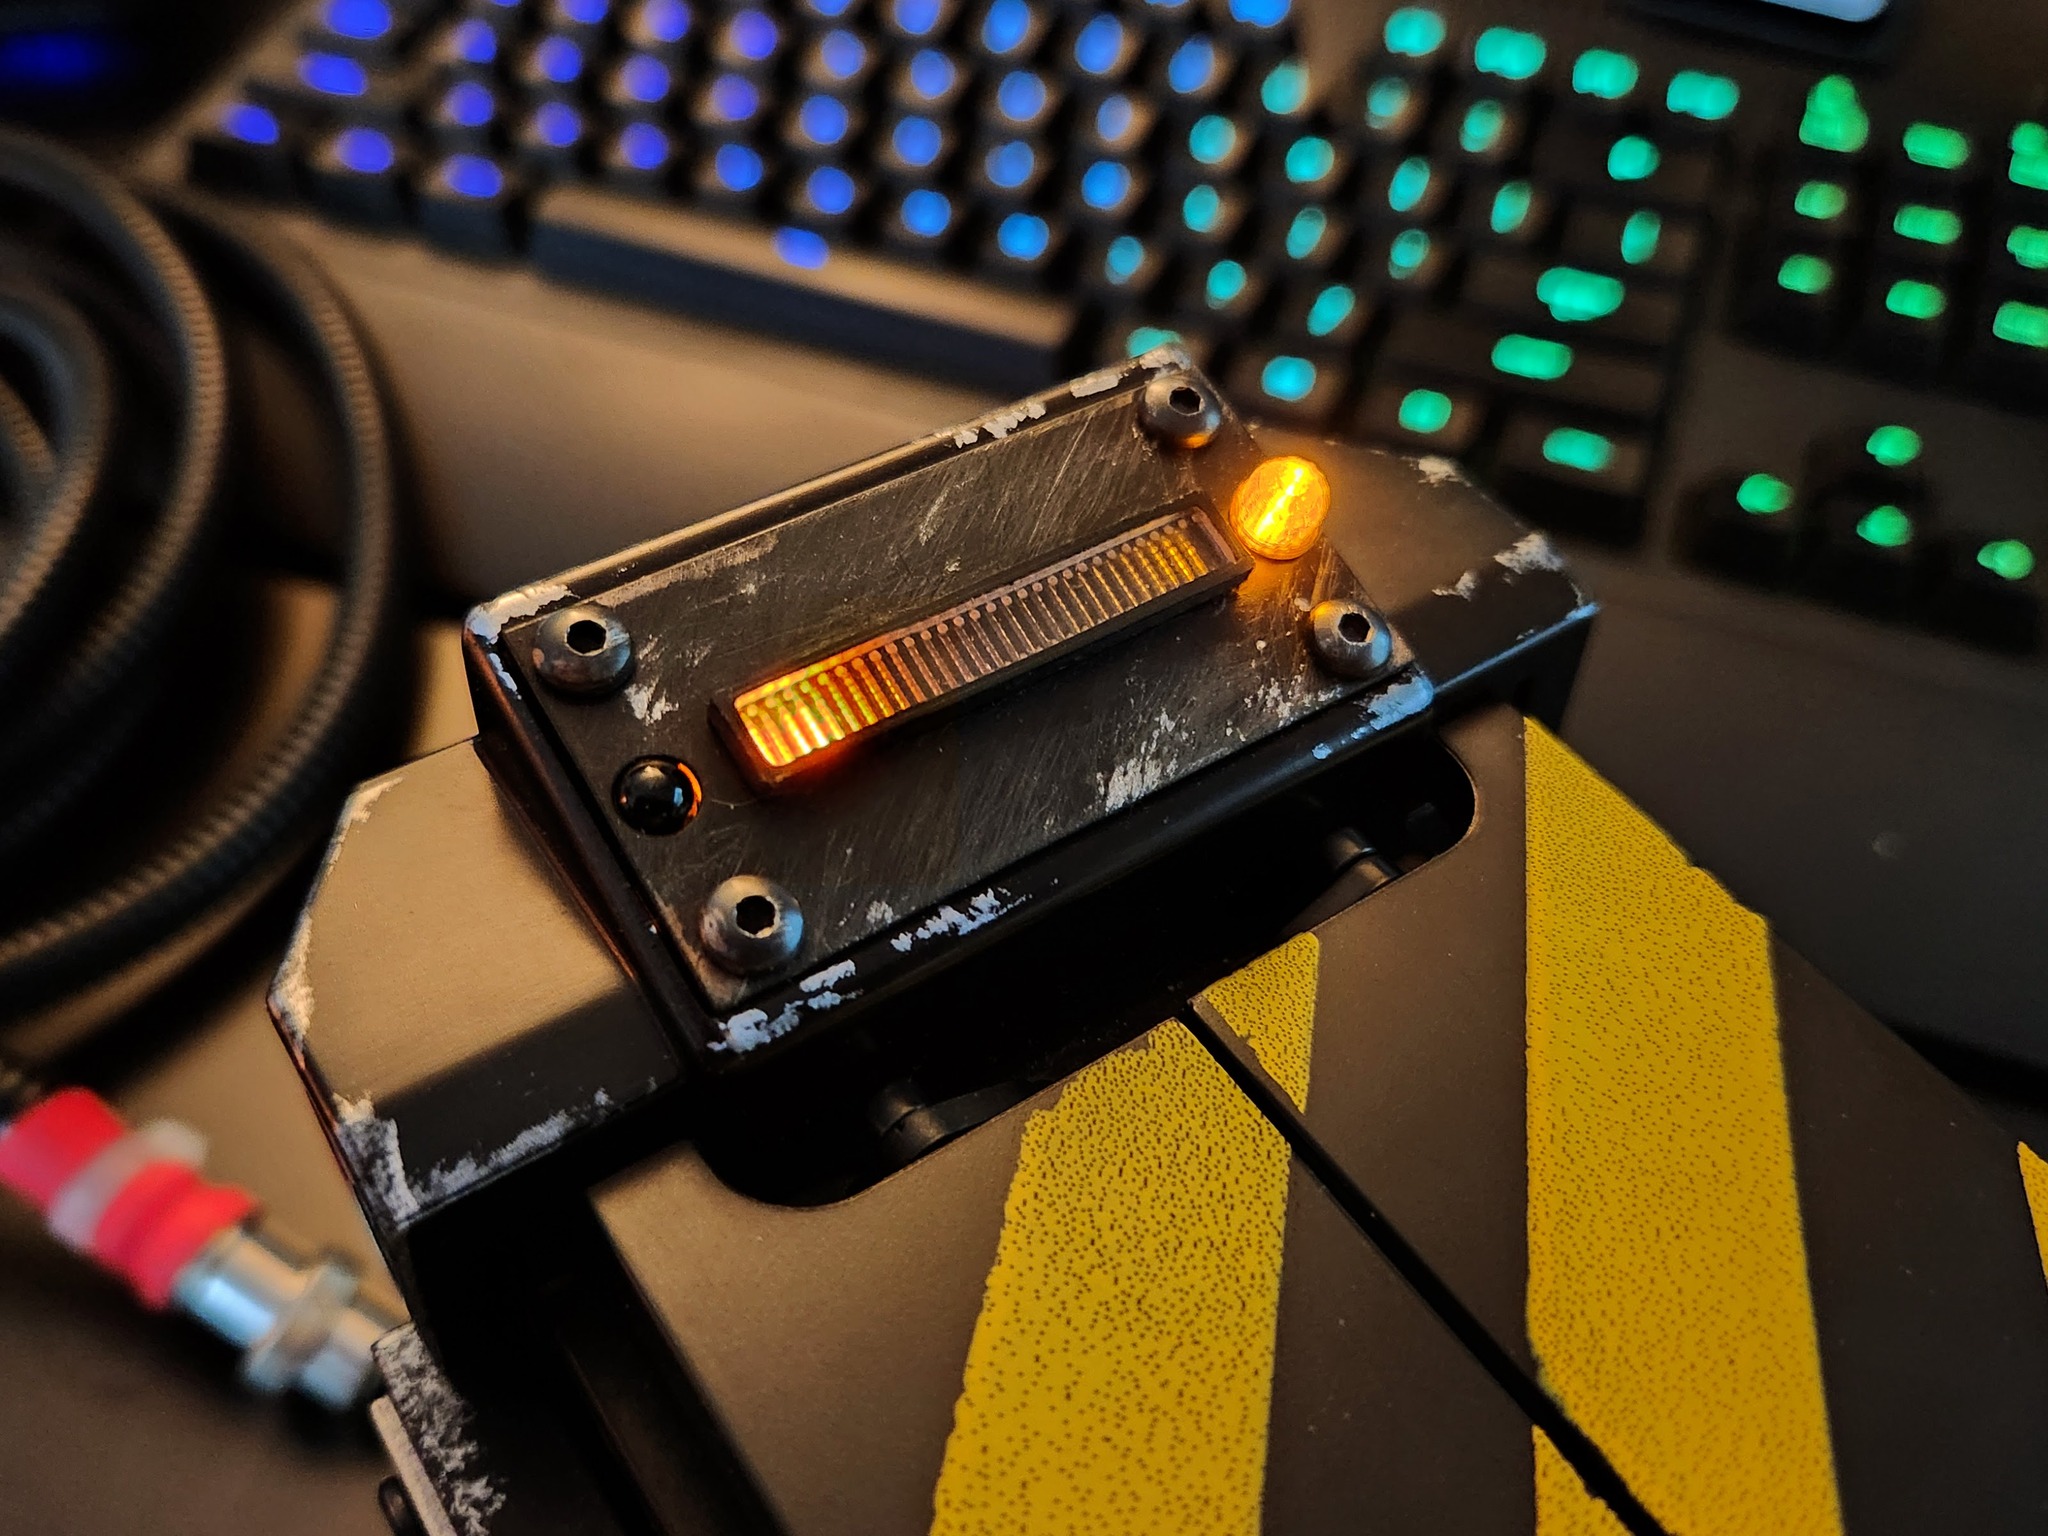
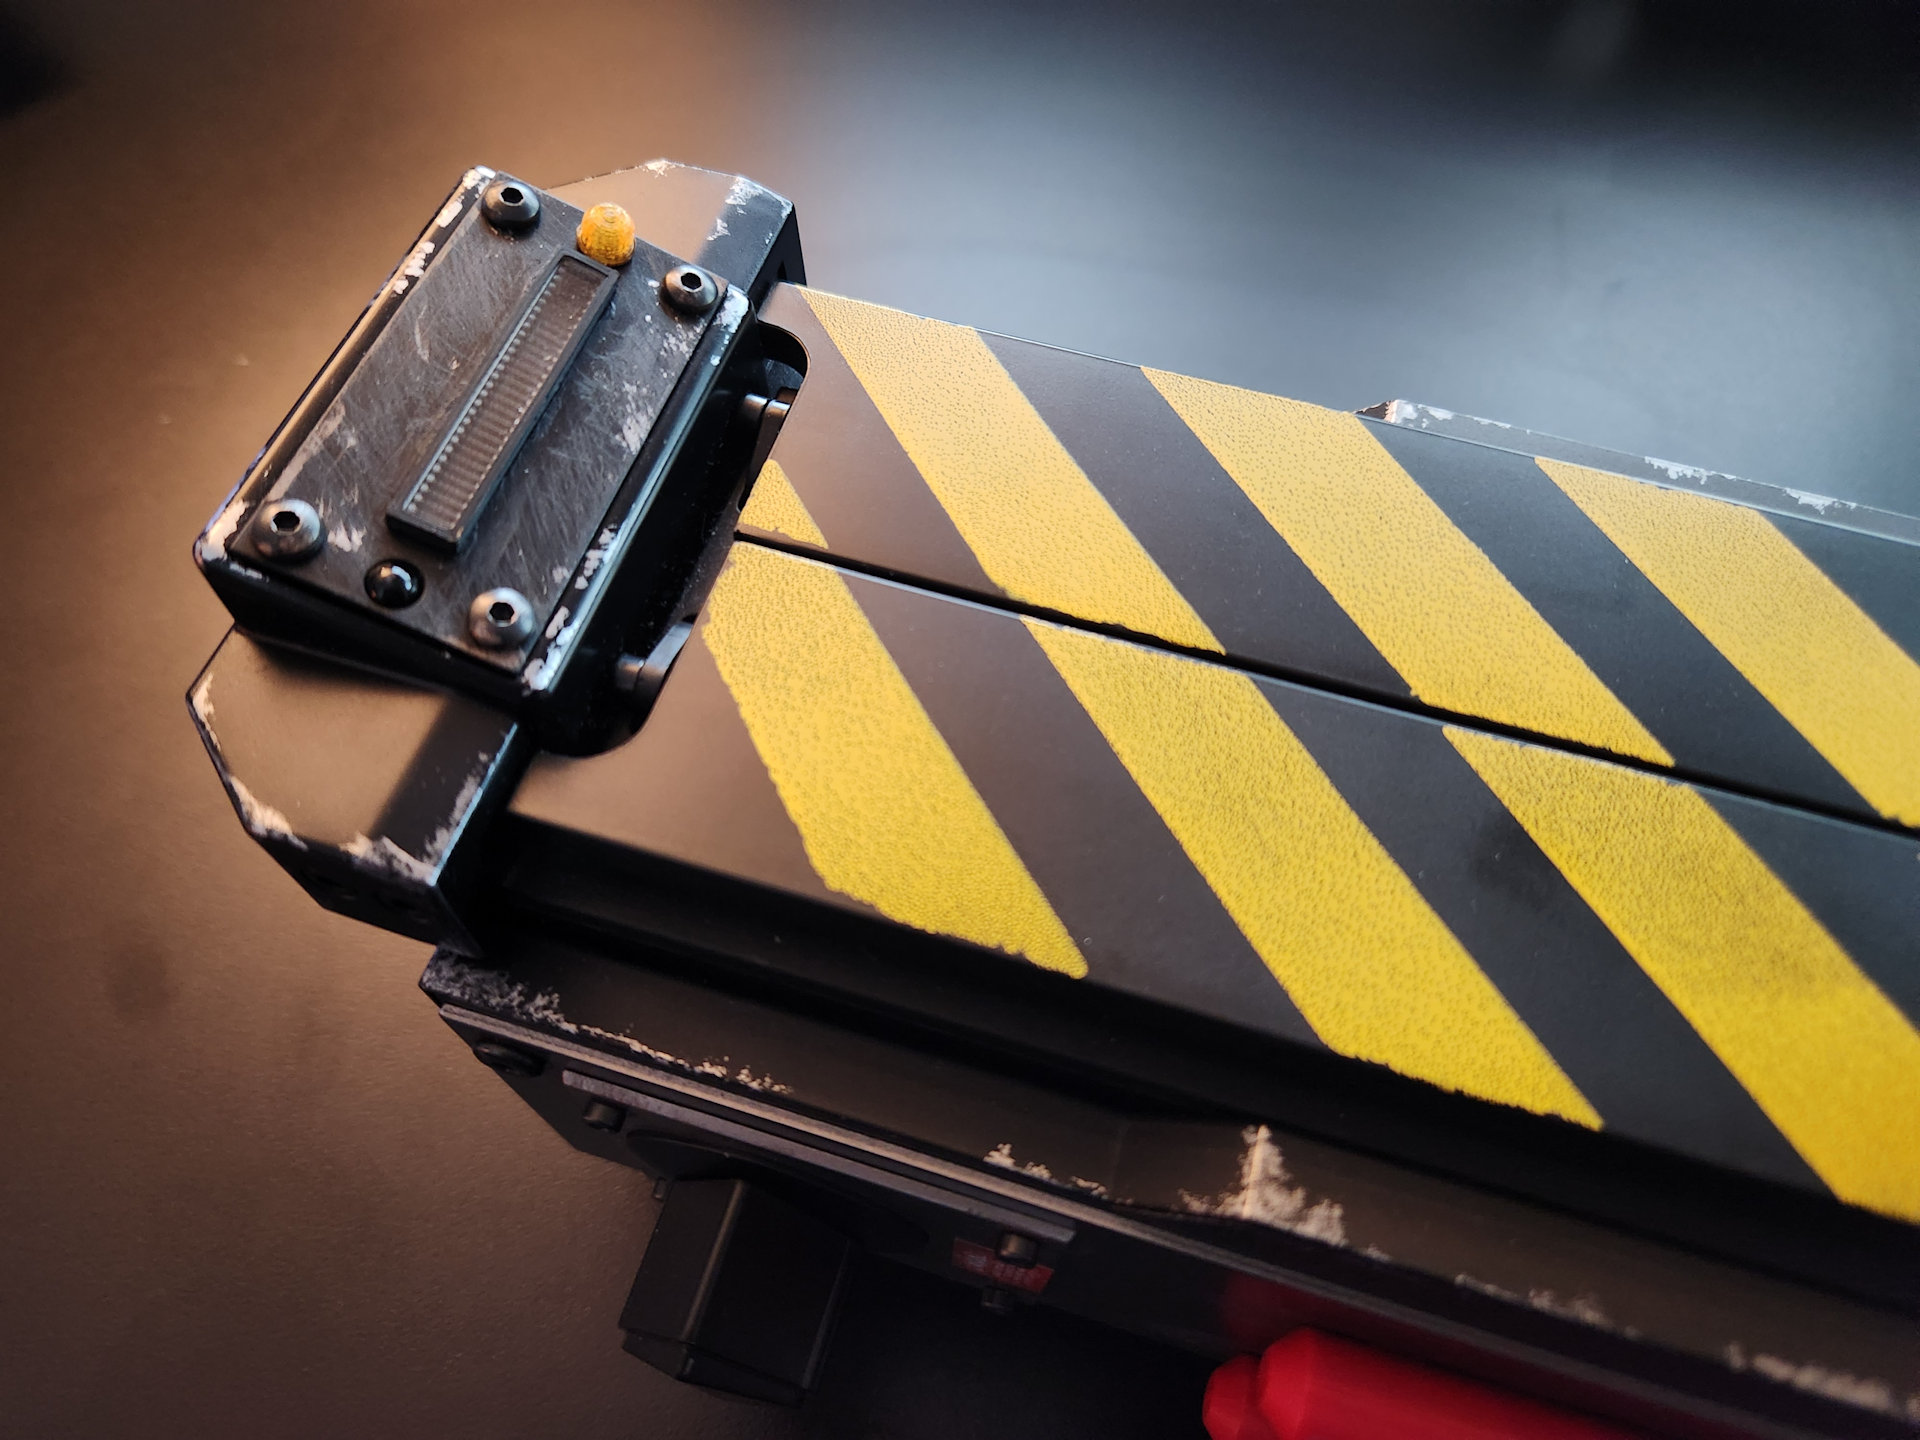
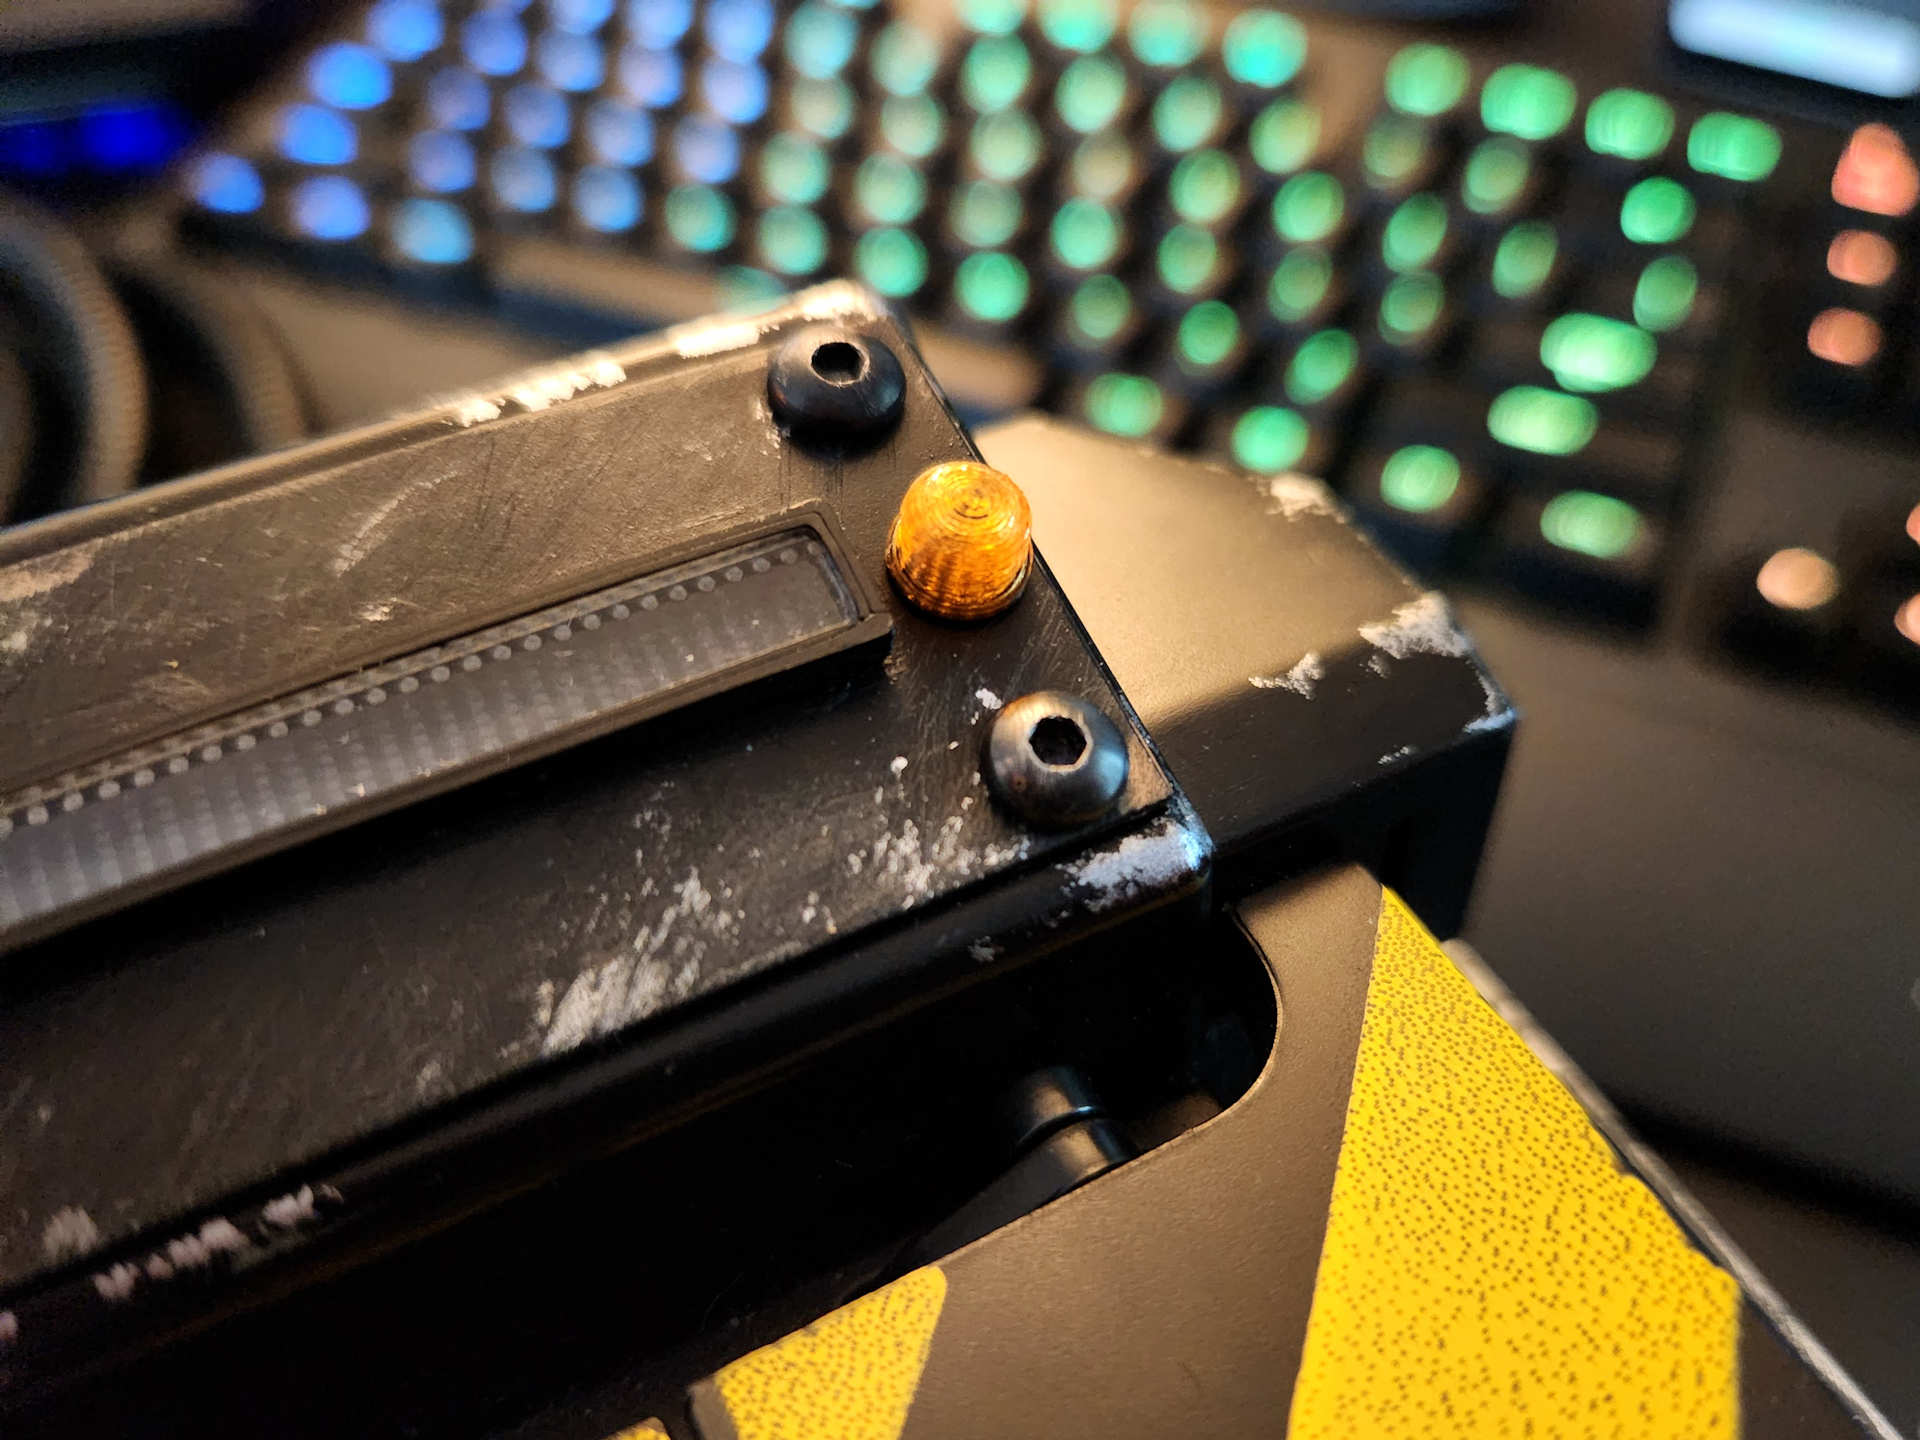
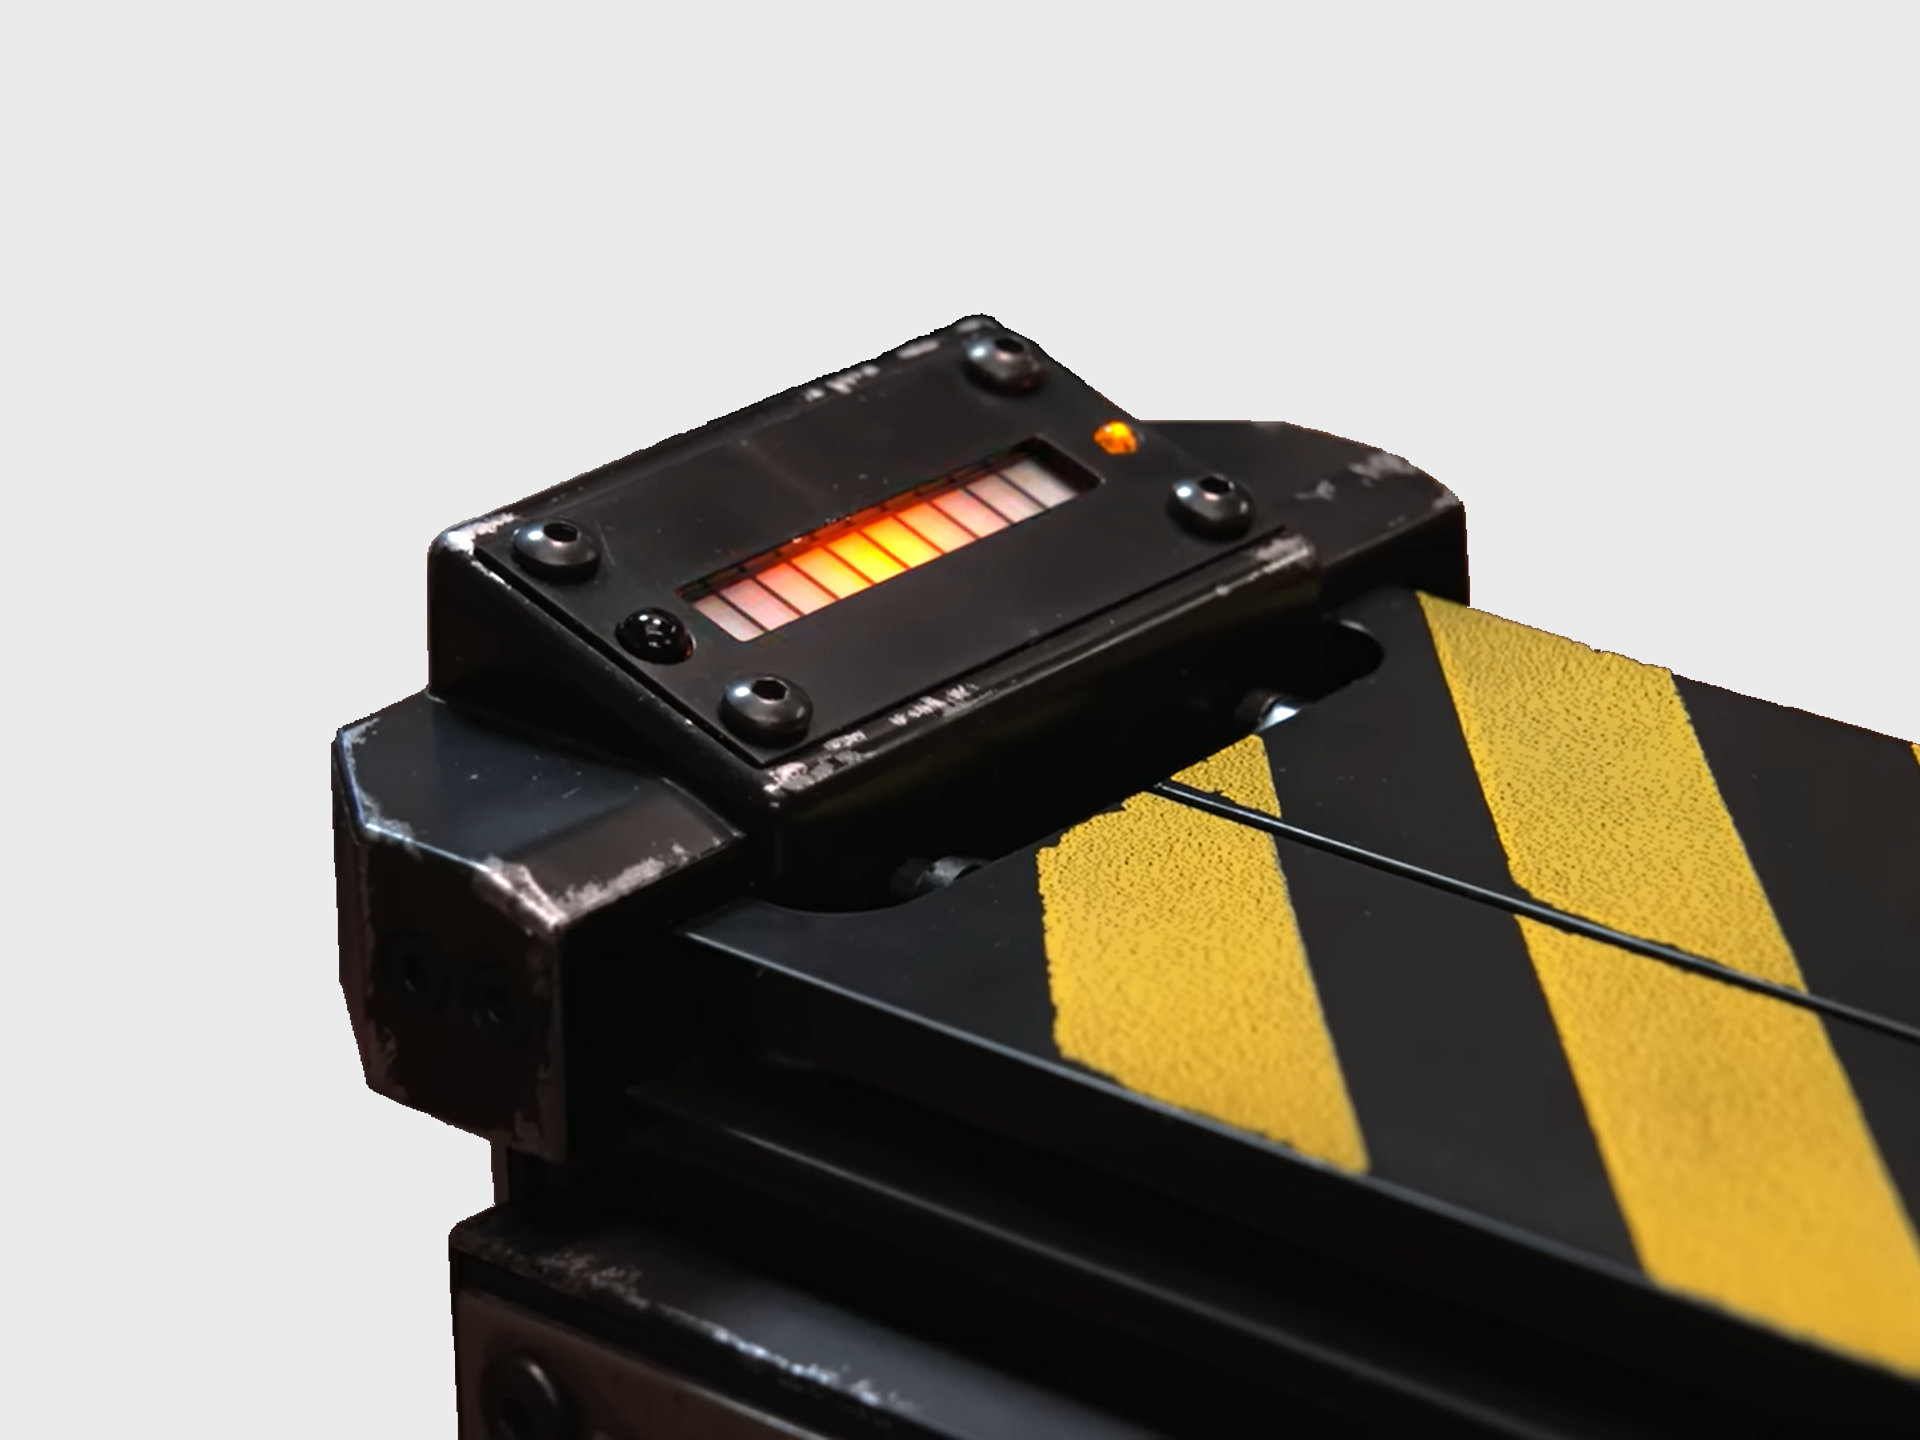
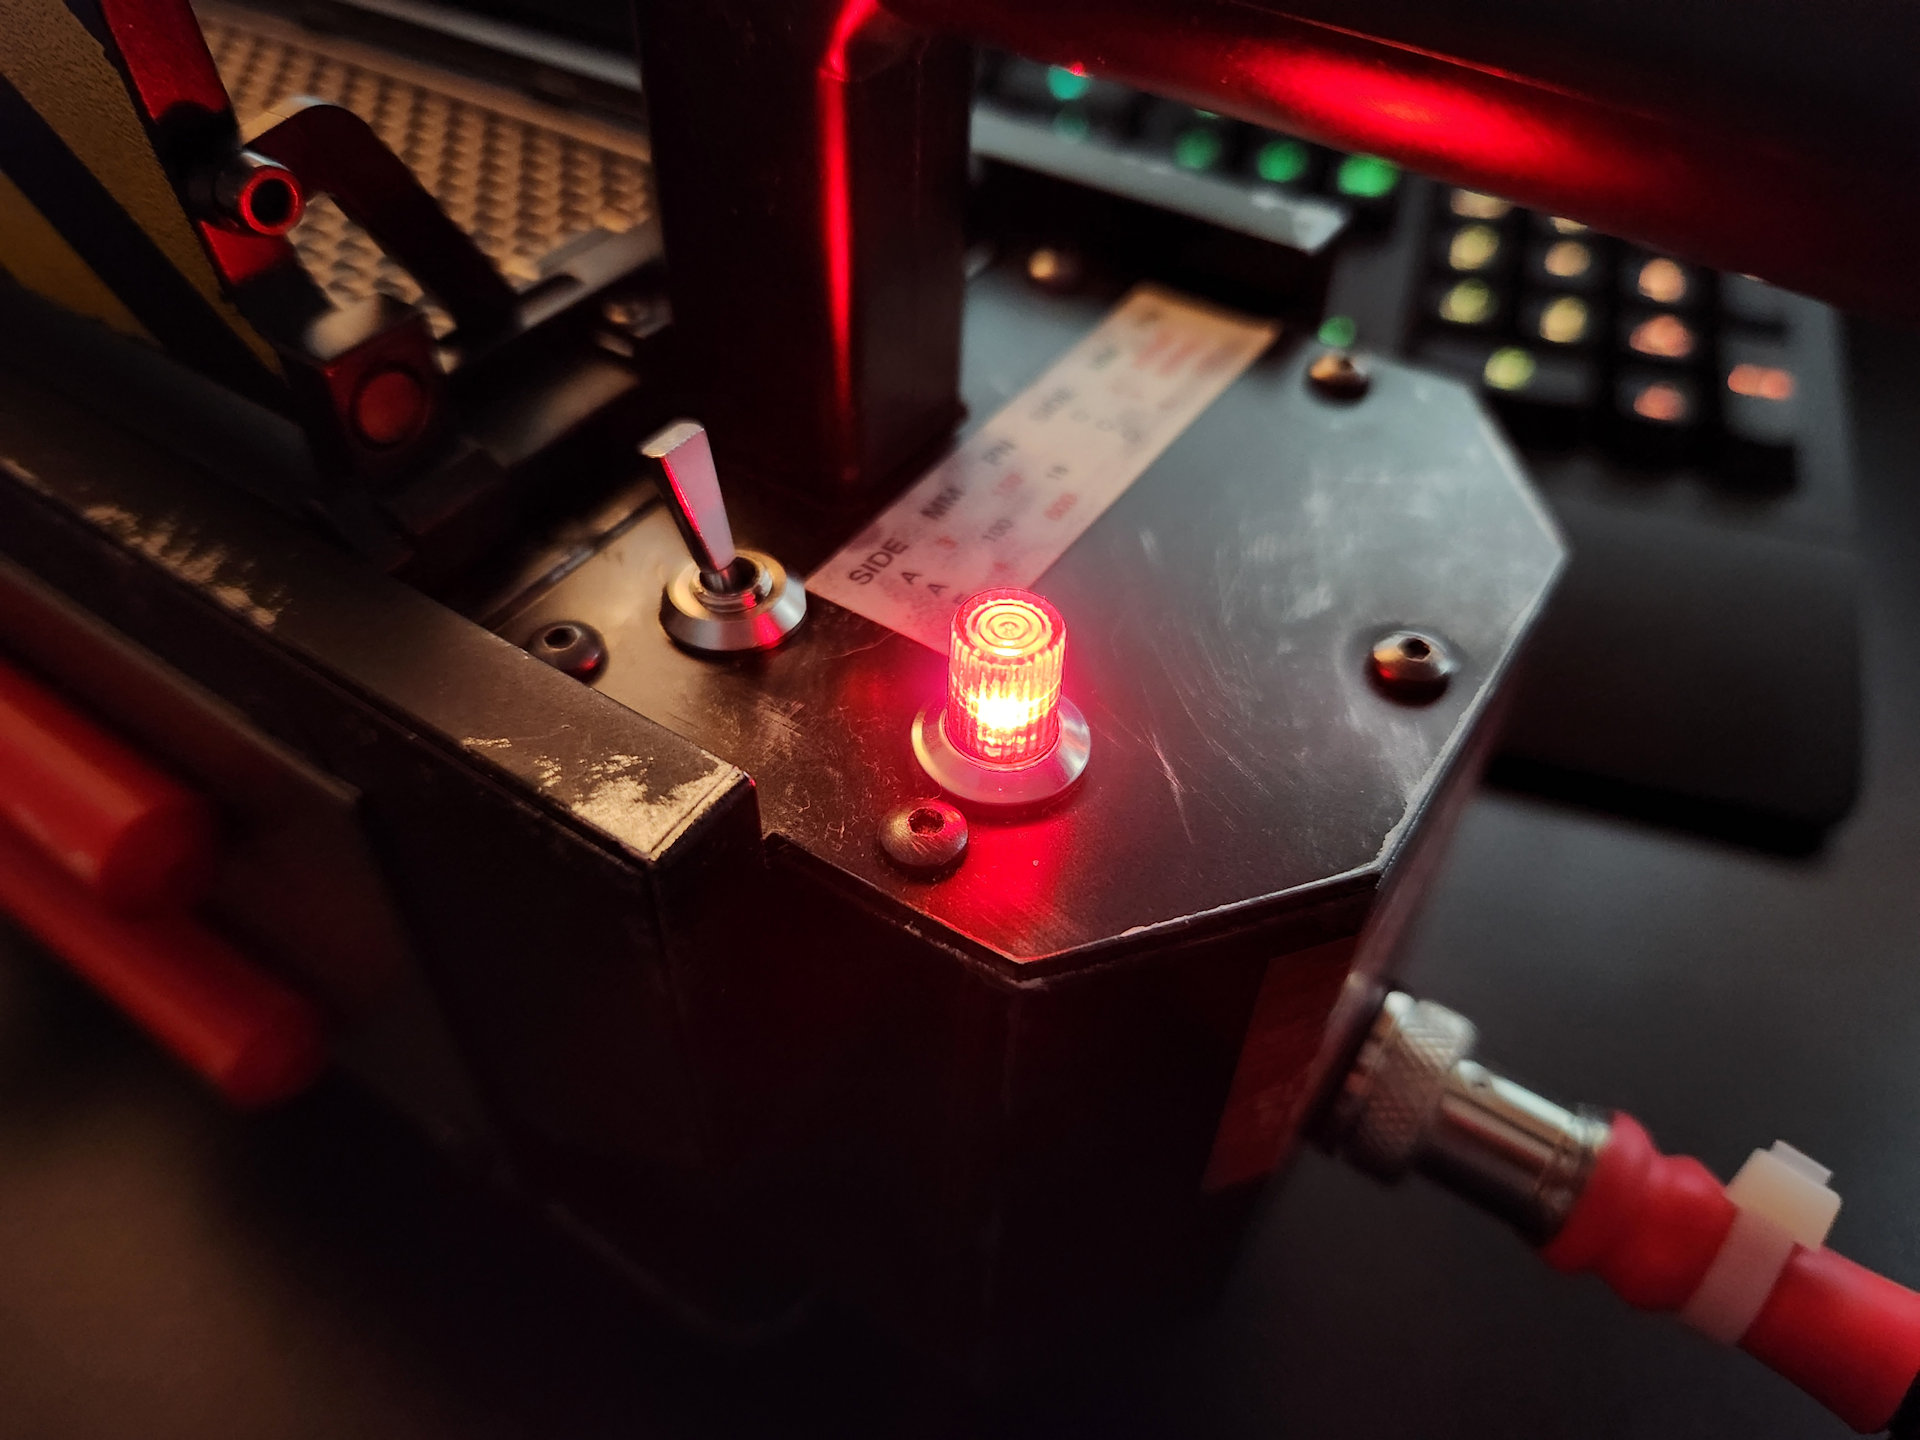
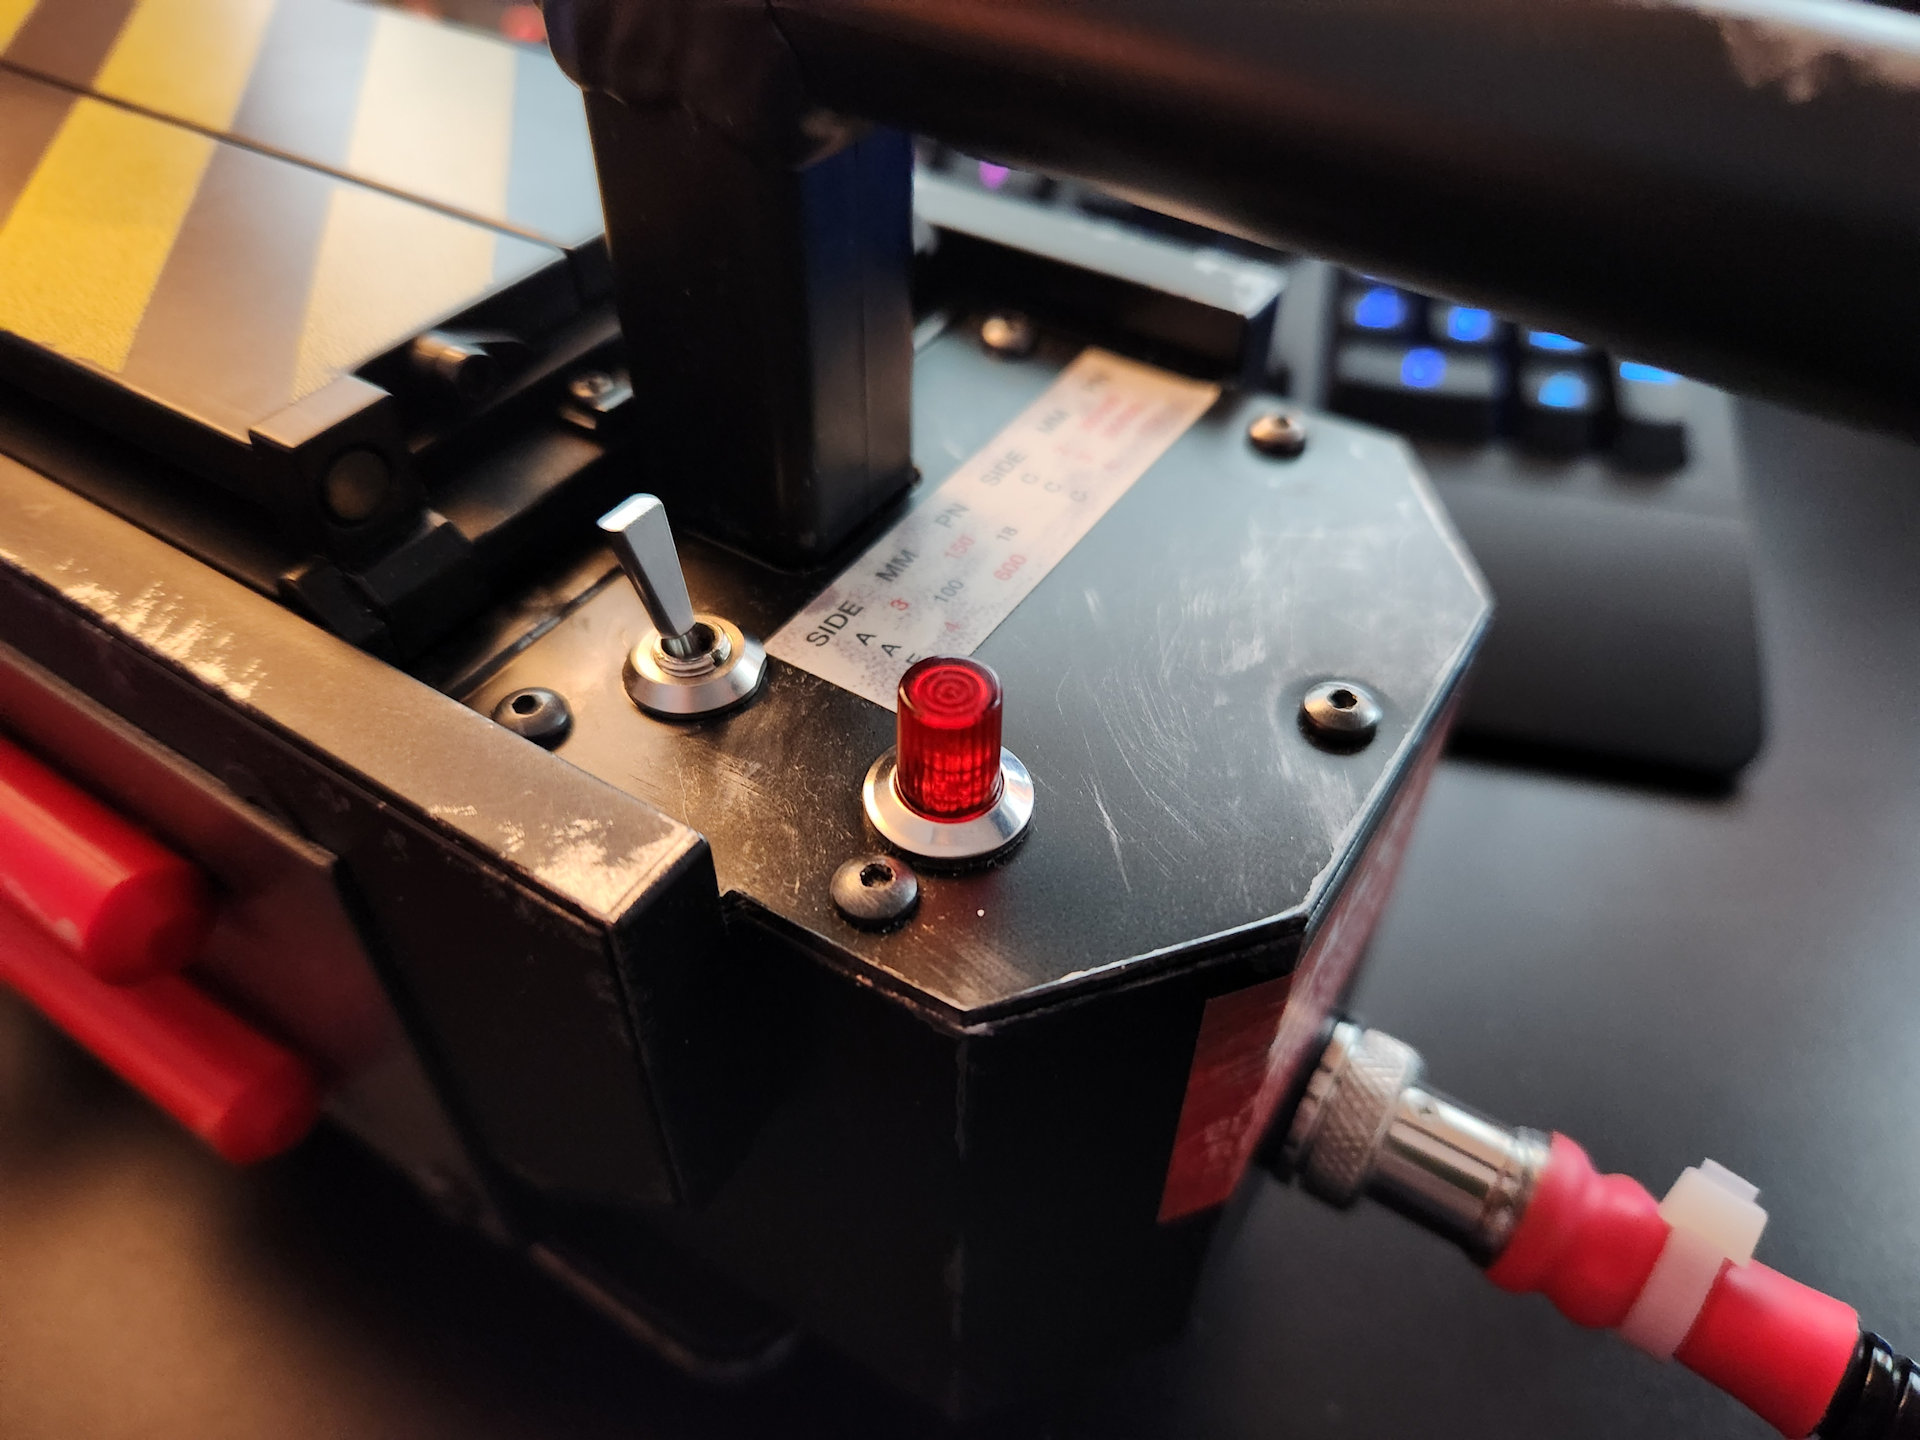
…but then Ghost Lab 42’s LED lens setup has piqued my interest. Even though I had already purchased a few different options for the bar graph, I really liked how Doug’s had the elevated acrylic lens which looks more like the screen used traps. This mod is very easy to do, and makes such a big difference to the trap.
I never liked the sunken LED next to the bar graph , another misstep by Hasbro if you ask me, that should have been included stock. After grabbing most of Doug’s previous mods for the trap, I asked him if he ever thought of creating an LED lens for the trap that would more closely resemble the one seen in all the reference photos of the screen used traps. Within a few days, he had created and printed a fix that looks incredible. The little orange lens even has a black area at the bottom, which makes it look even more realistic. You do have to enlarge the stock hole just a bit, but it was super easy. I added just a bit of super glue to hold it in place and the end result is pretty cool.
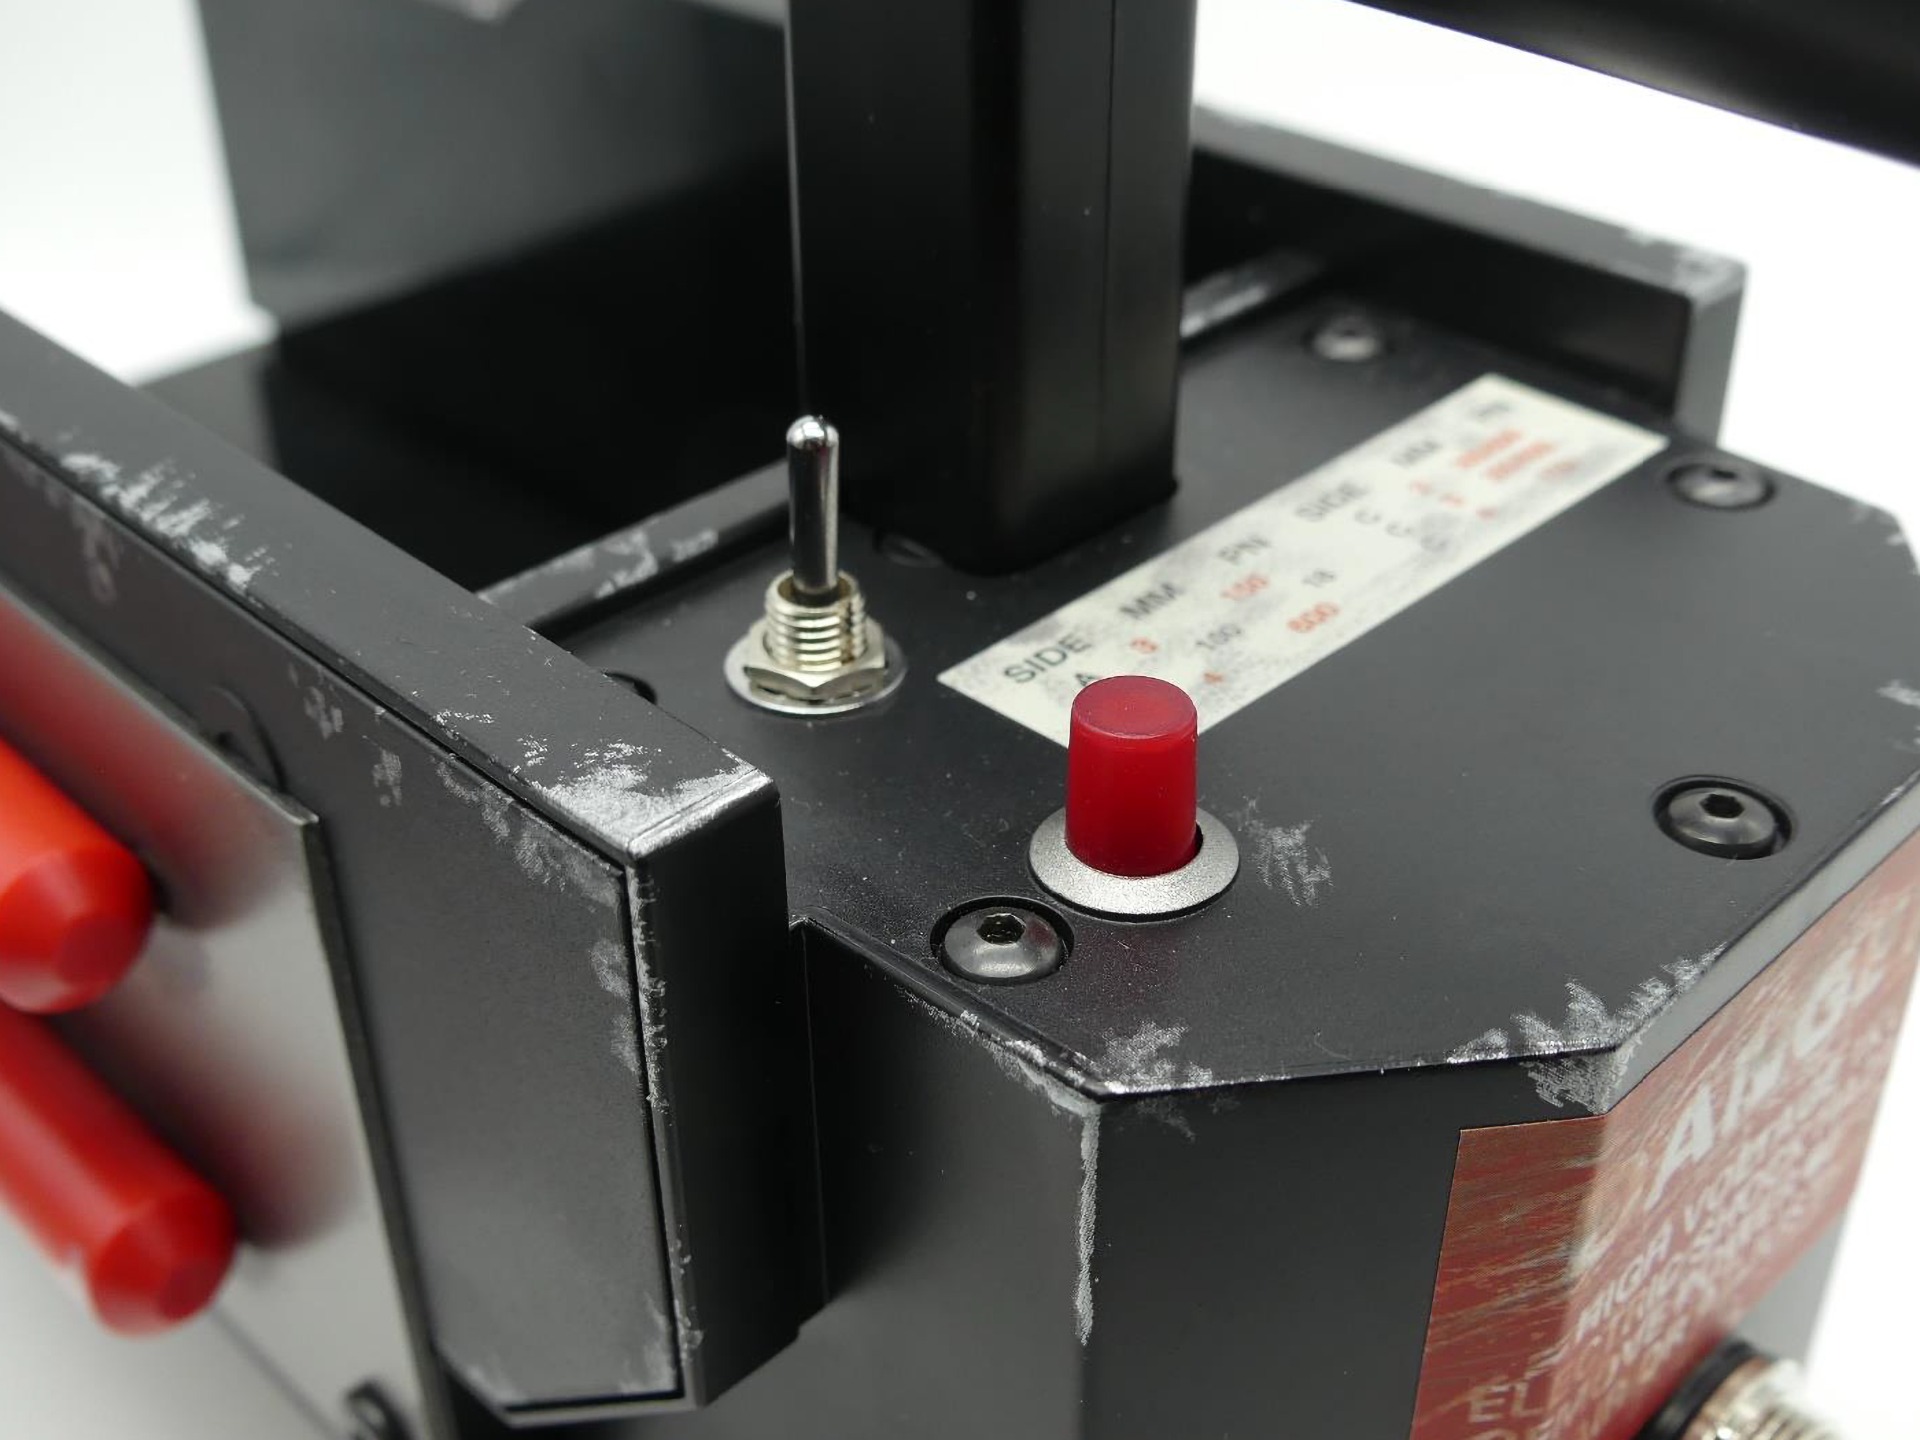
The “Plug-n-Play Accurate Switch and Indicator”, which replaces the switch and light to a more movie correct look.. I was a little hesitant to do this mod because I had to drill and Dremel some of the plastic to install the board. To my surprise, it was so easy to install, took only a few minutes of grinding, and it looks incredible!
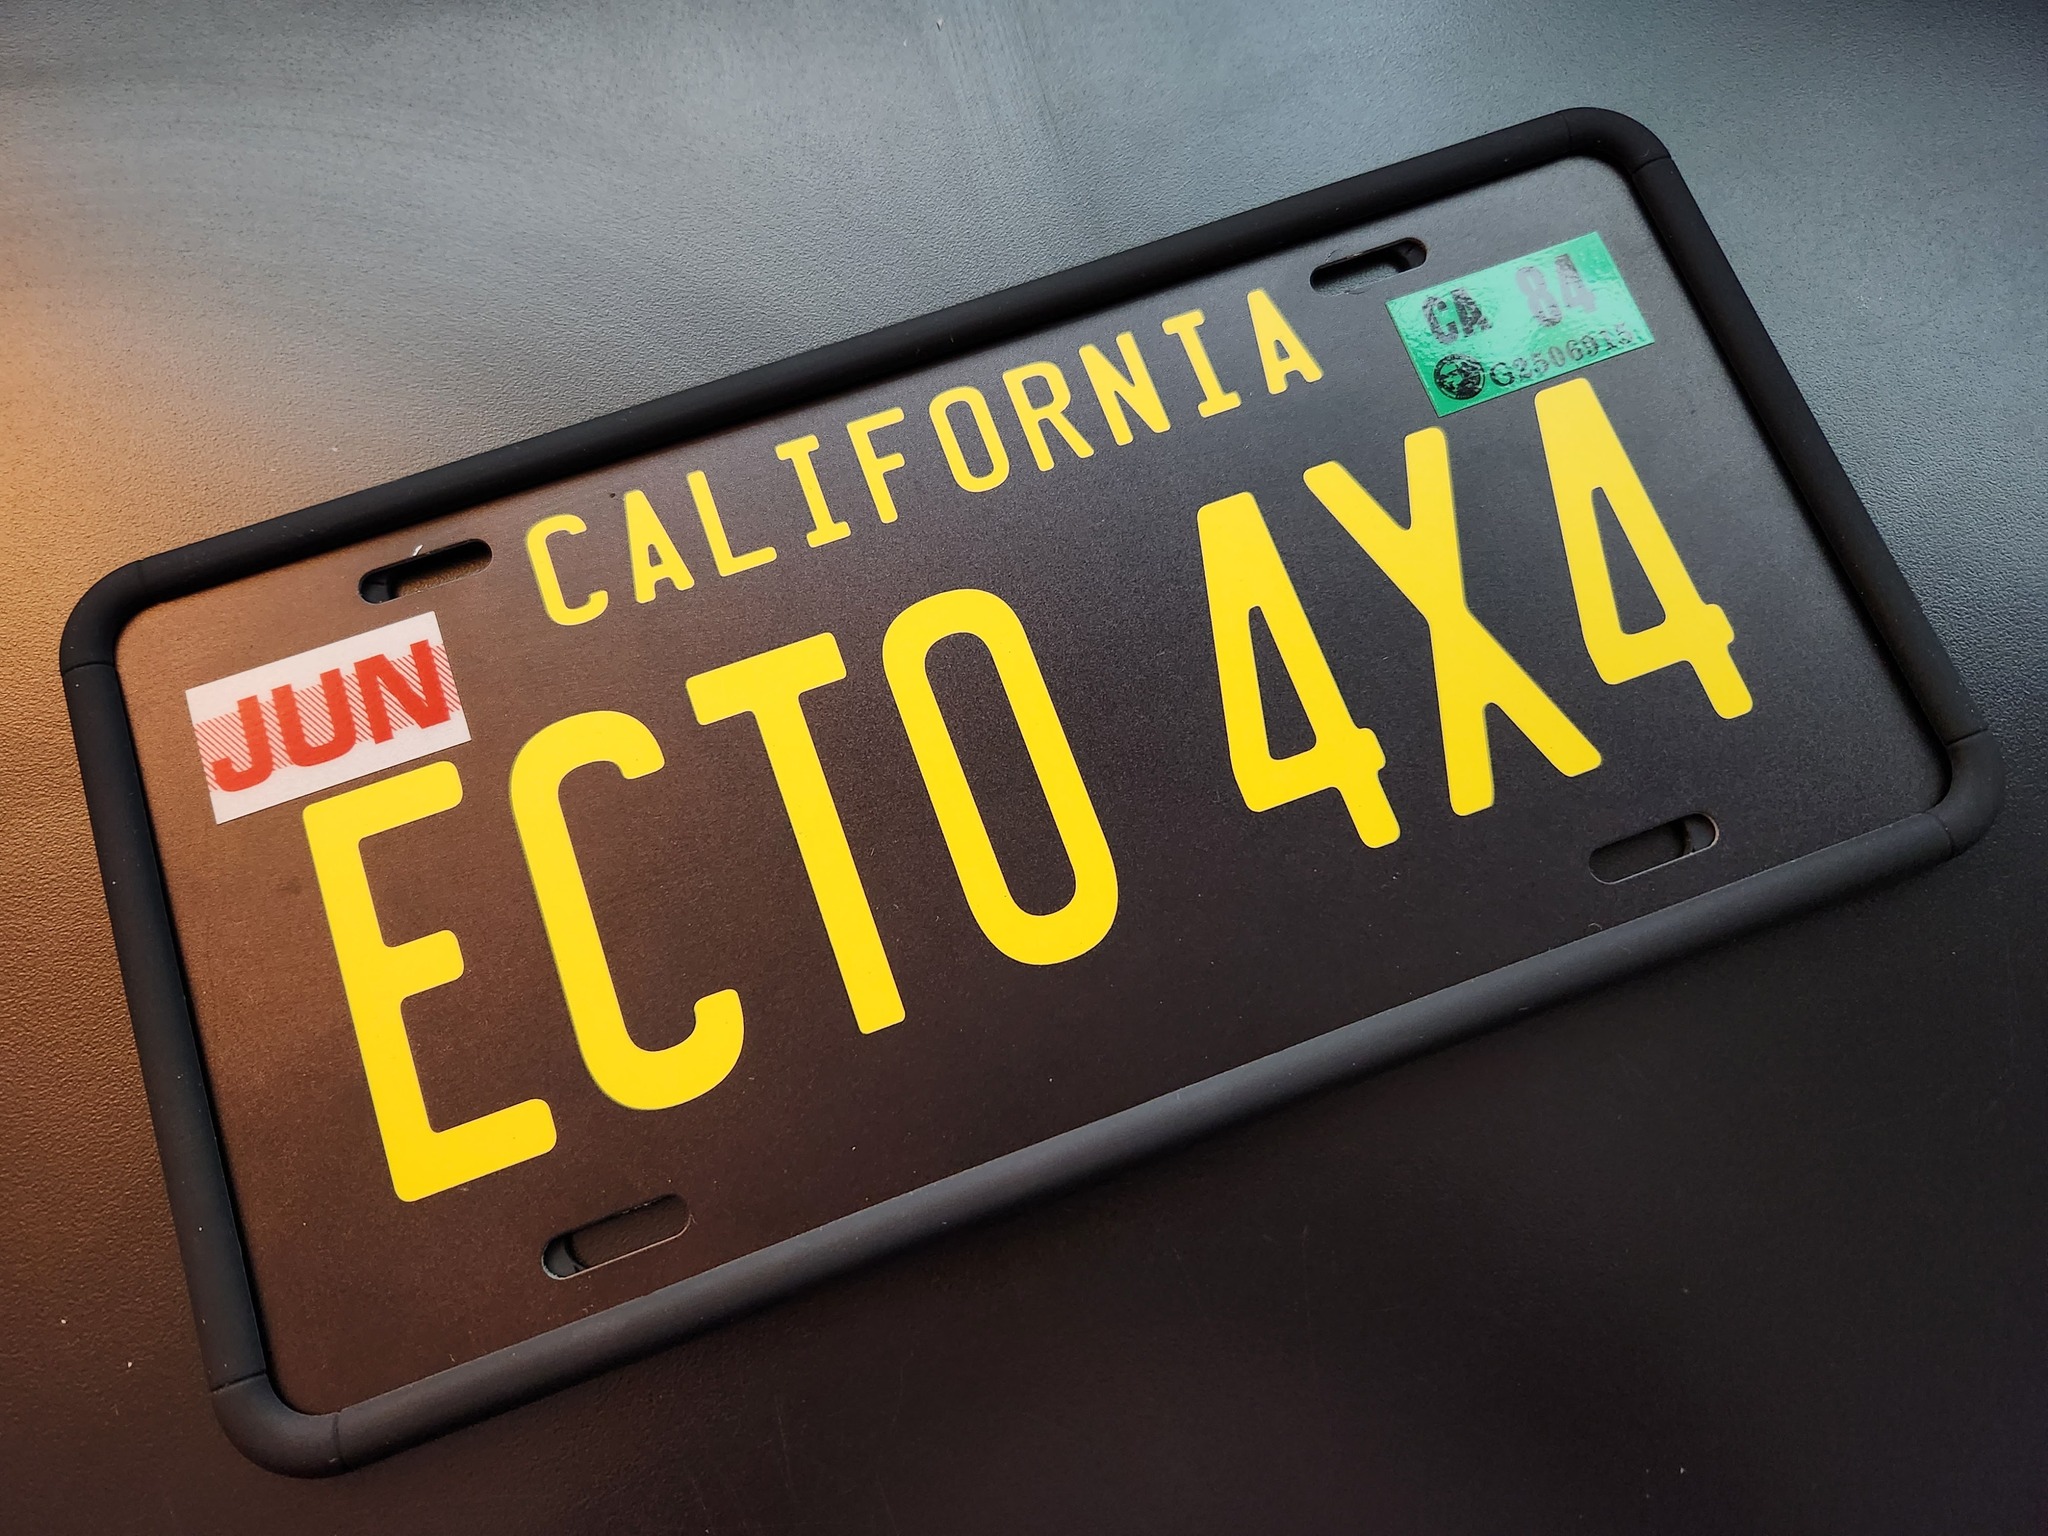
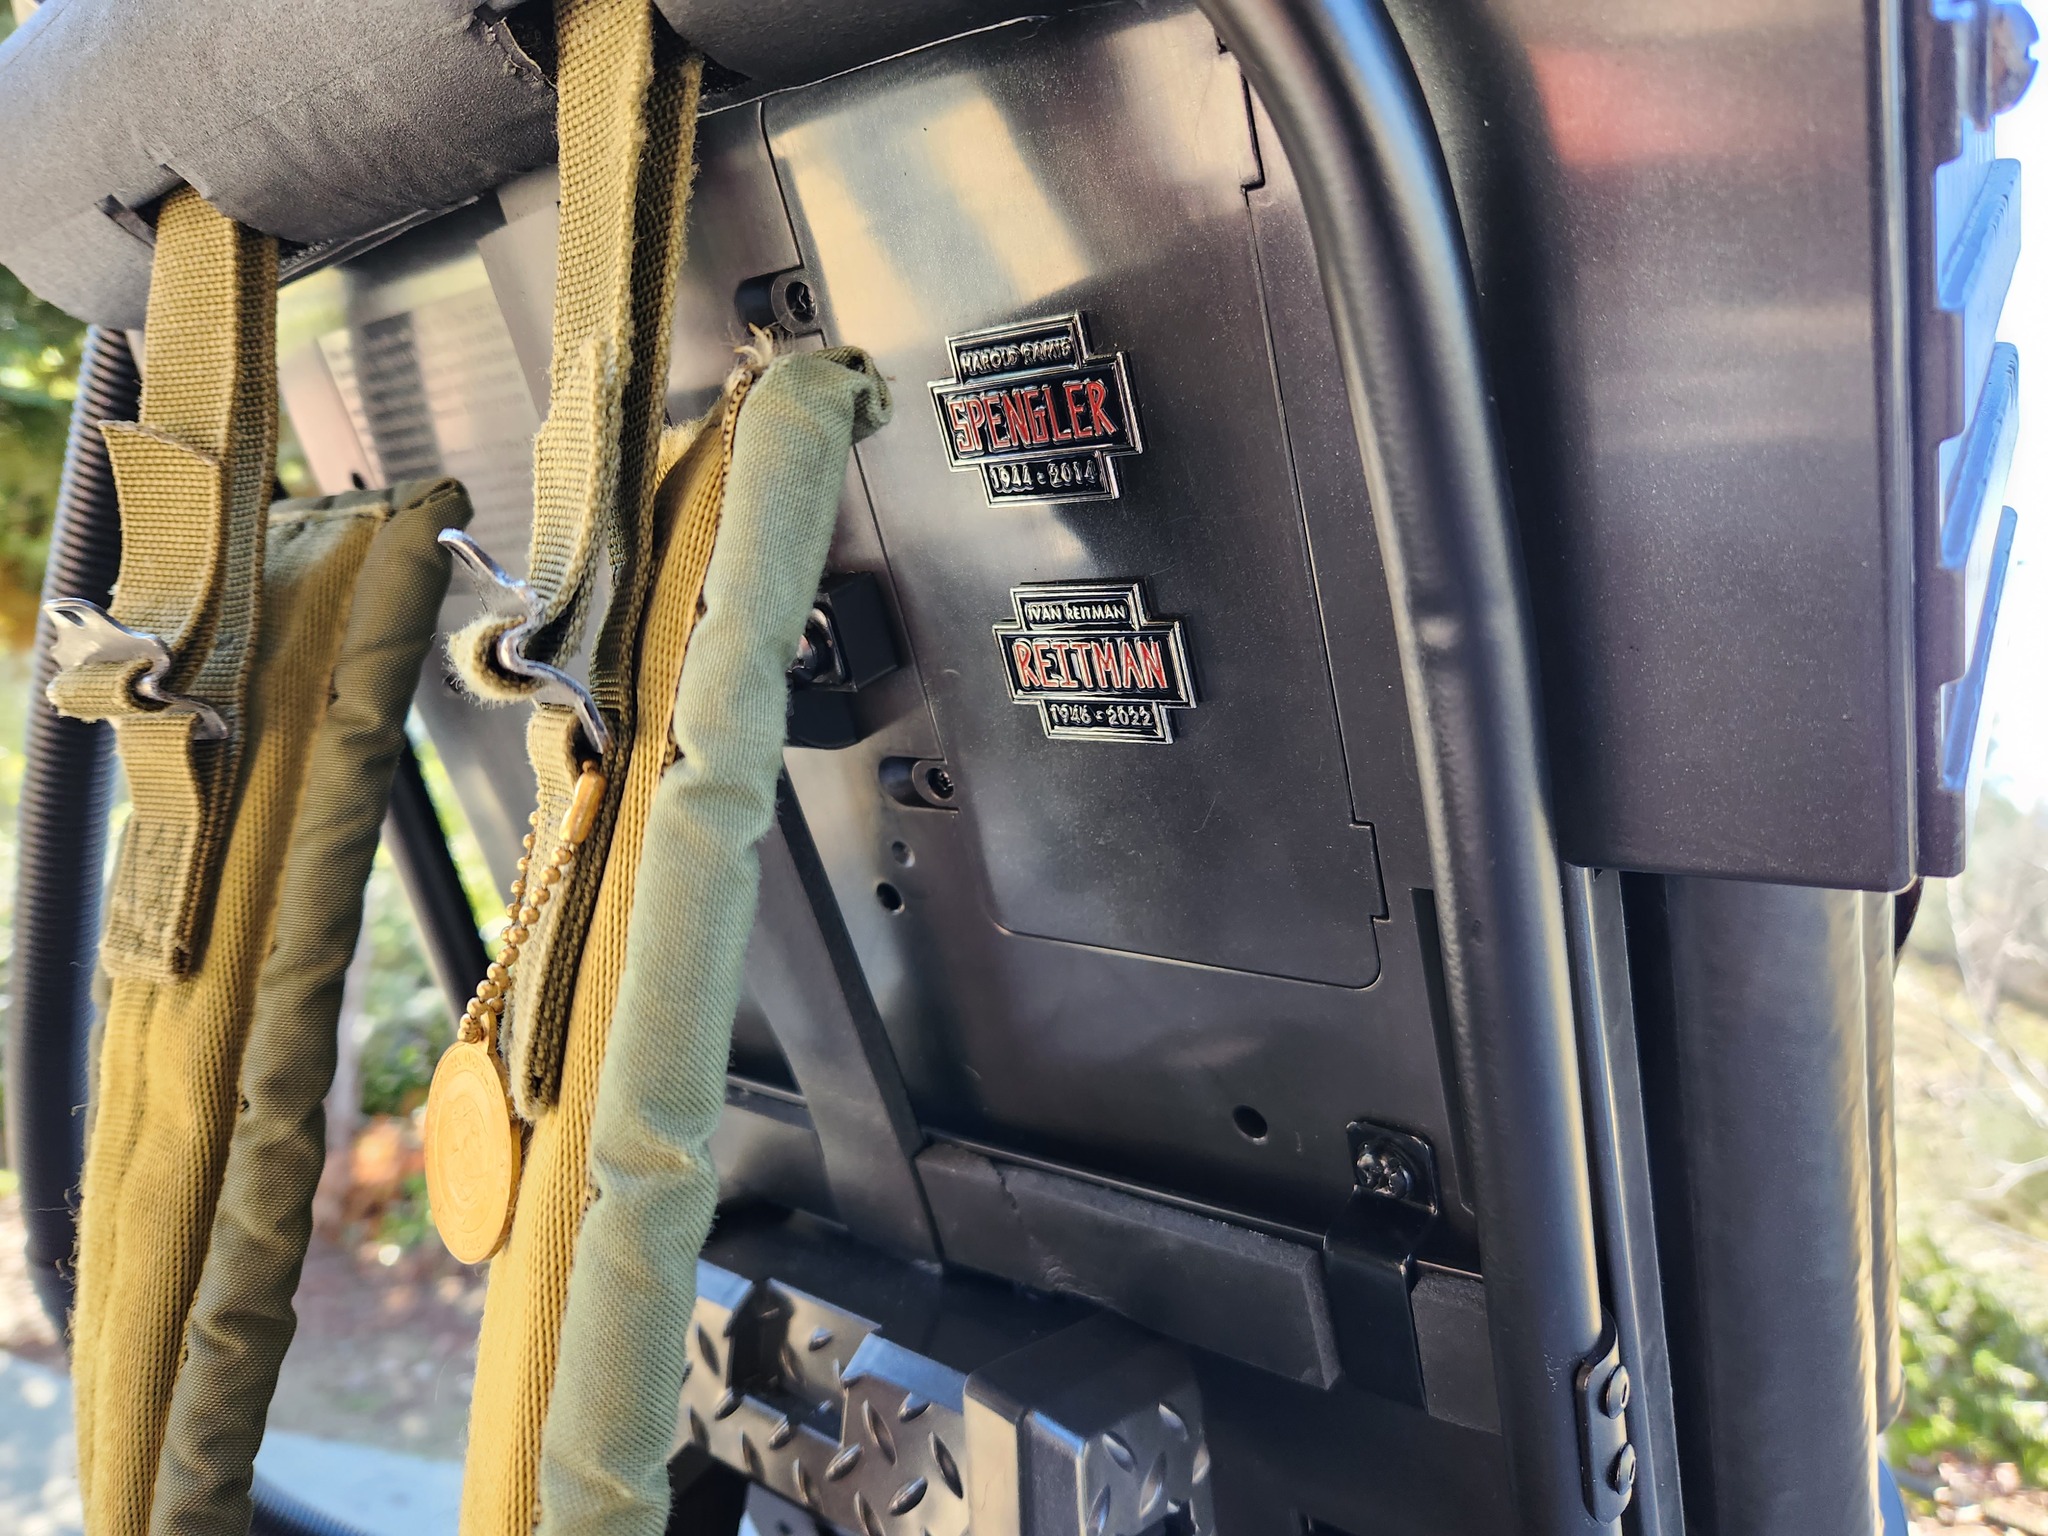
I also did the “HasLab Rear Plate Upgrade” from CharlesworthDynamics. This brings just a little more realism to the trap as it now matches other screen used traps. It also made it easier when installing the new hat light, as I didn’t have to grind down the little bezel left from the original light.
Doug at Ghost Lab 42 does not disappoint. I have purchased most everything he made for the Spirit 80% pack, and they are all top notch and are still going strong after all these years.
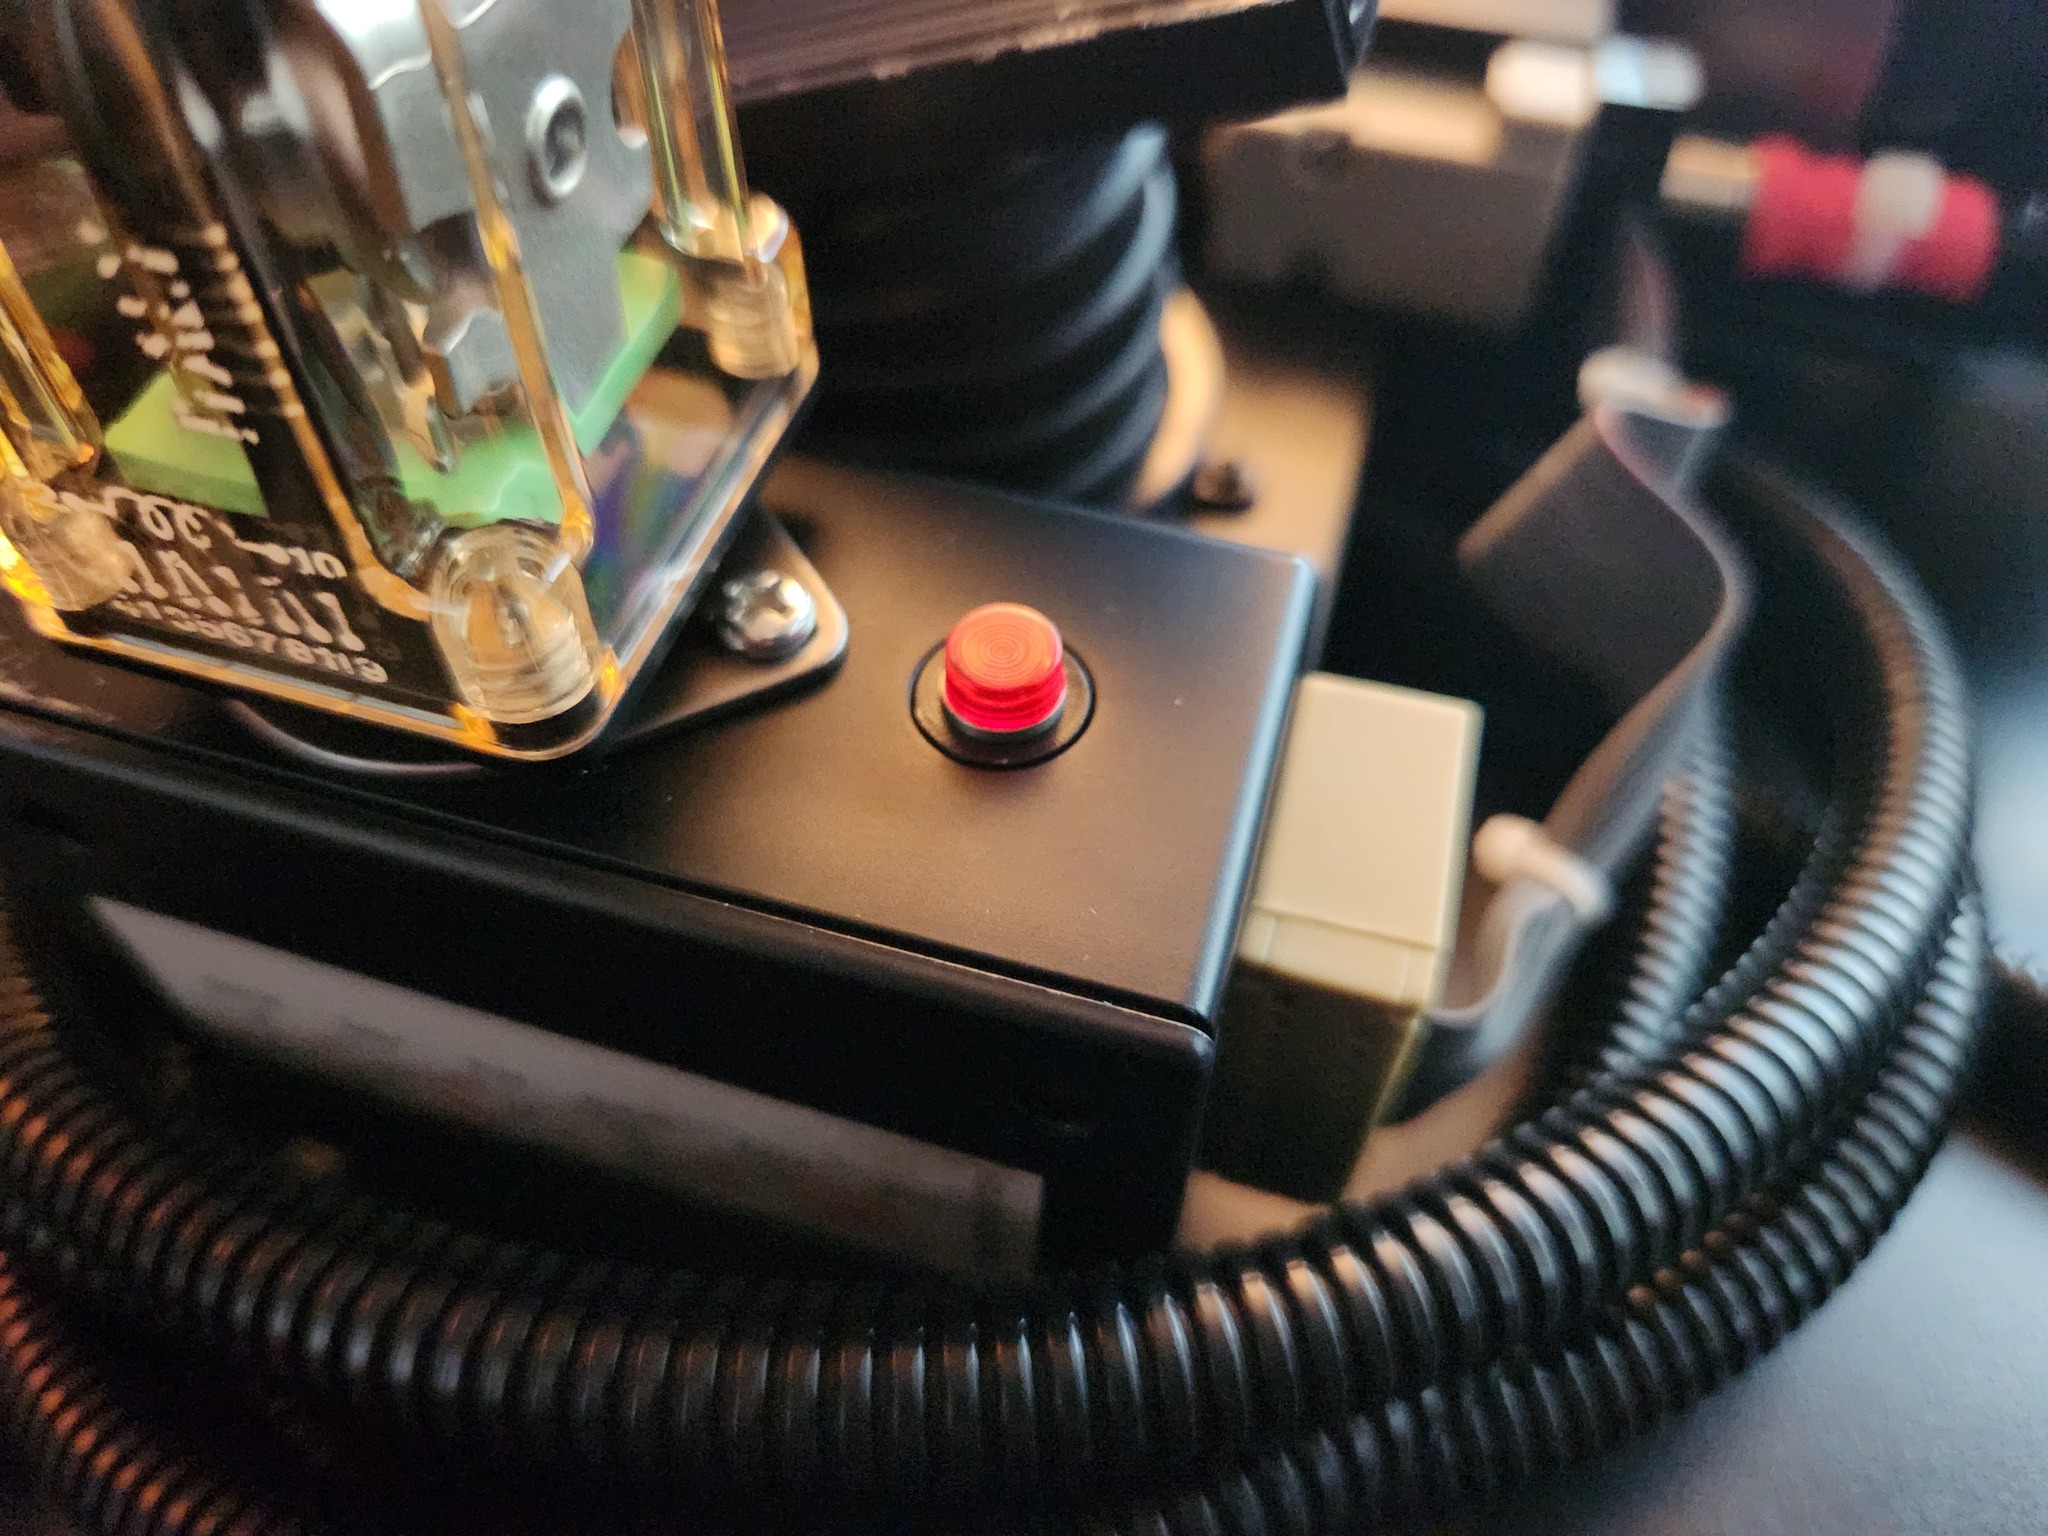
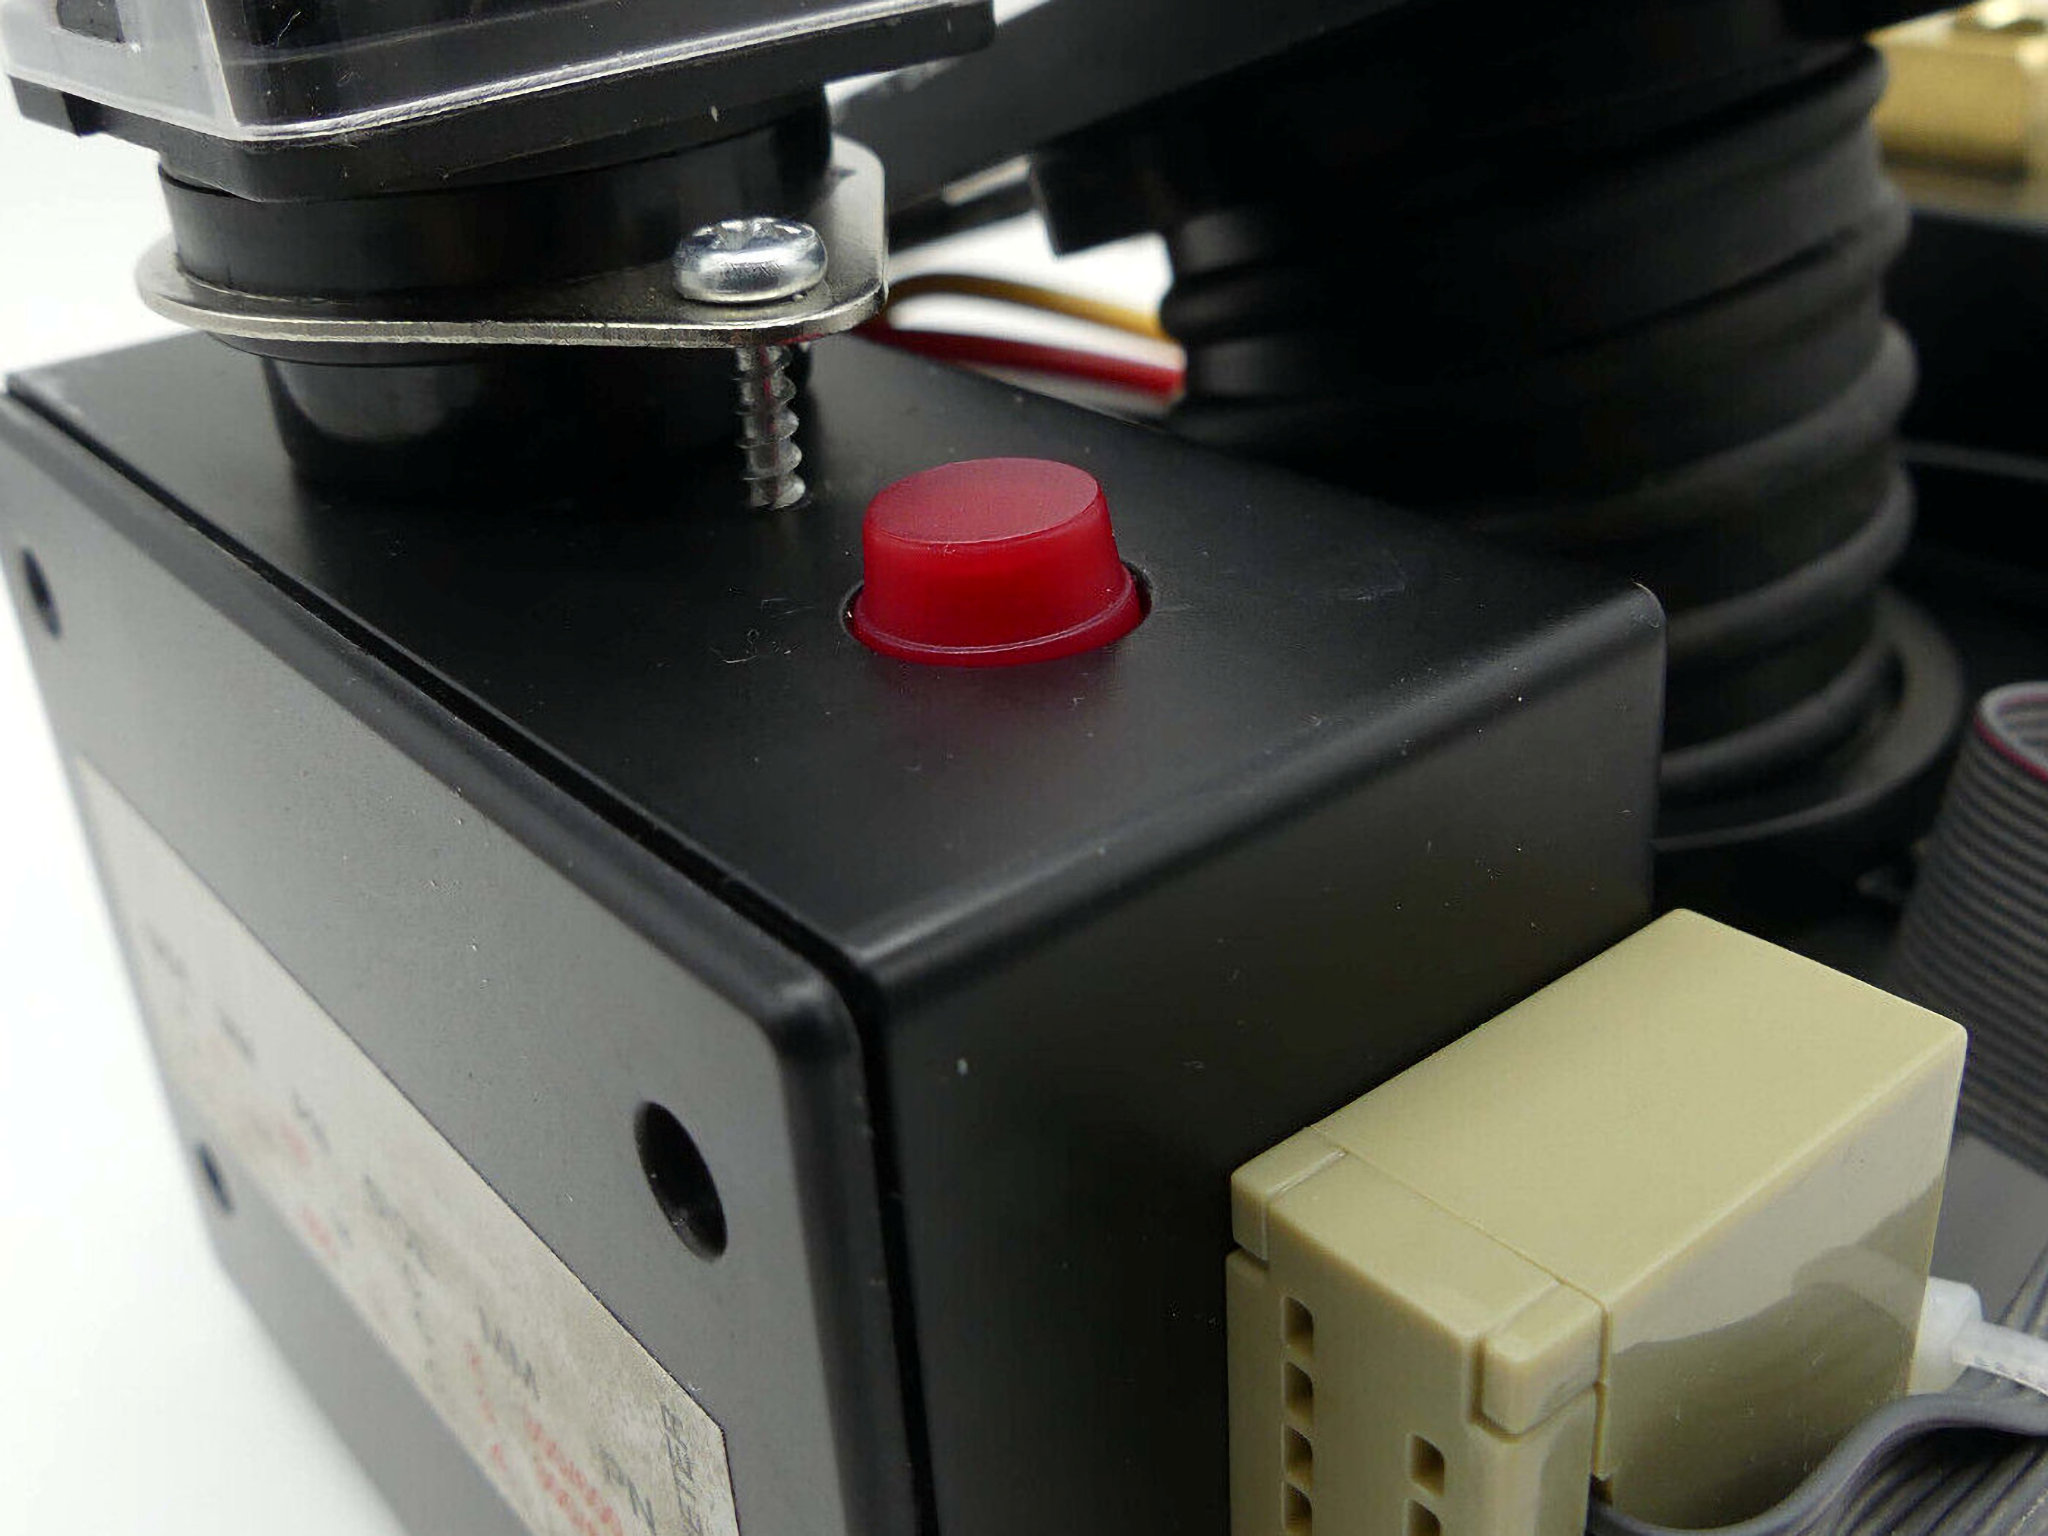
His latest trap parts are awesome. I’ve only installed the trap pedal light so far but dang, this thing looks and works better than the stock LED. Actually, one of my pedals had a bad LED that would barely light up, Doug’s option bypassed the problem and saved me the trouble of sending it into Hasbro and waiting for a replacement.
This thing looks great when not lit and incredible and bright when the power hits!
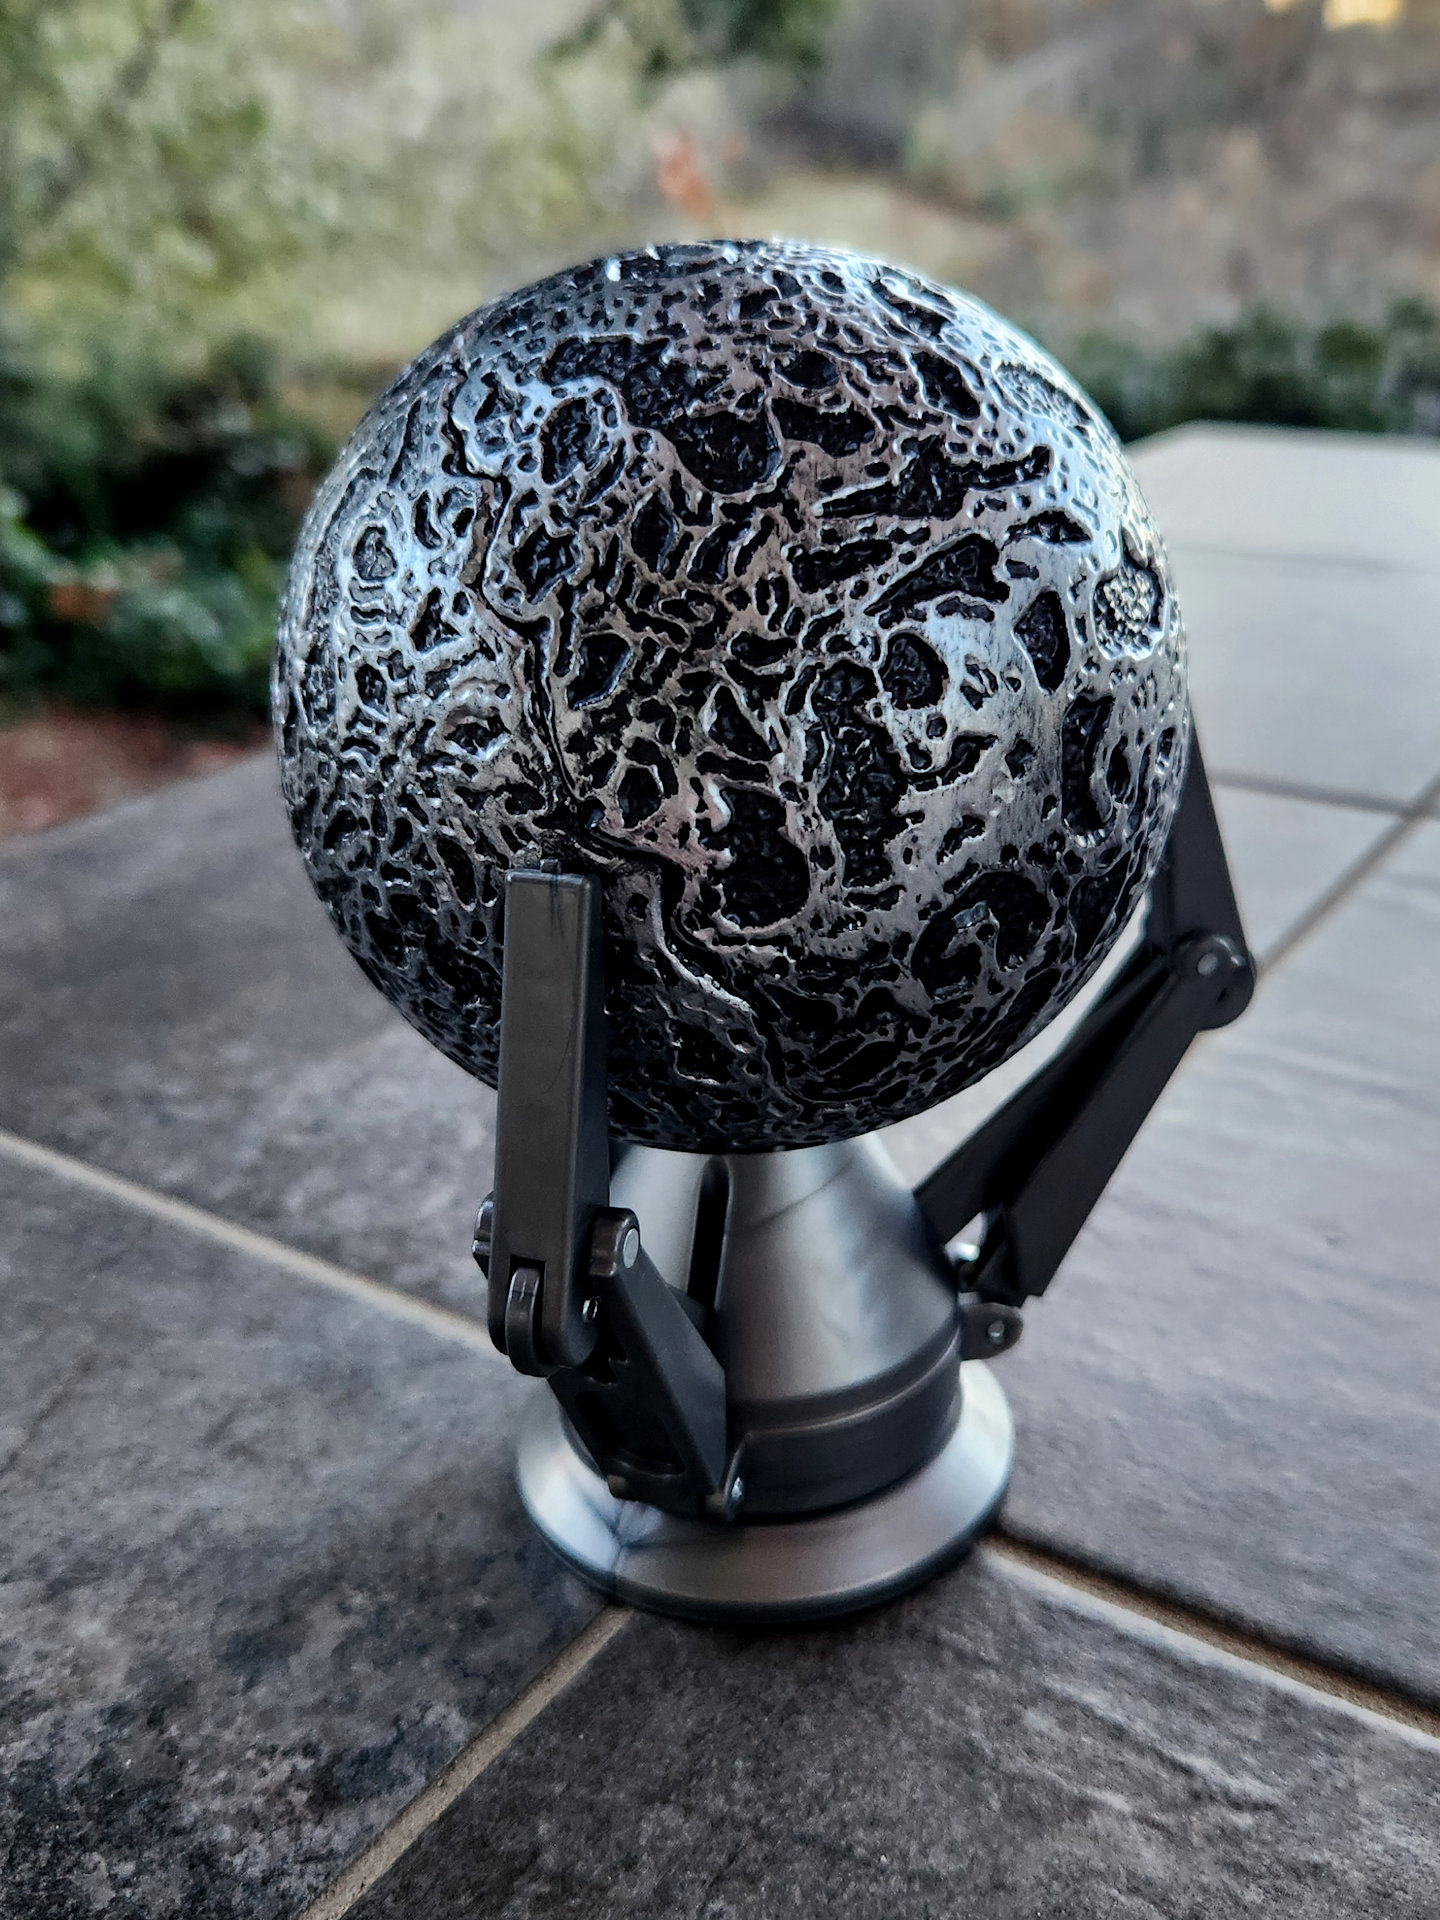
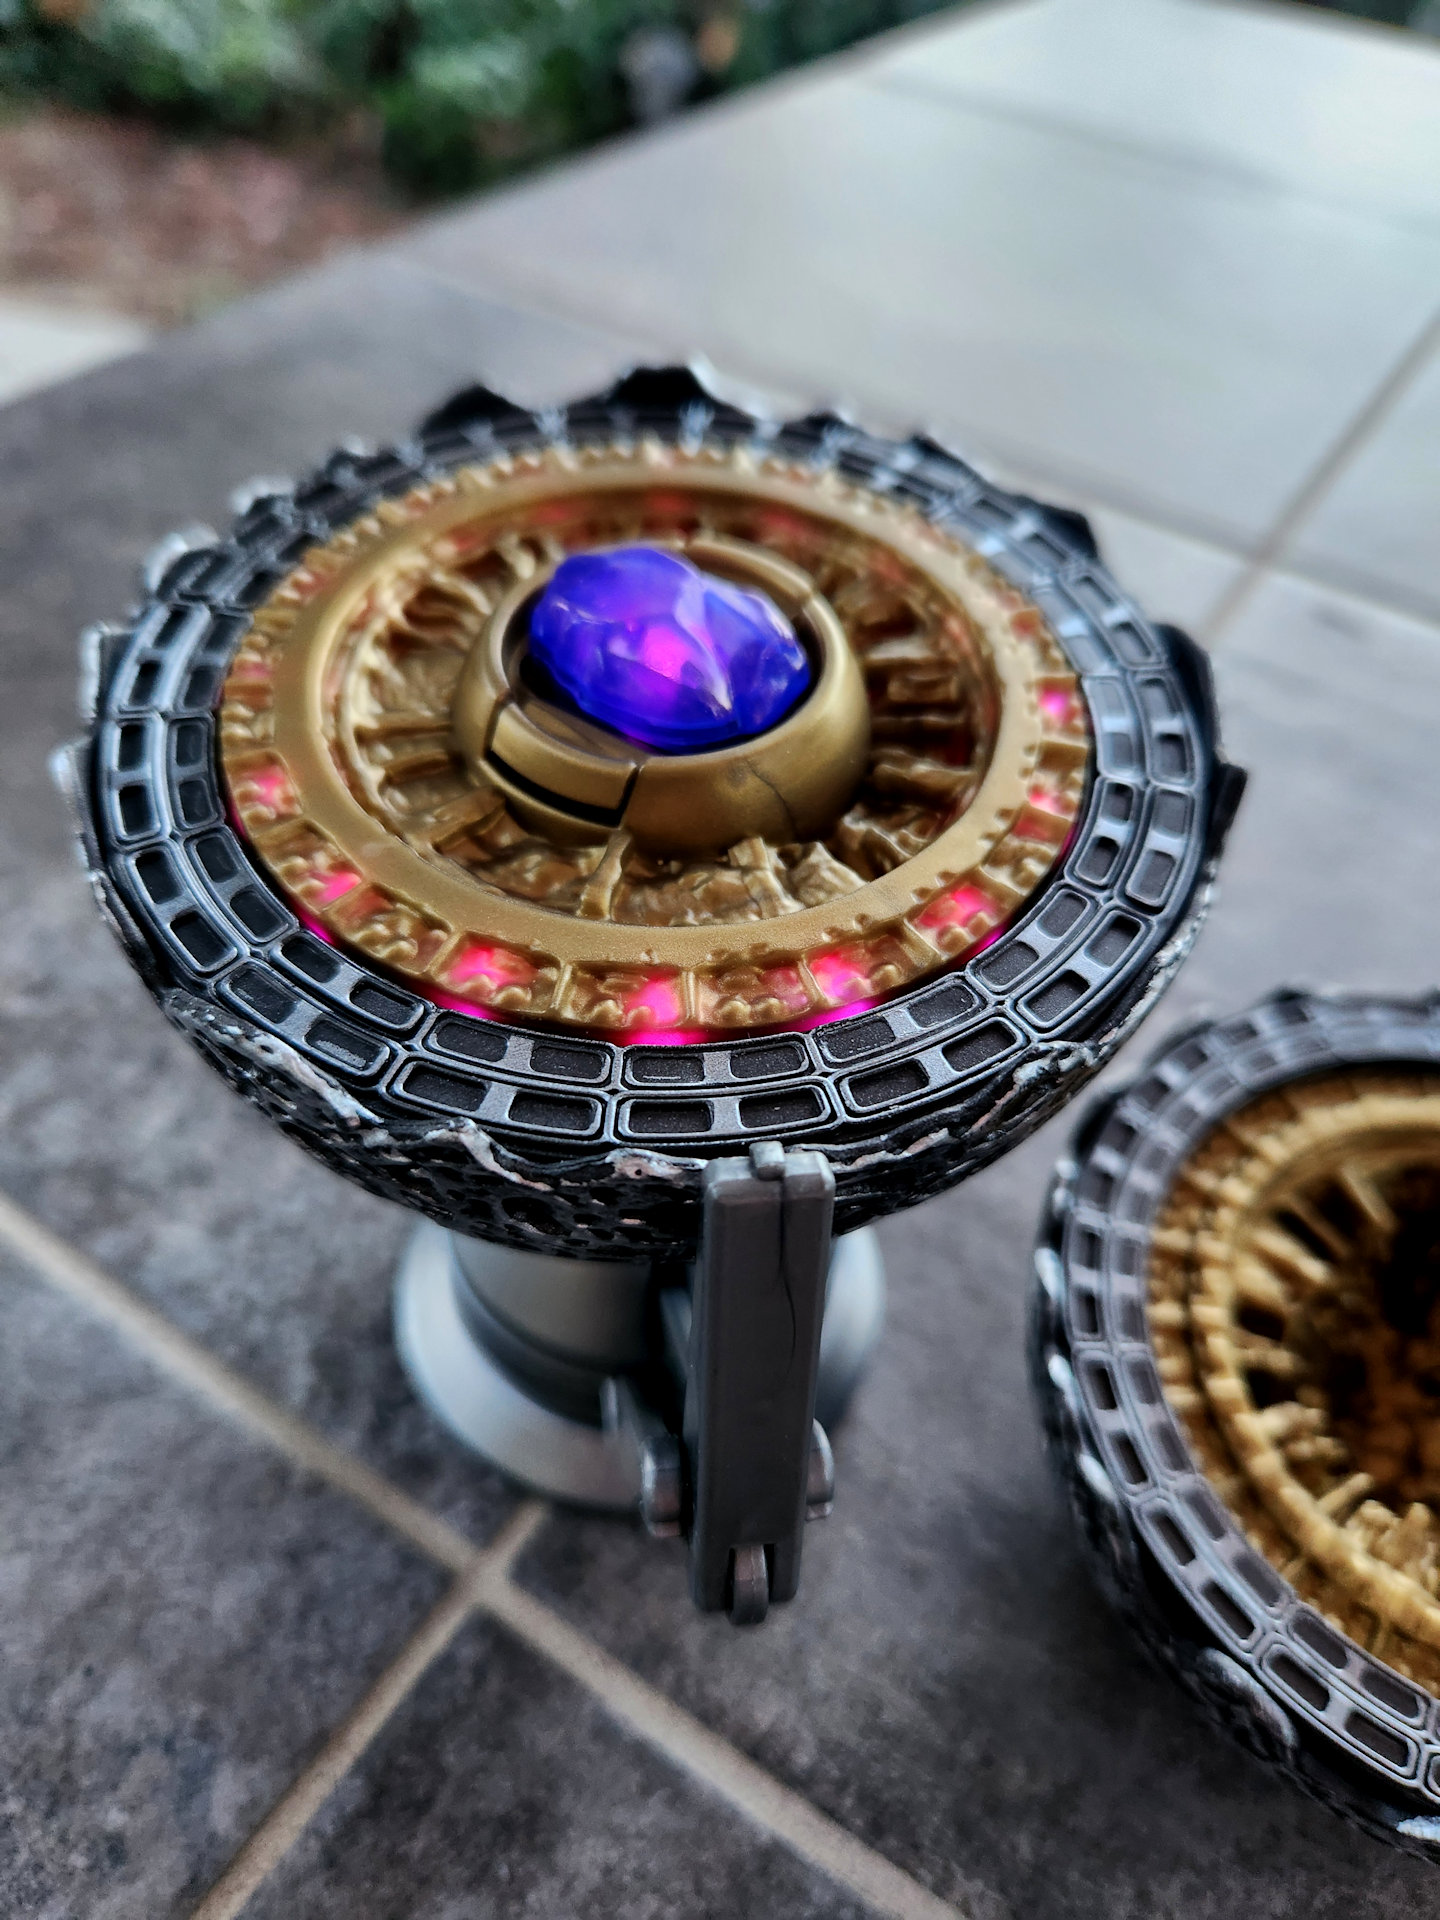
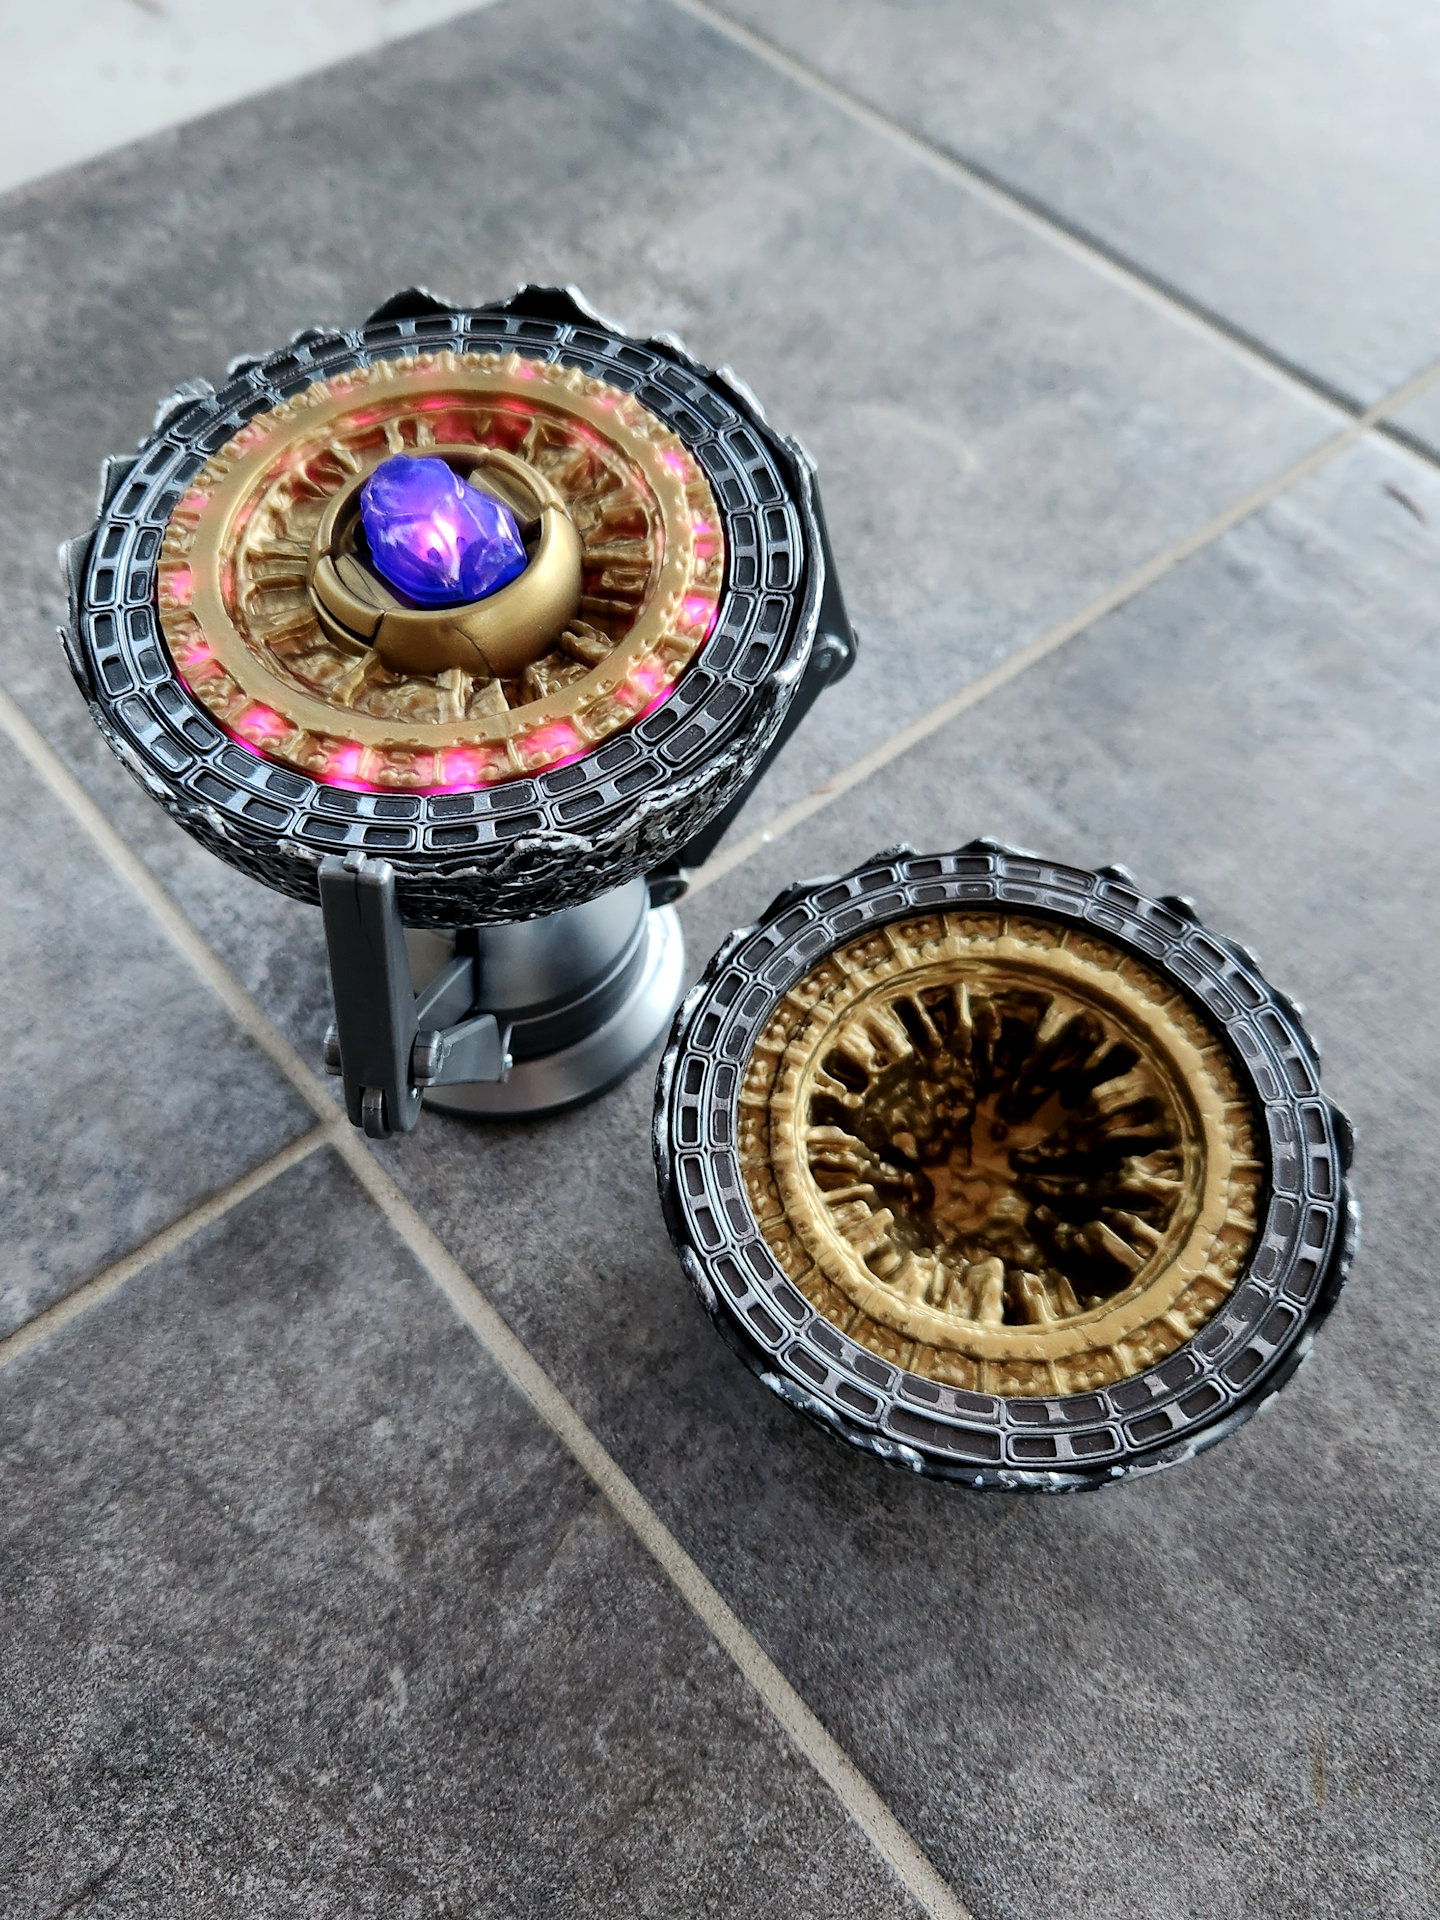
The Guardians of the Galaxy is my favorite storyline of the MCU, and I’ve always wanted to own the orb from the first movie. Thanks to my oldest daughter for making that happen. This thing is pretty cool and actually has a metal shell, along with lights, sounds and even a rumble motor inside. The stone can be removed and placed in other items that available from the movies. Each stone reacts differently when set into the other items to match the stone’s powers. They really made these things special and now of course I want them all.
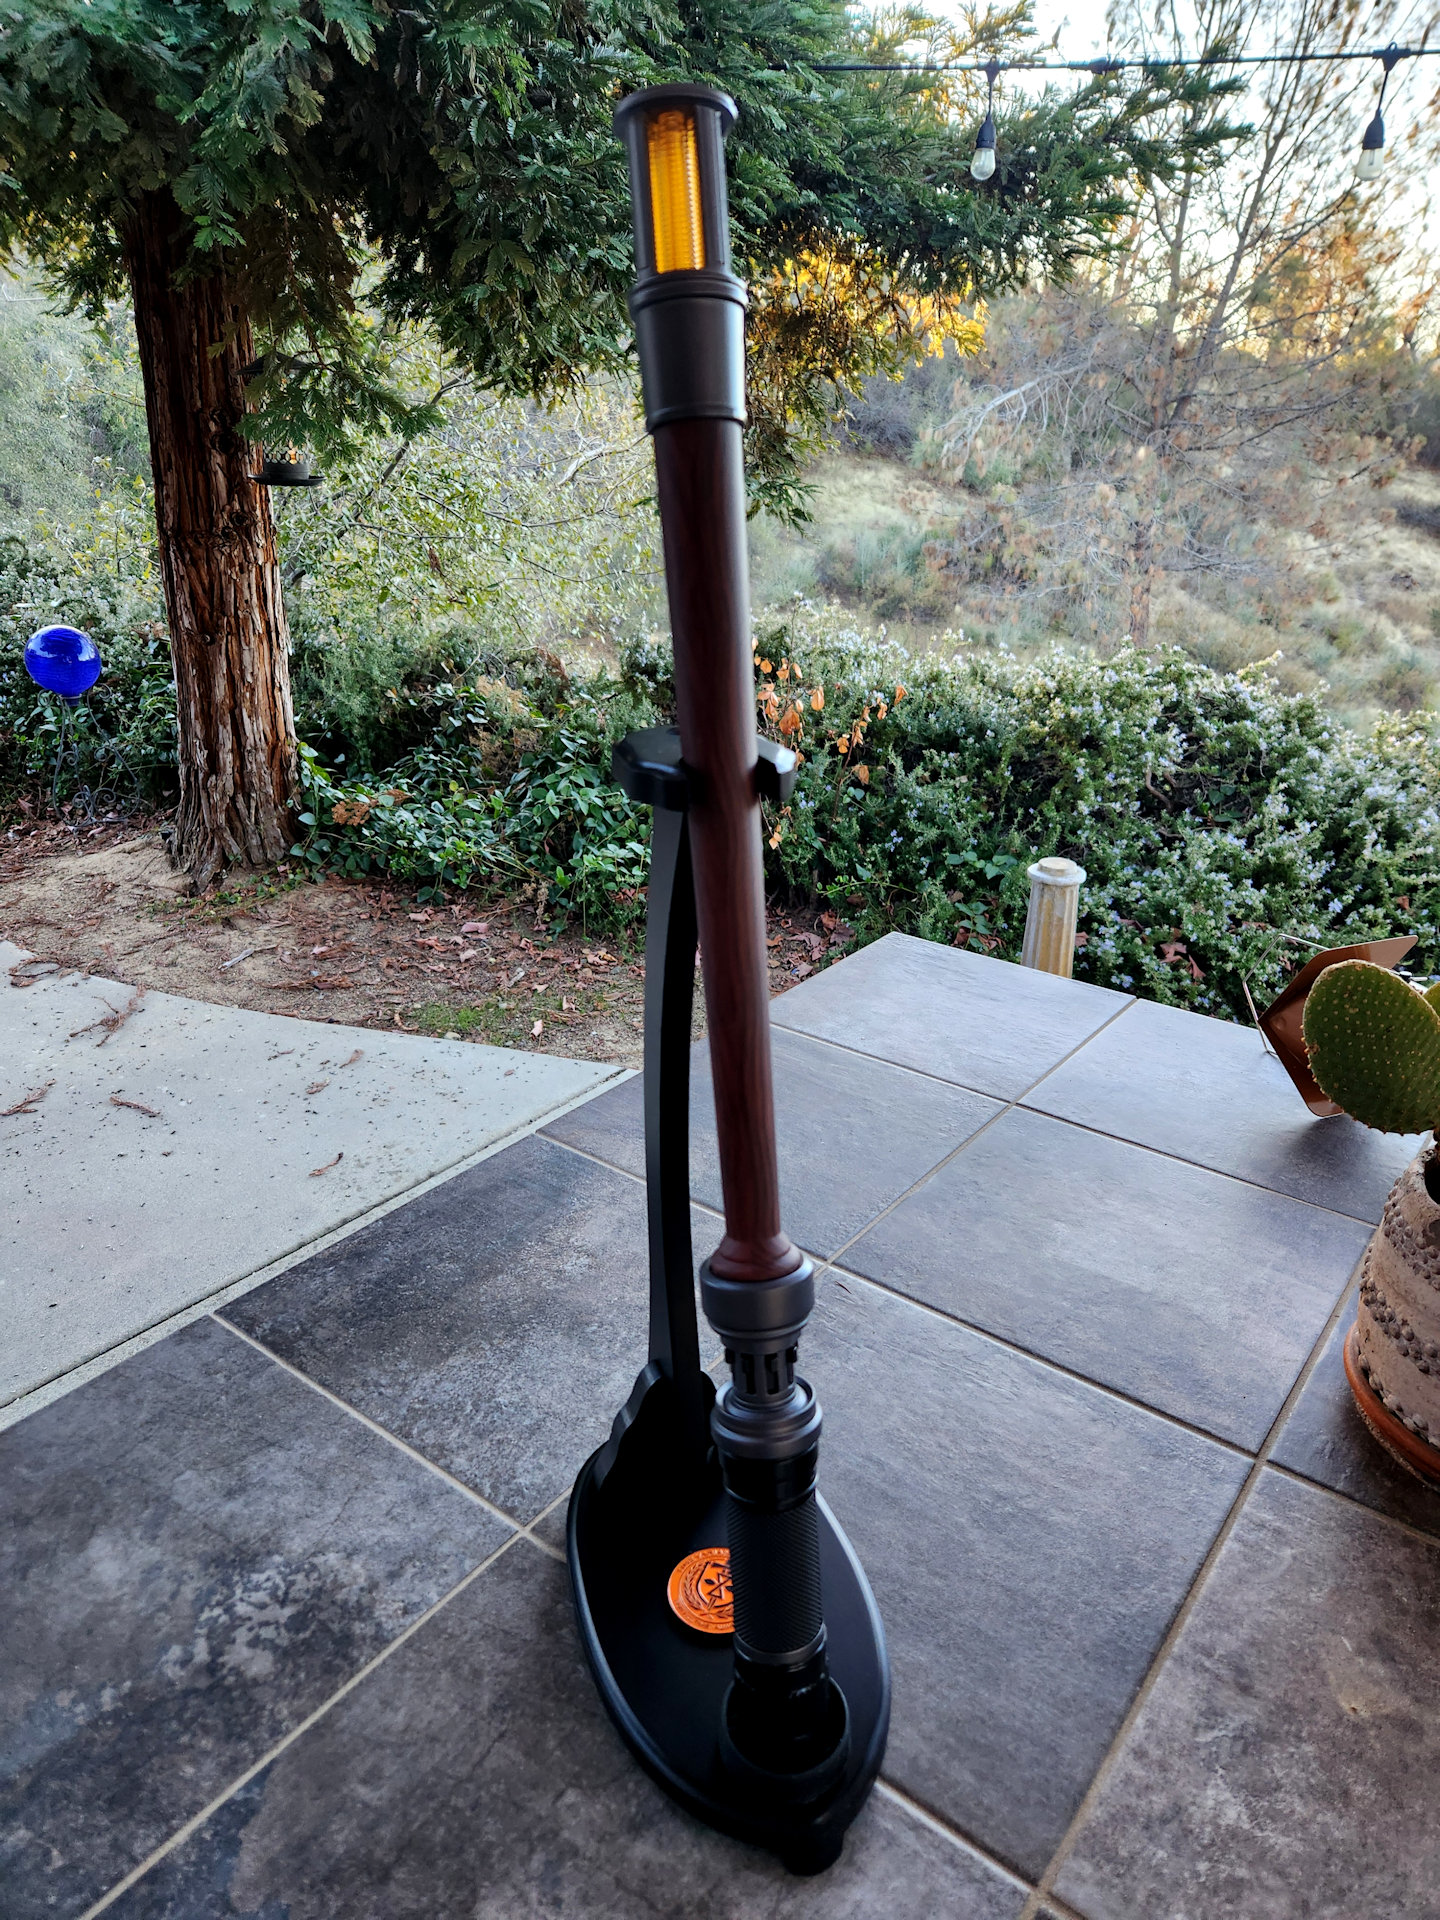
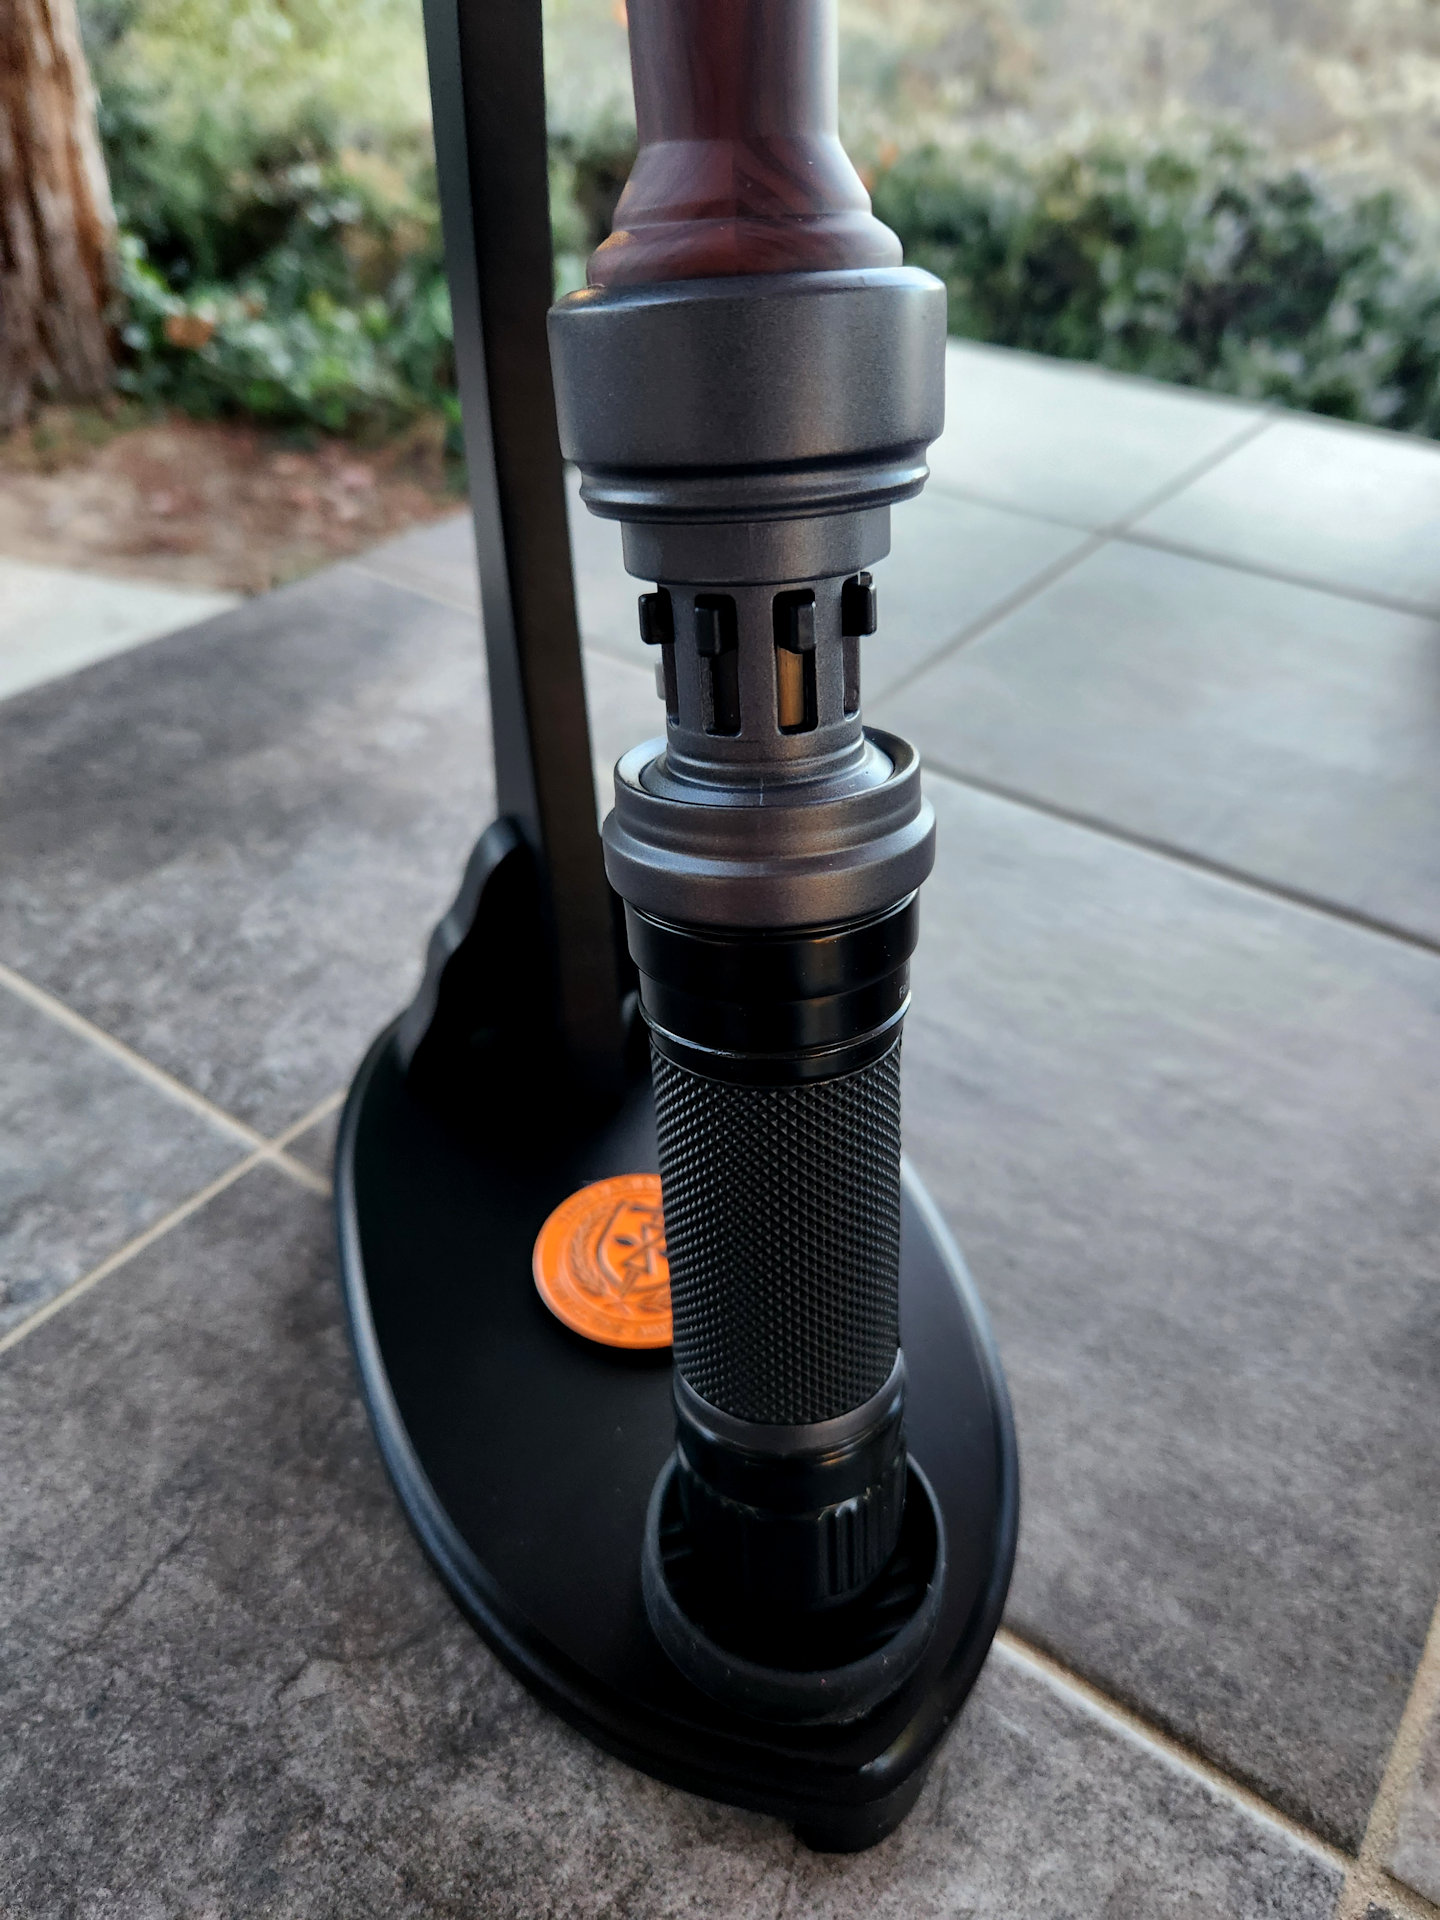
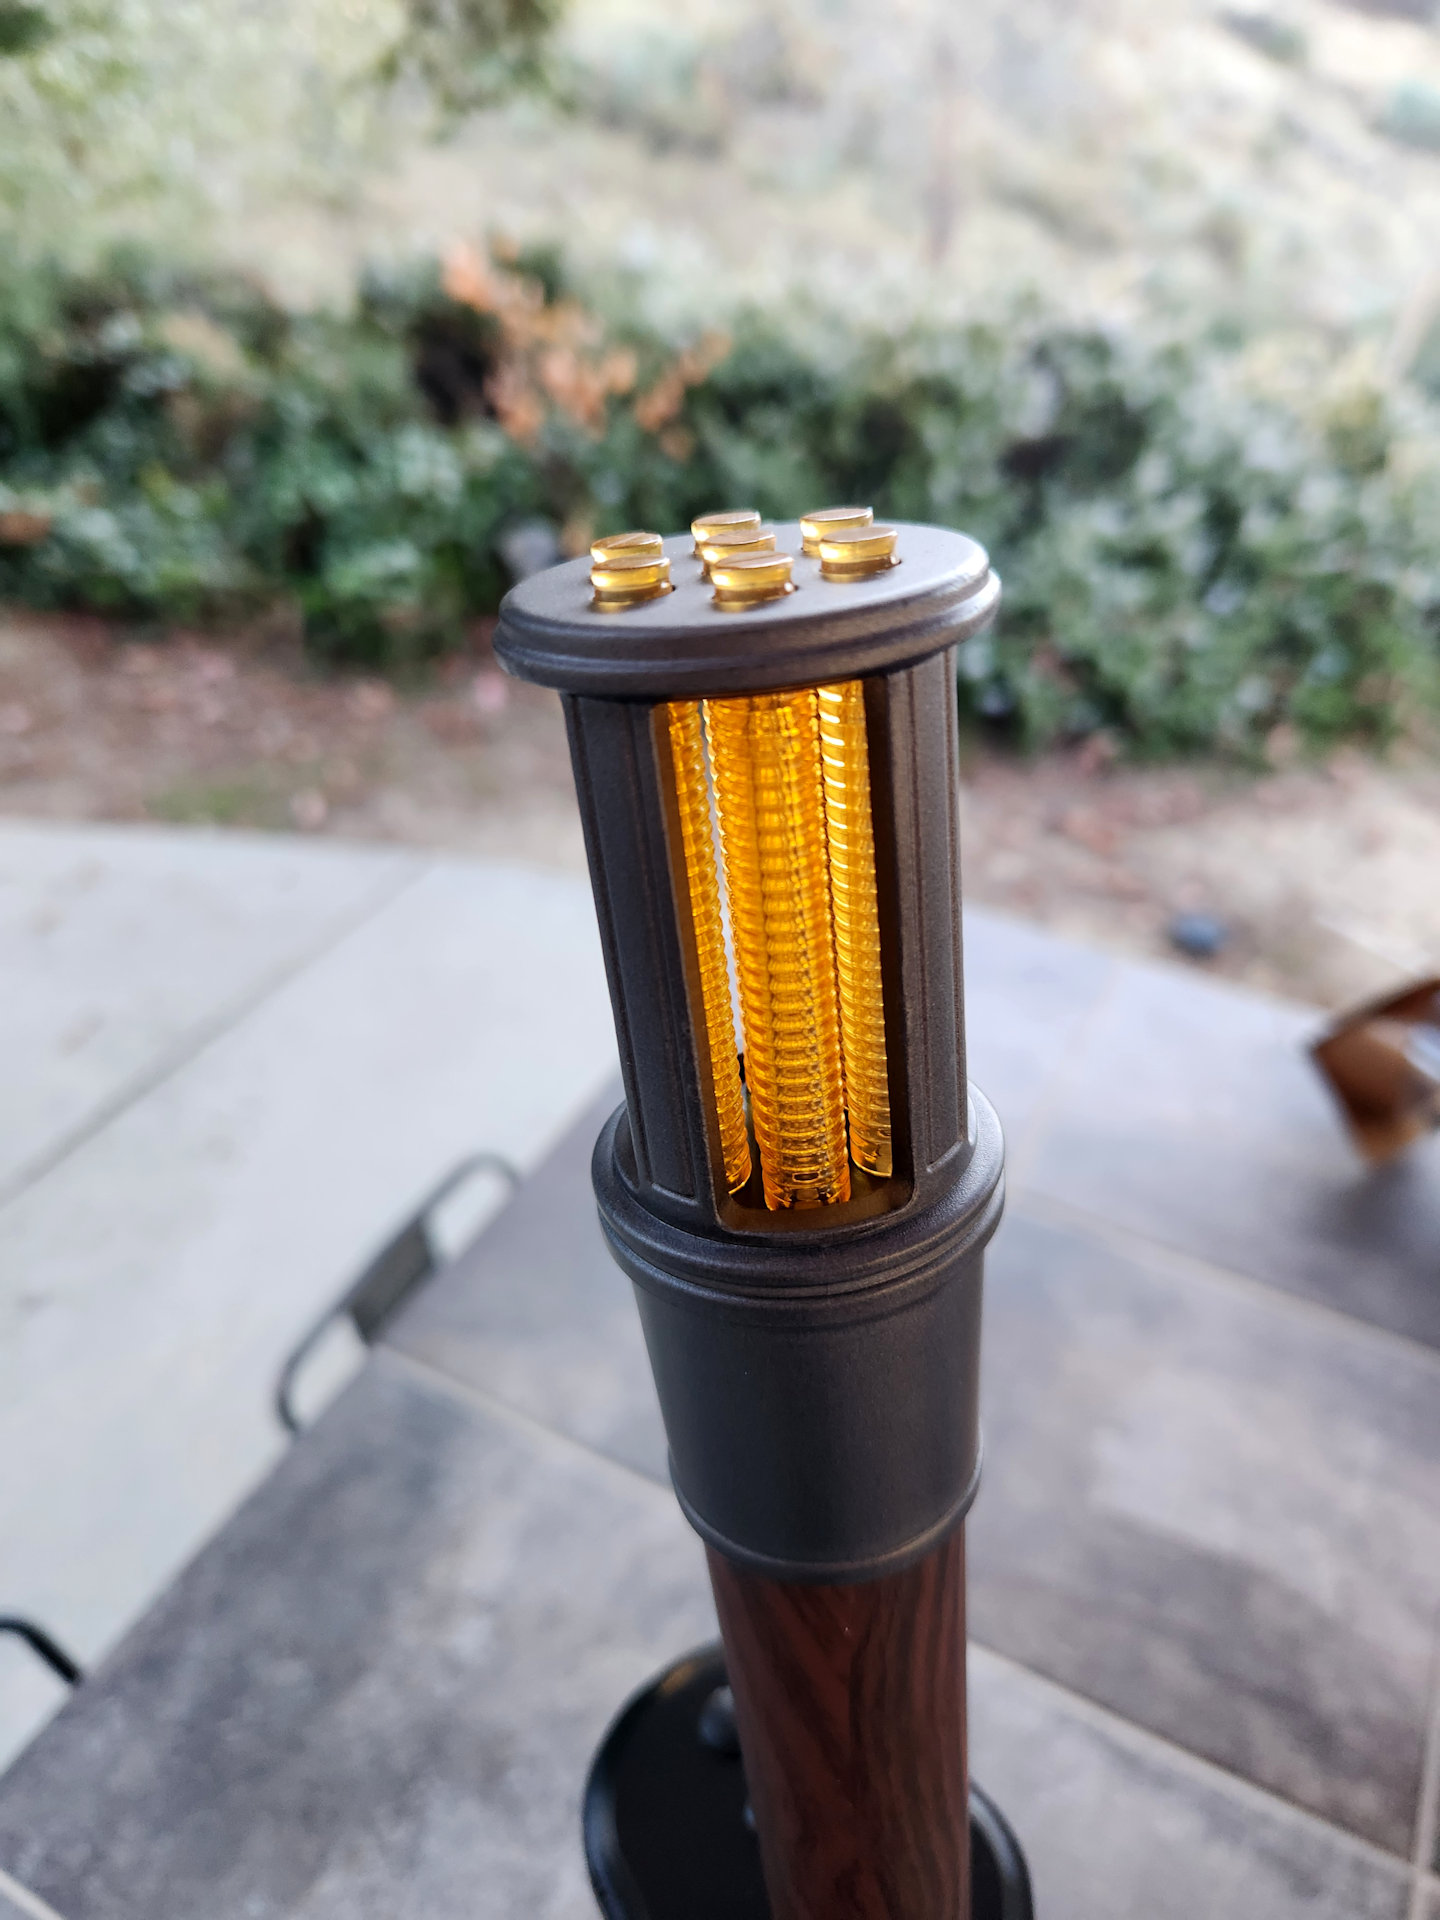
While still in the shop, my wife and youngest daughter said they wanted to get me something else for my birthday. It was tough to decide in this magical world of marvelous toys, but one thing really caught my eye. I had no idea that the Time Stick from the Loki series as well as the Deadpool and Wolverine movie was even available. This thing is pretty cool, also a mixture of plastic and metal and this thing feels pretty legit. Lights and sounds along with special pruning effects when the stick strikes an object.
Thanks again to my girls for picking these up for me, and making my birthday extra special.