In a strikingly bold show of solidarity…
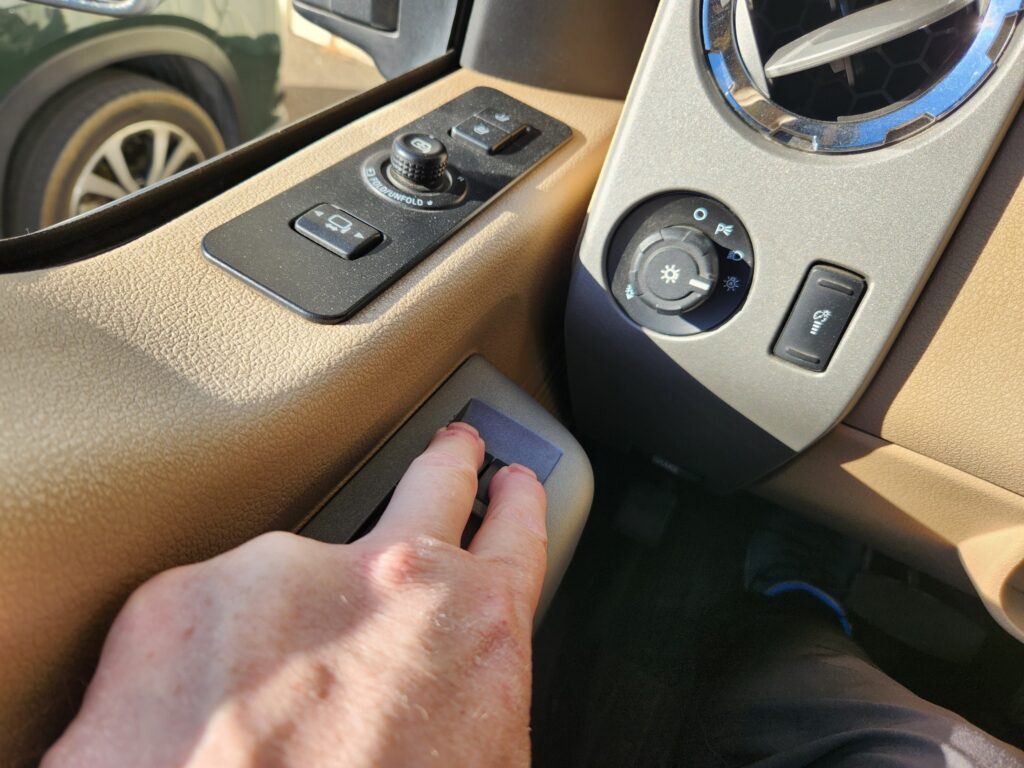
…William decided to disable his fully functioning air conditioning system and roll down the windows in what can only be characterized as a rather warm, sunny afternoon!
If you know… Then you know. 



|
…William decided to disable his fully functioning air conditioning system and roll down the windows in what can only be characterized as a rather warm, sunny afternoon!
If you know… Then you know.
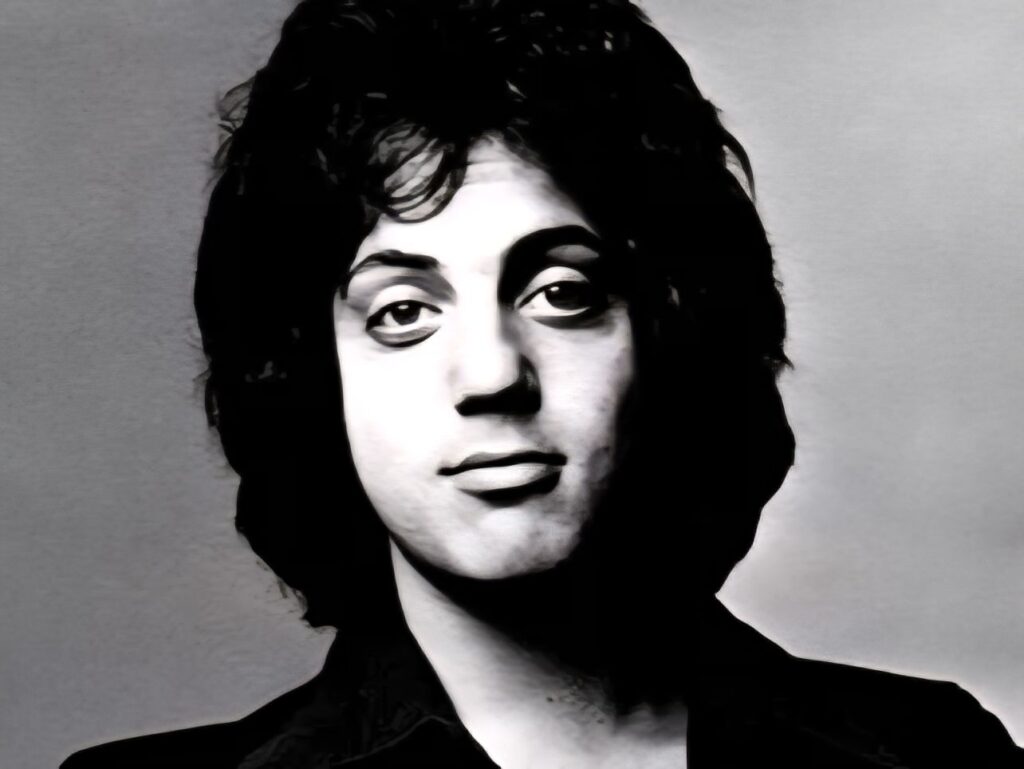
Wow! If you haven’t seen the Billy Joel documentary on HBO… Stop what you’re doing right now and watch it.
What an amazing and inspiring journey he has taken. It’s so cool to hear the stories and see the people behind all his greatest hits.
It’s brought new meaning to his entire catalog. So thankful a took the time to watch this.
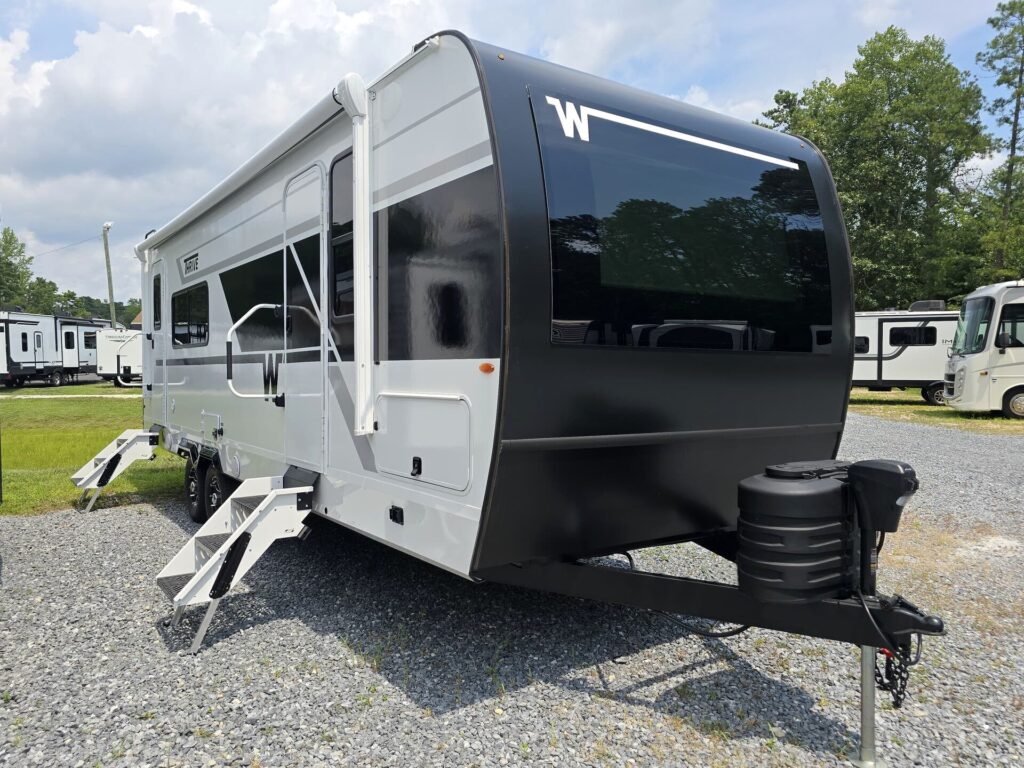
Michele and I are seriously thinking about picking up a travel trailer in the future to do a little traveling while Ali is off at college.
What are you’re recommendations on travel trailers?
I have a truck that can tow a house, so I’m not too worried about weight, but I’m thinking of sticking to 30′ or under as I’ve never towed anything like this before.
Who’s got all the info on the ins and outs of RV travel?
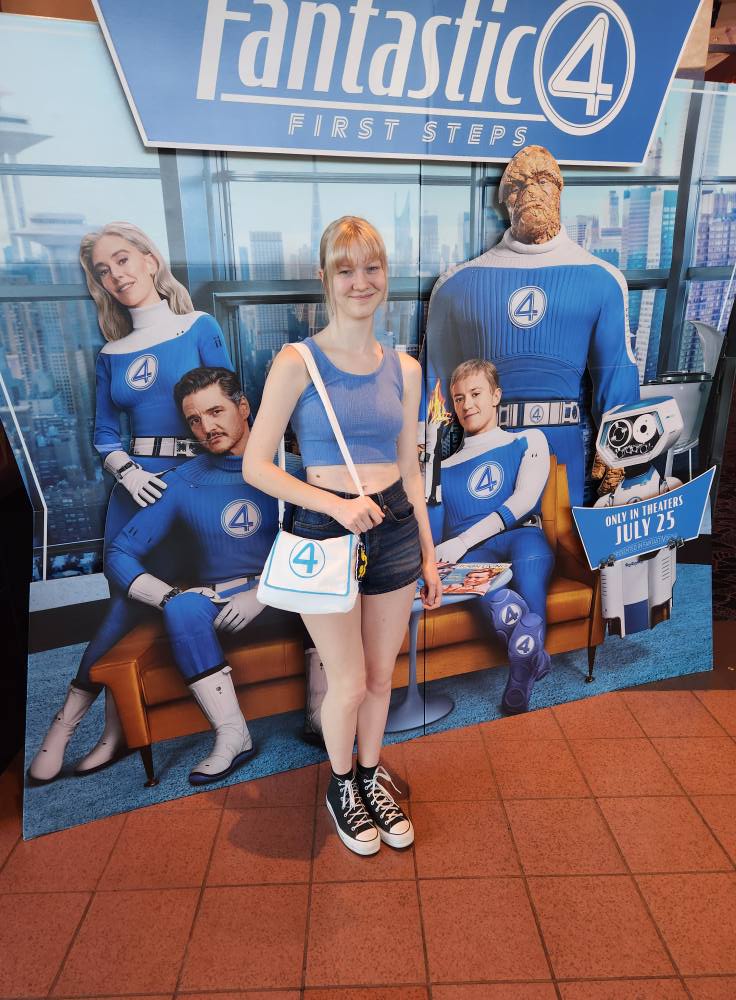
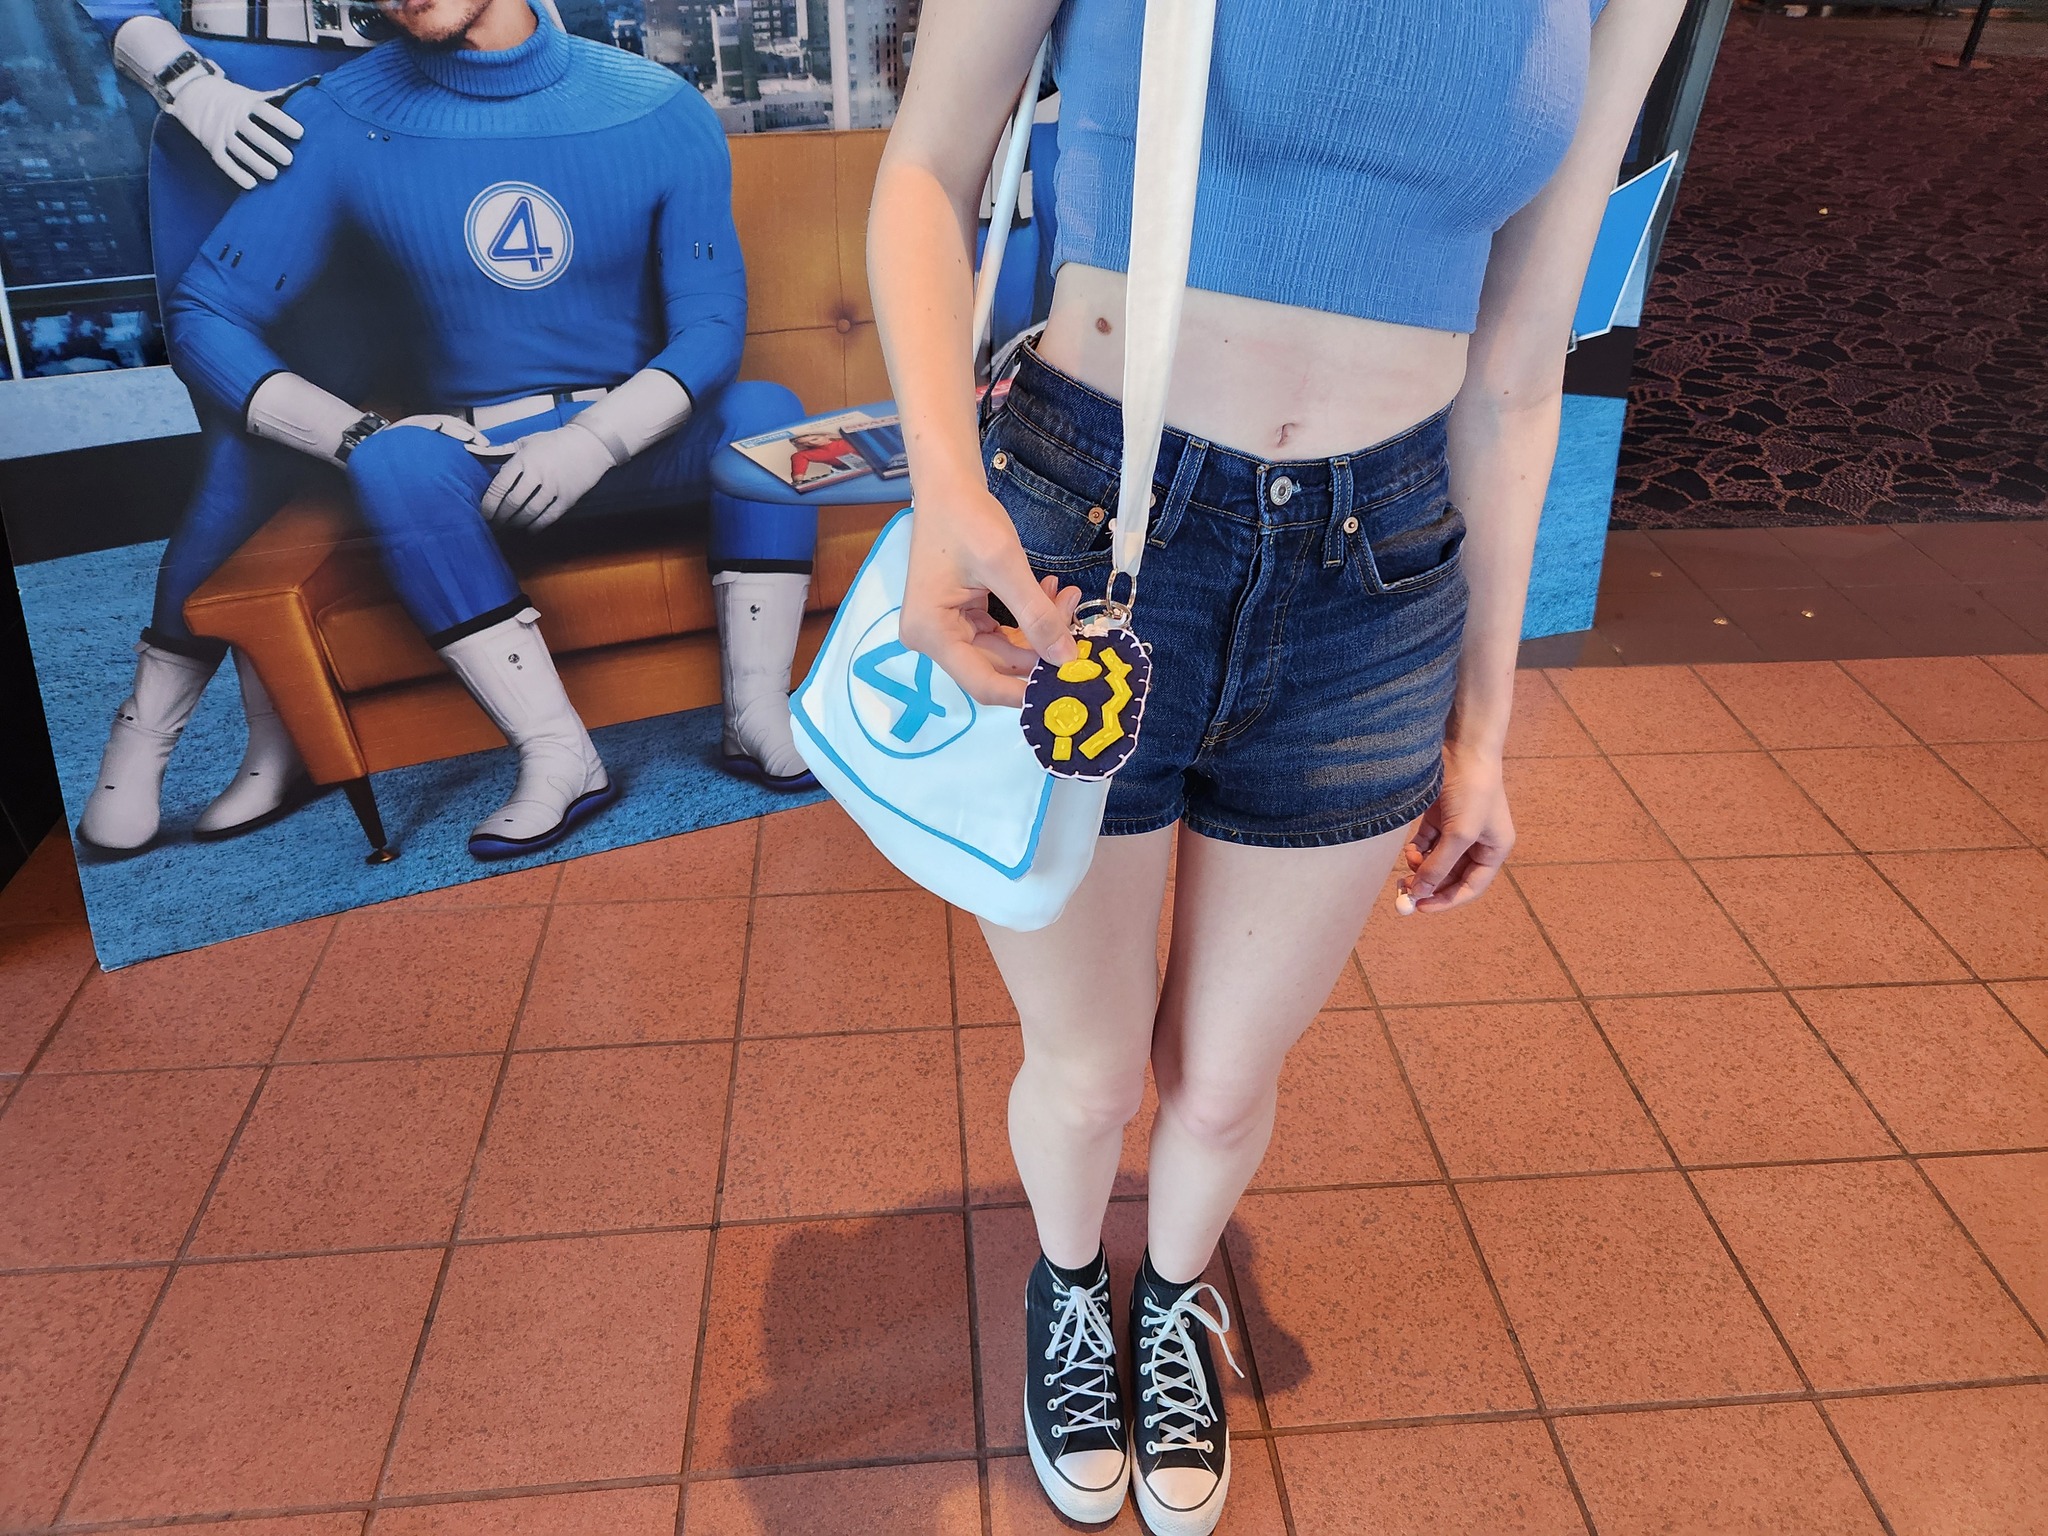
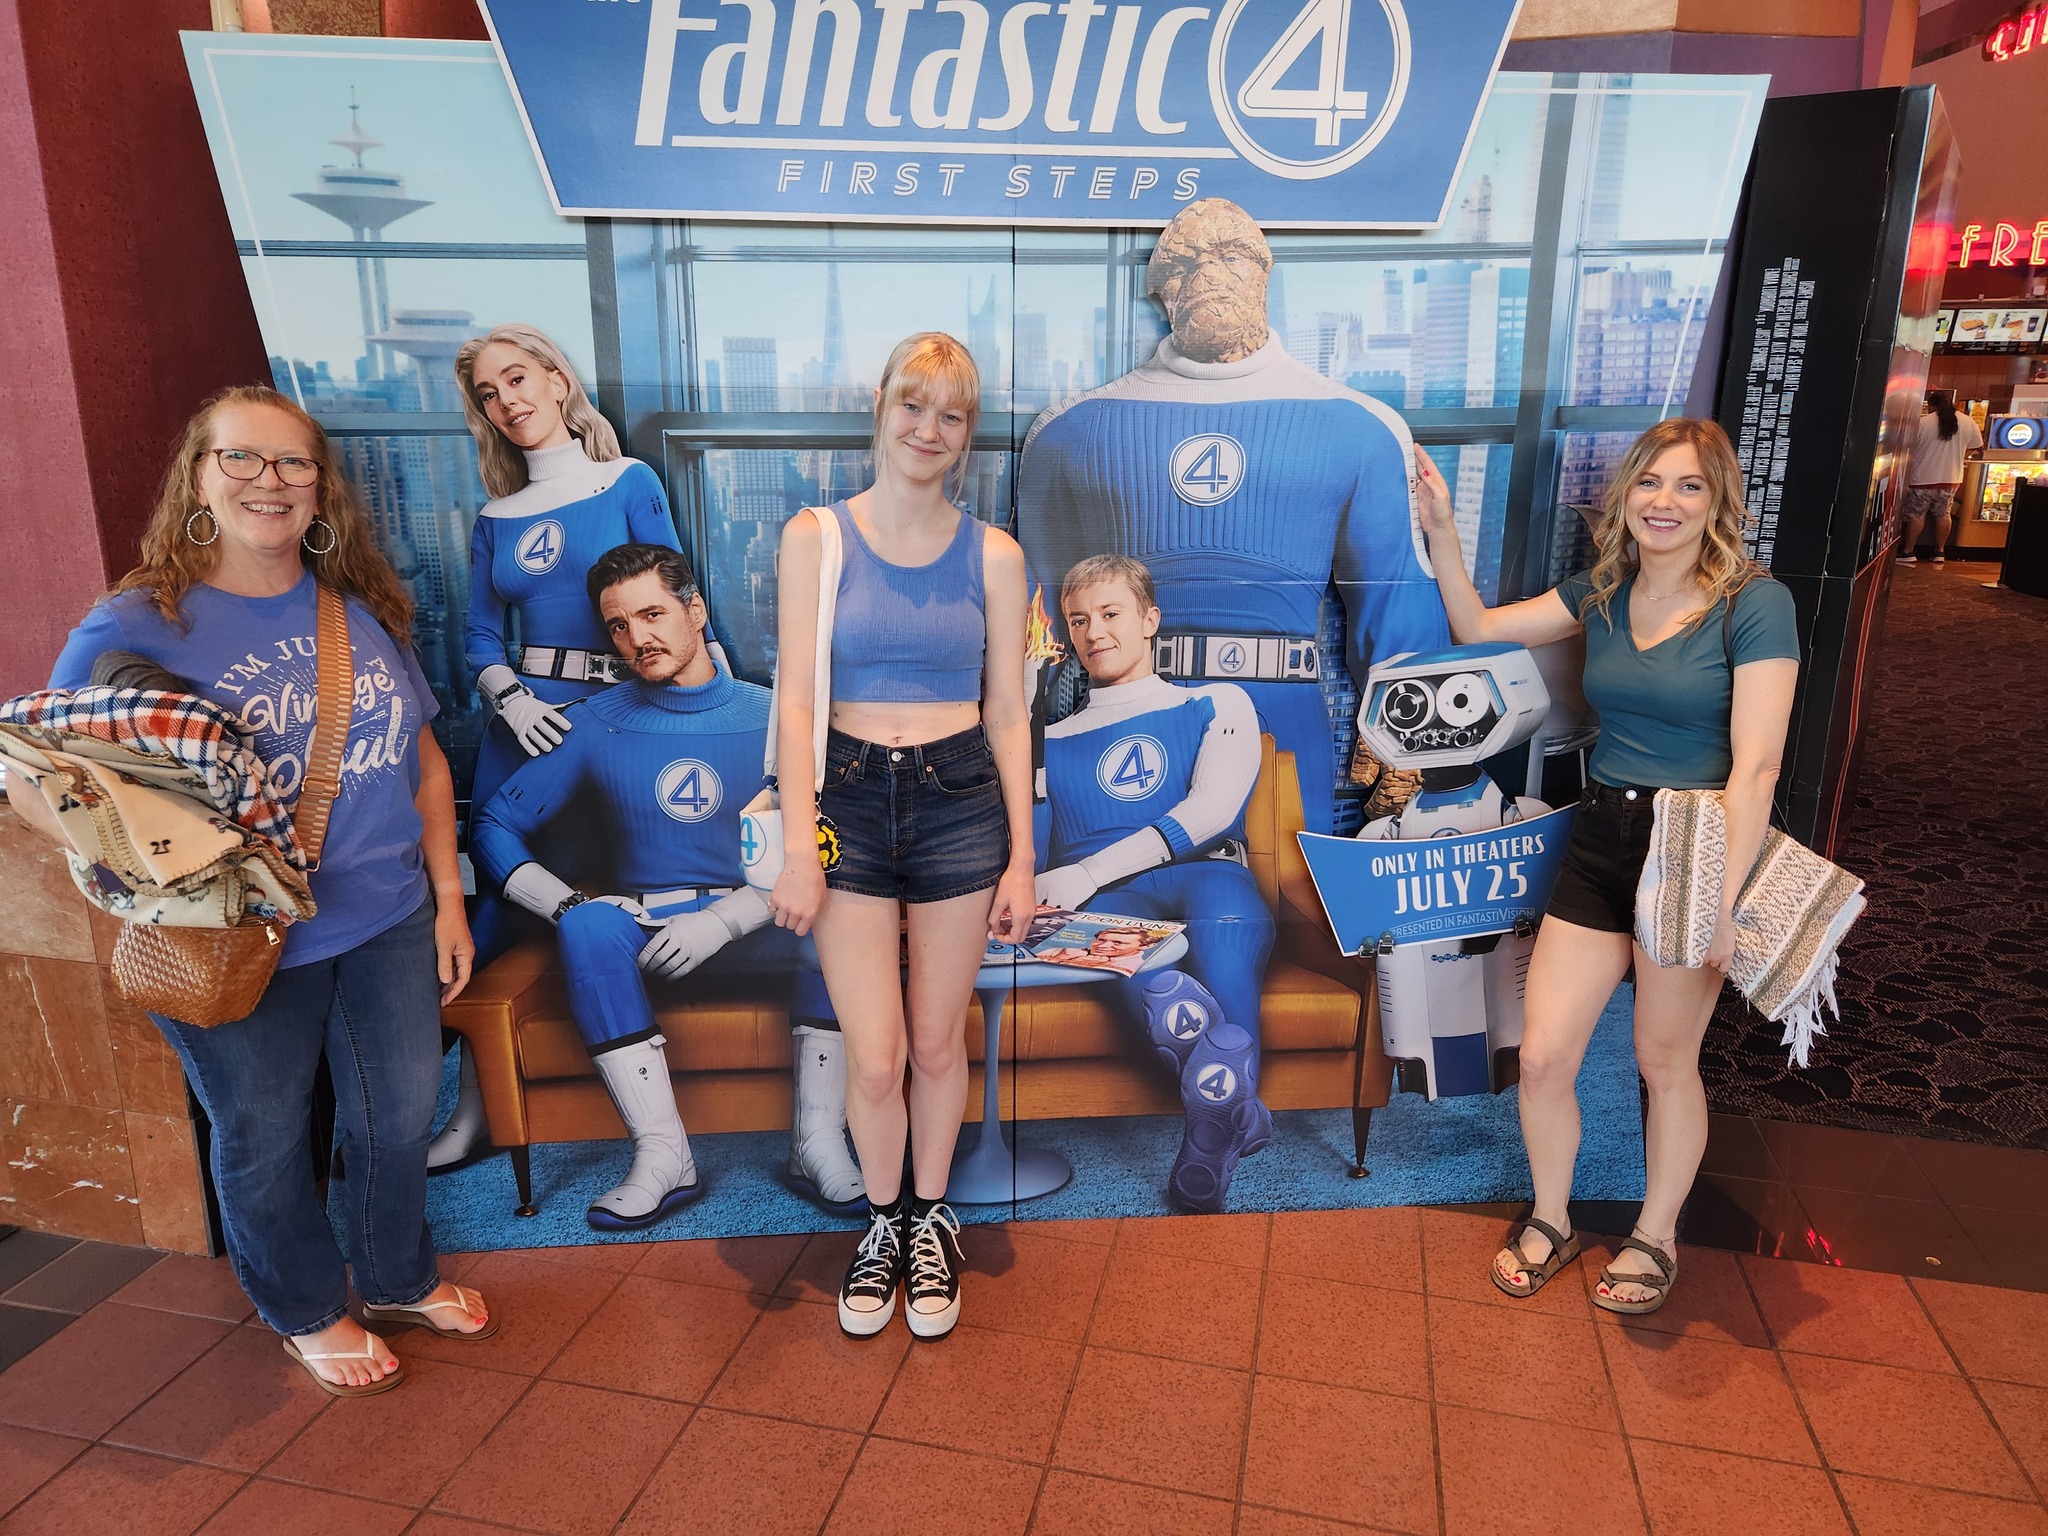
Ali stayed up late last night and sewed an adorable bag.
This girl is so talented, she gets it all from me.
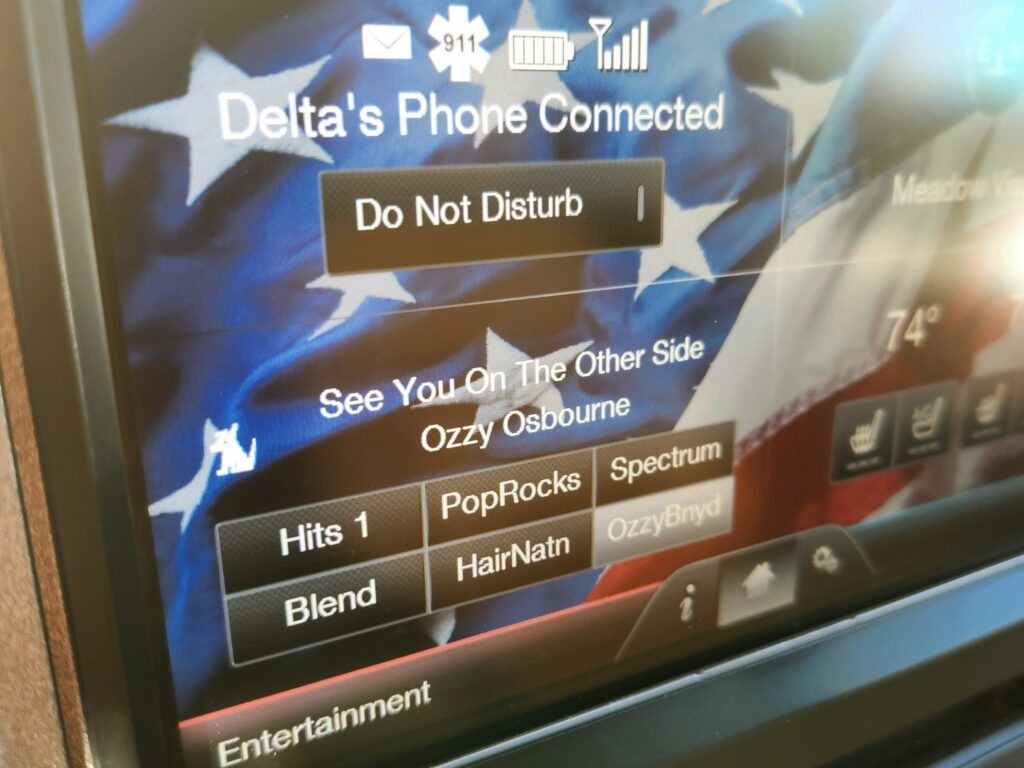
Is it just me, or do the songs have a whole new meaning now?
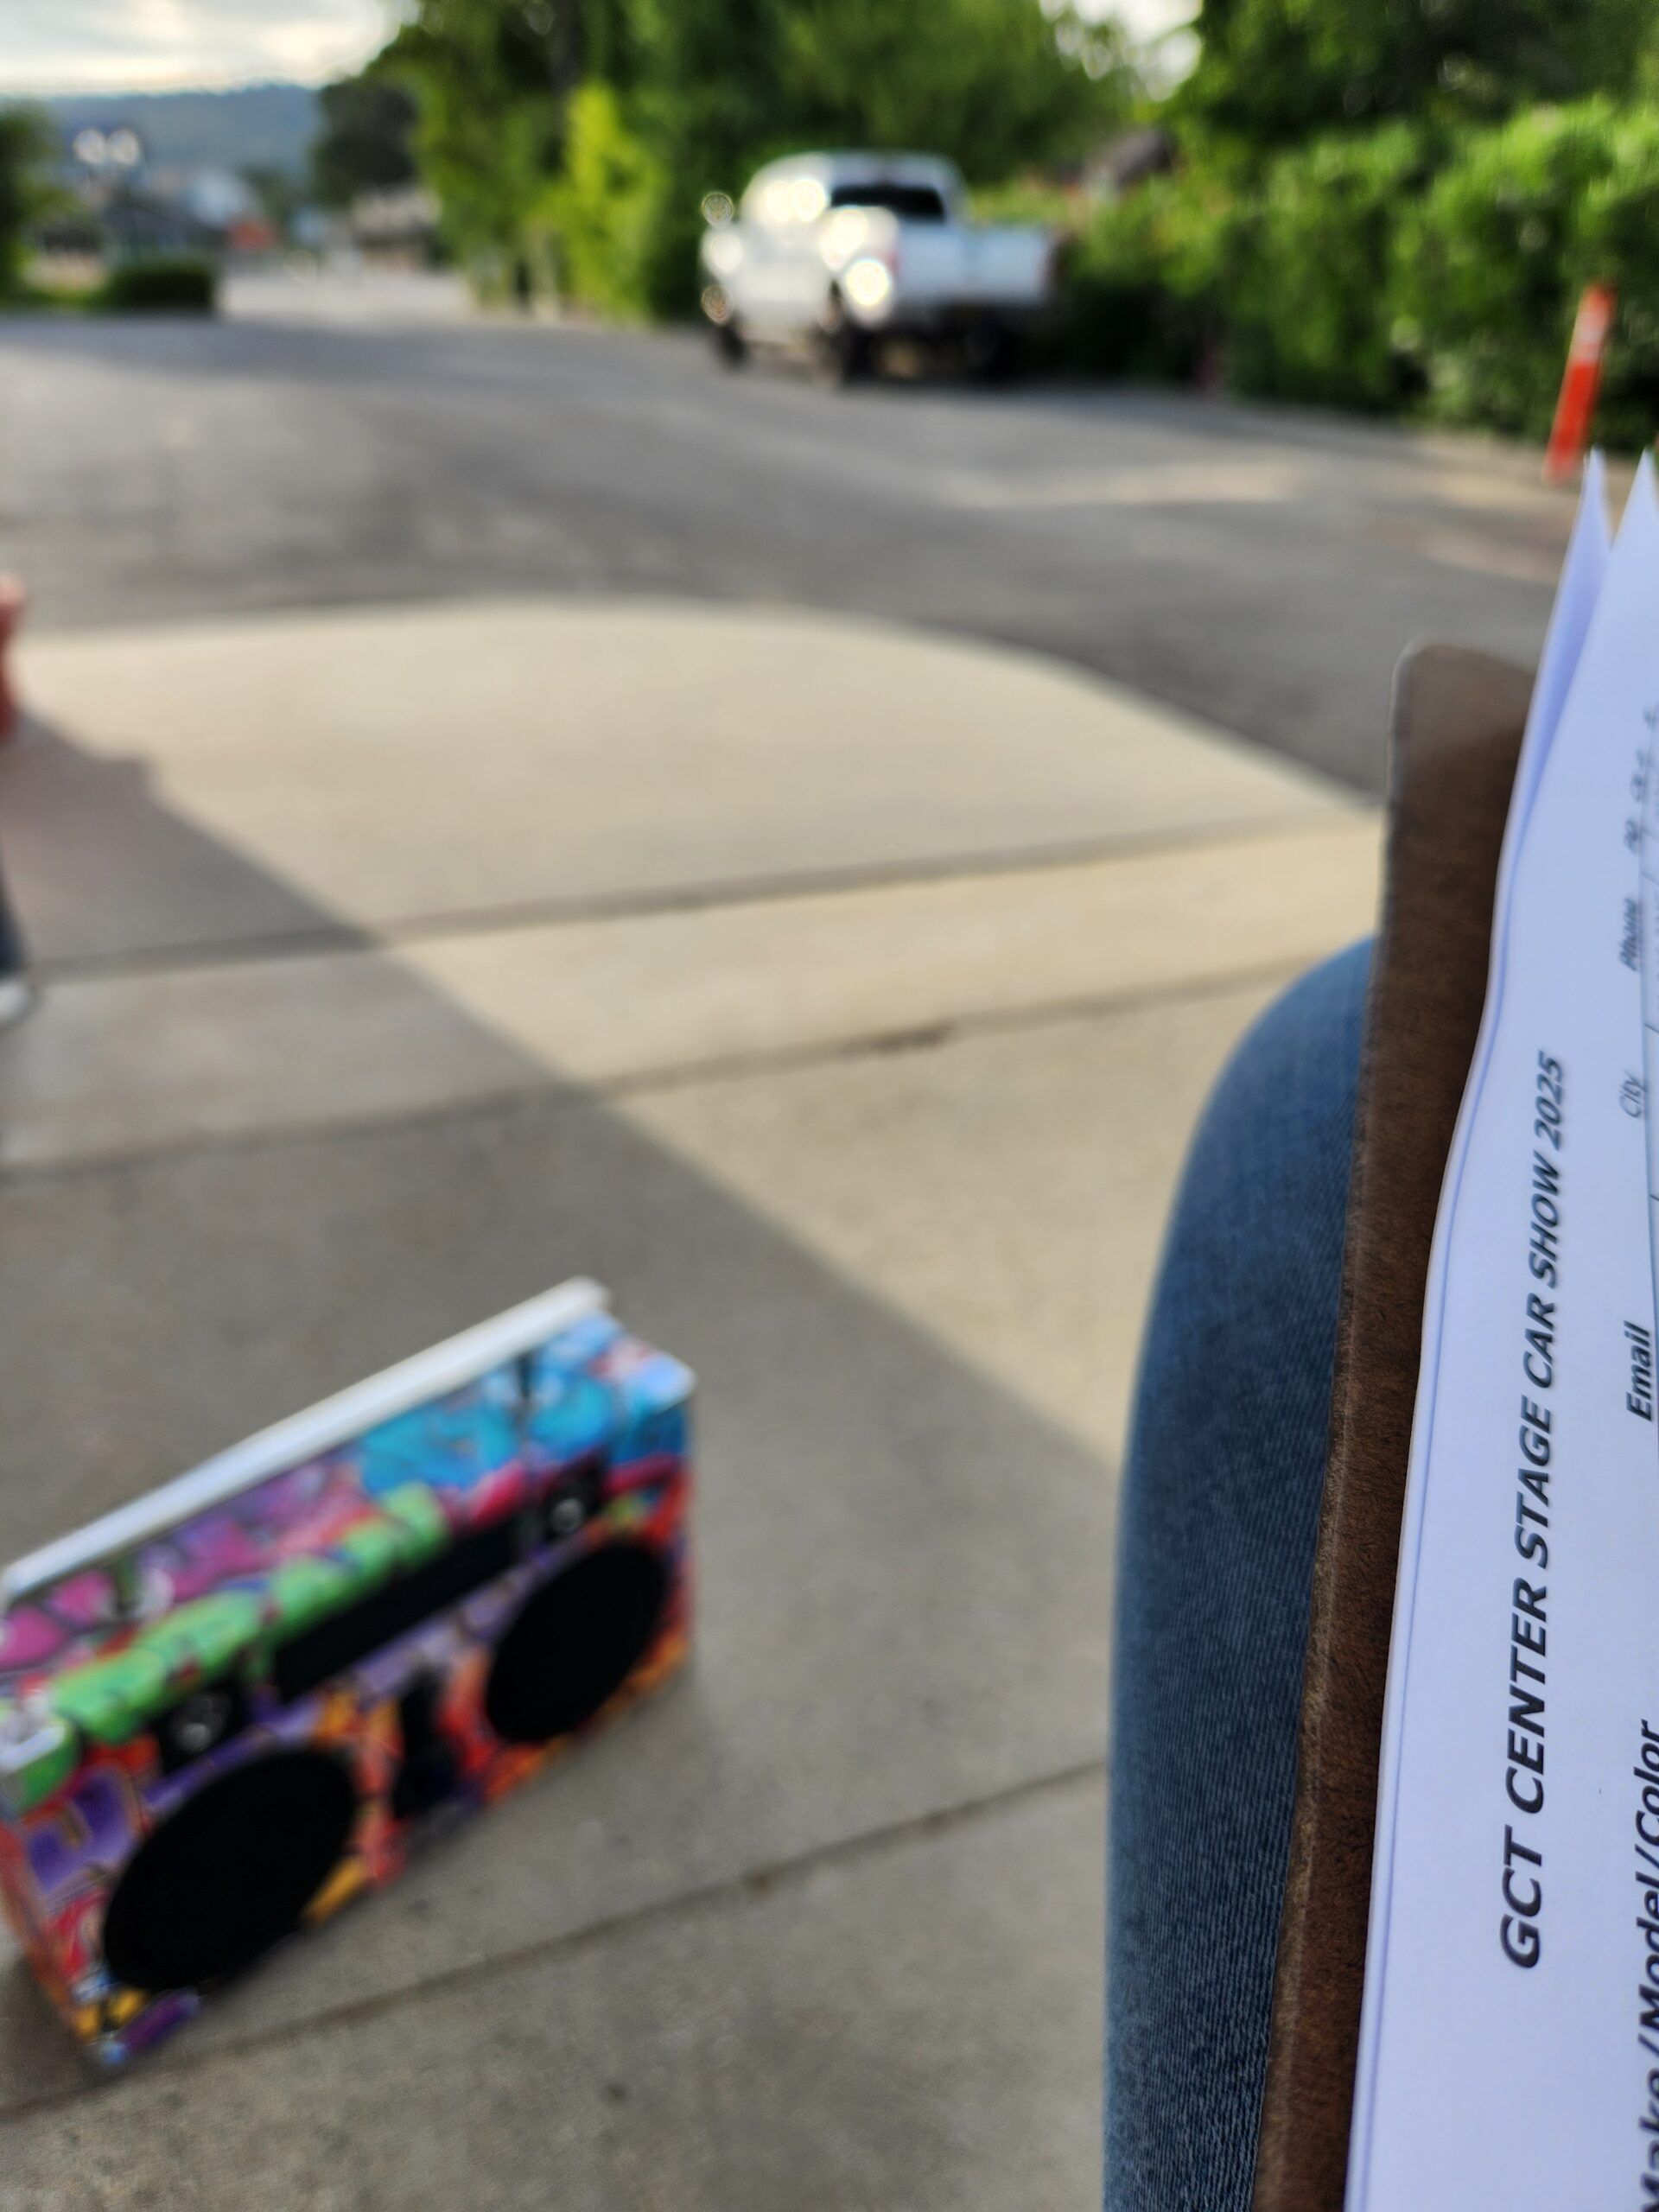
I’m the gatekeeper for Golden Chain Theatre‘s Center Stage Car Show.
Come on down and check out some sweet classics.
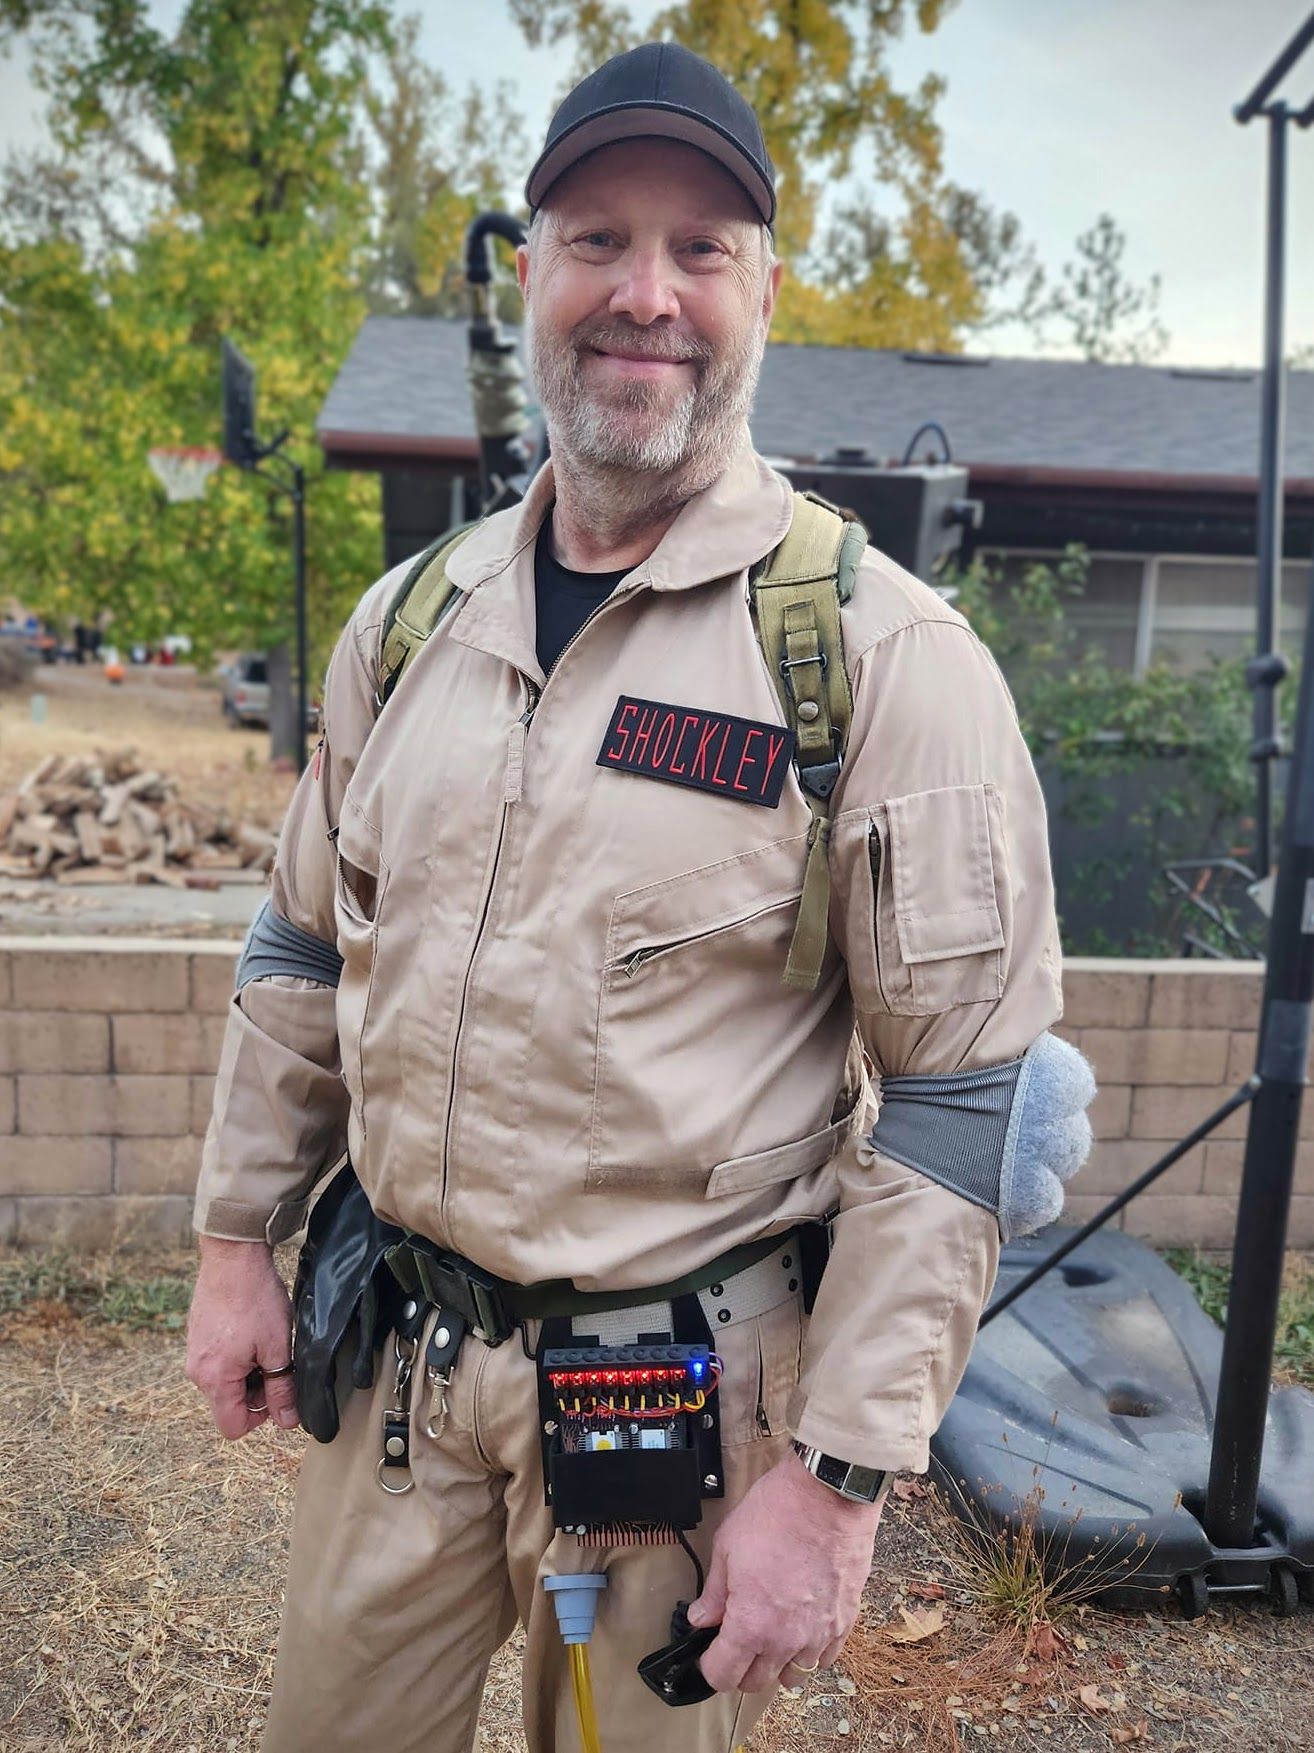
Can’t believe the film was released 41 years ago when I was just a teenager.

…an oldie from 2007 but still a goodie. We hadn’t seen this one but we all loved it. The water effects we’re awesome, especially for the era.
Three thumbs up from the Shockleys! 👍👍👍
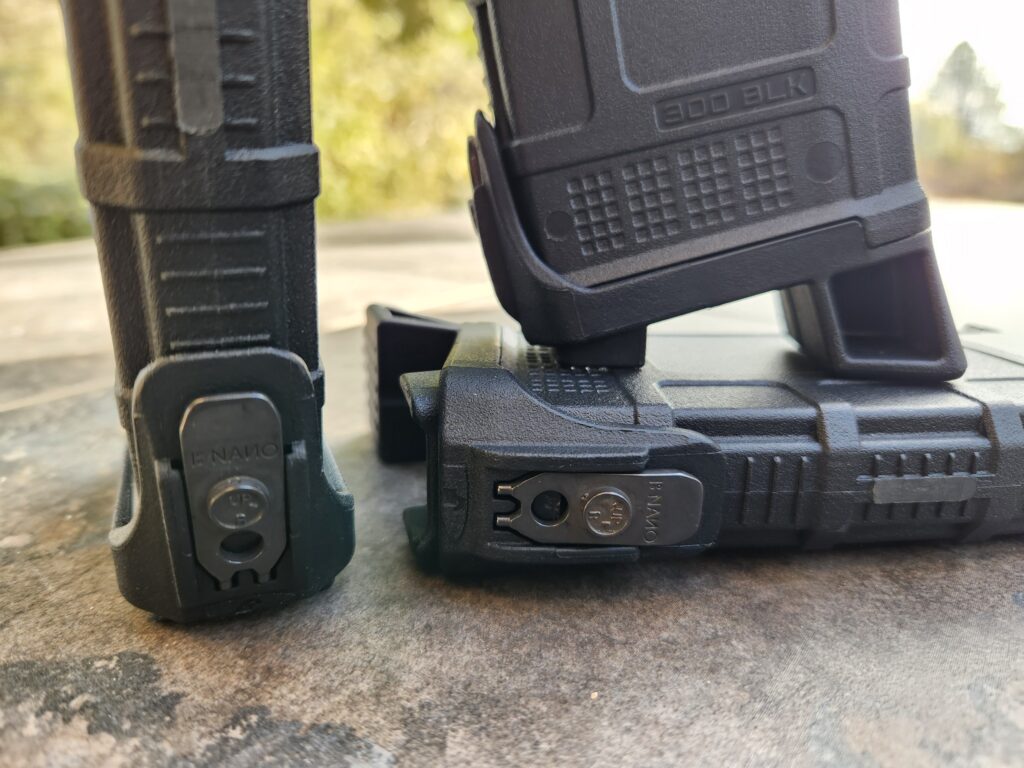
…if you know, you know!
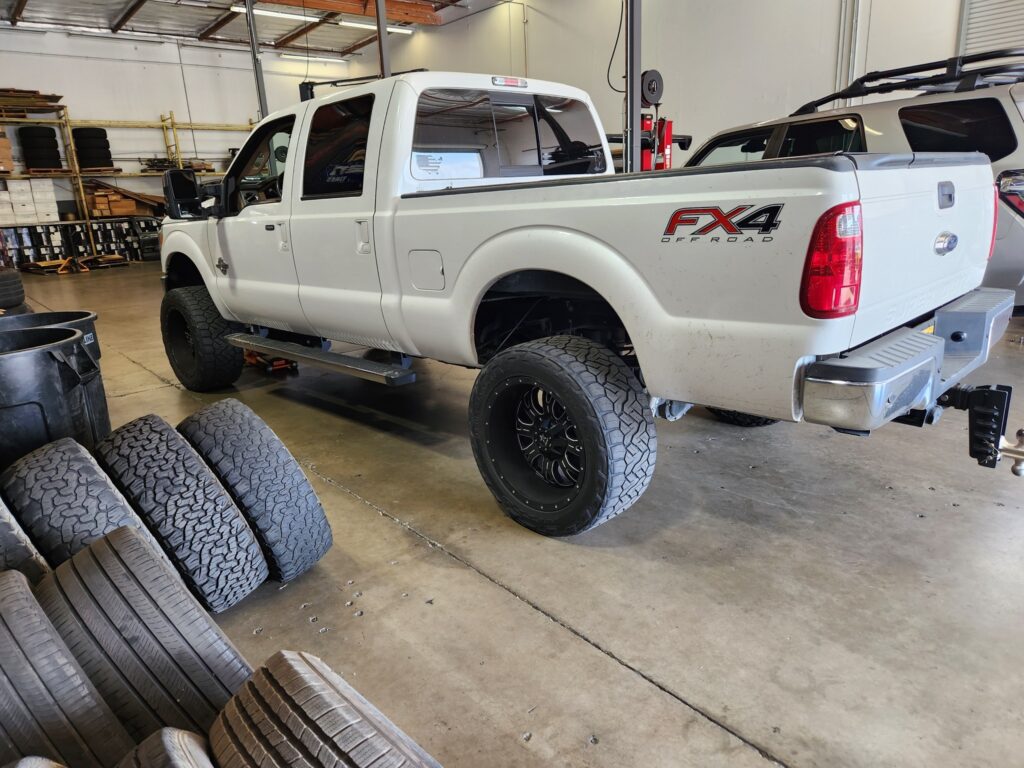
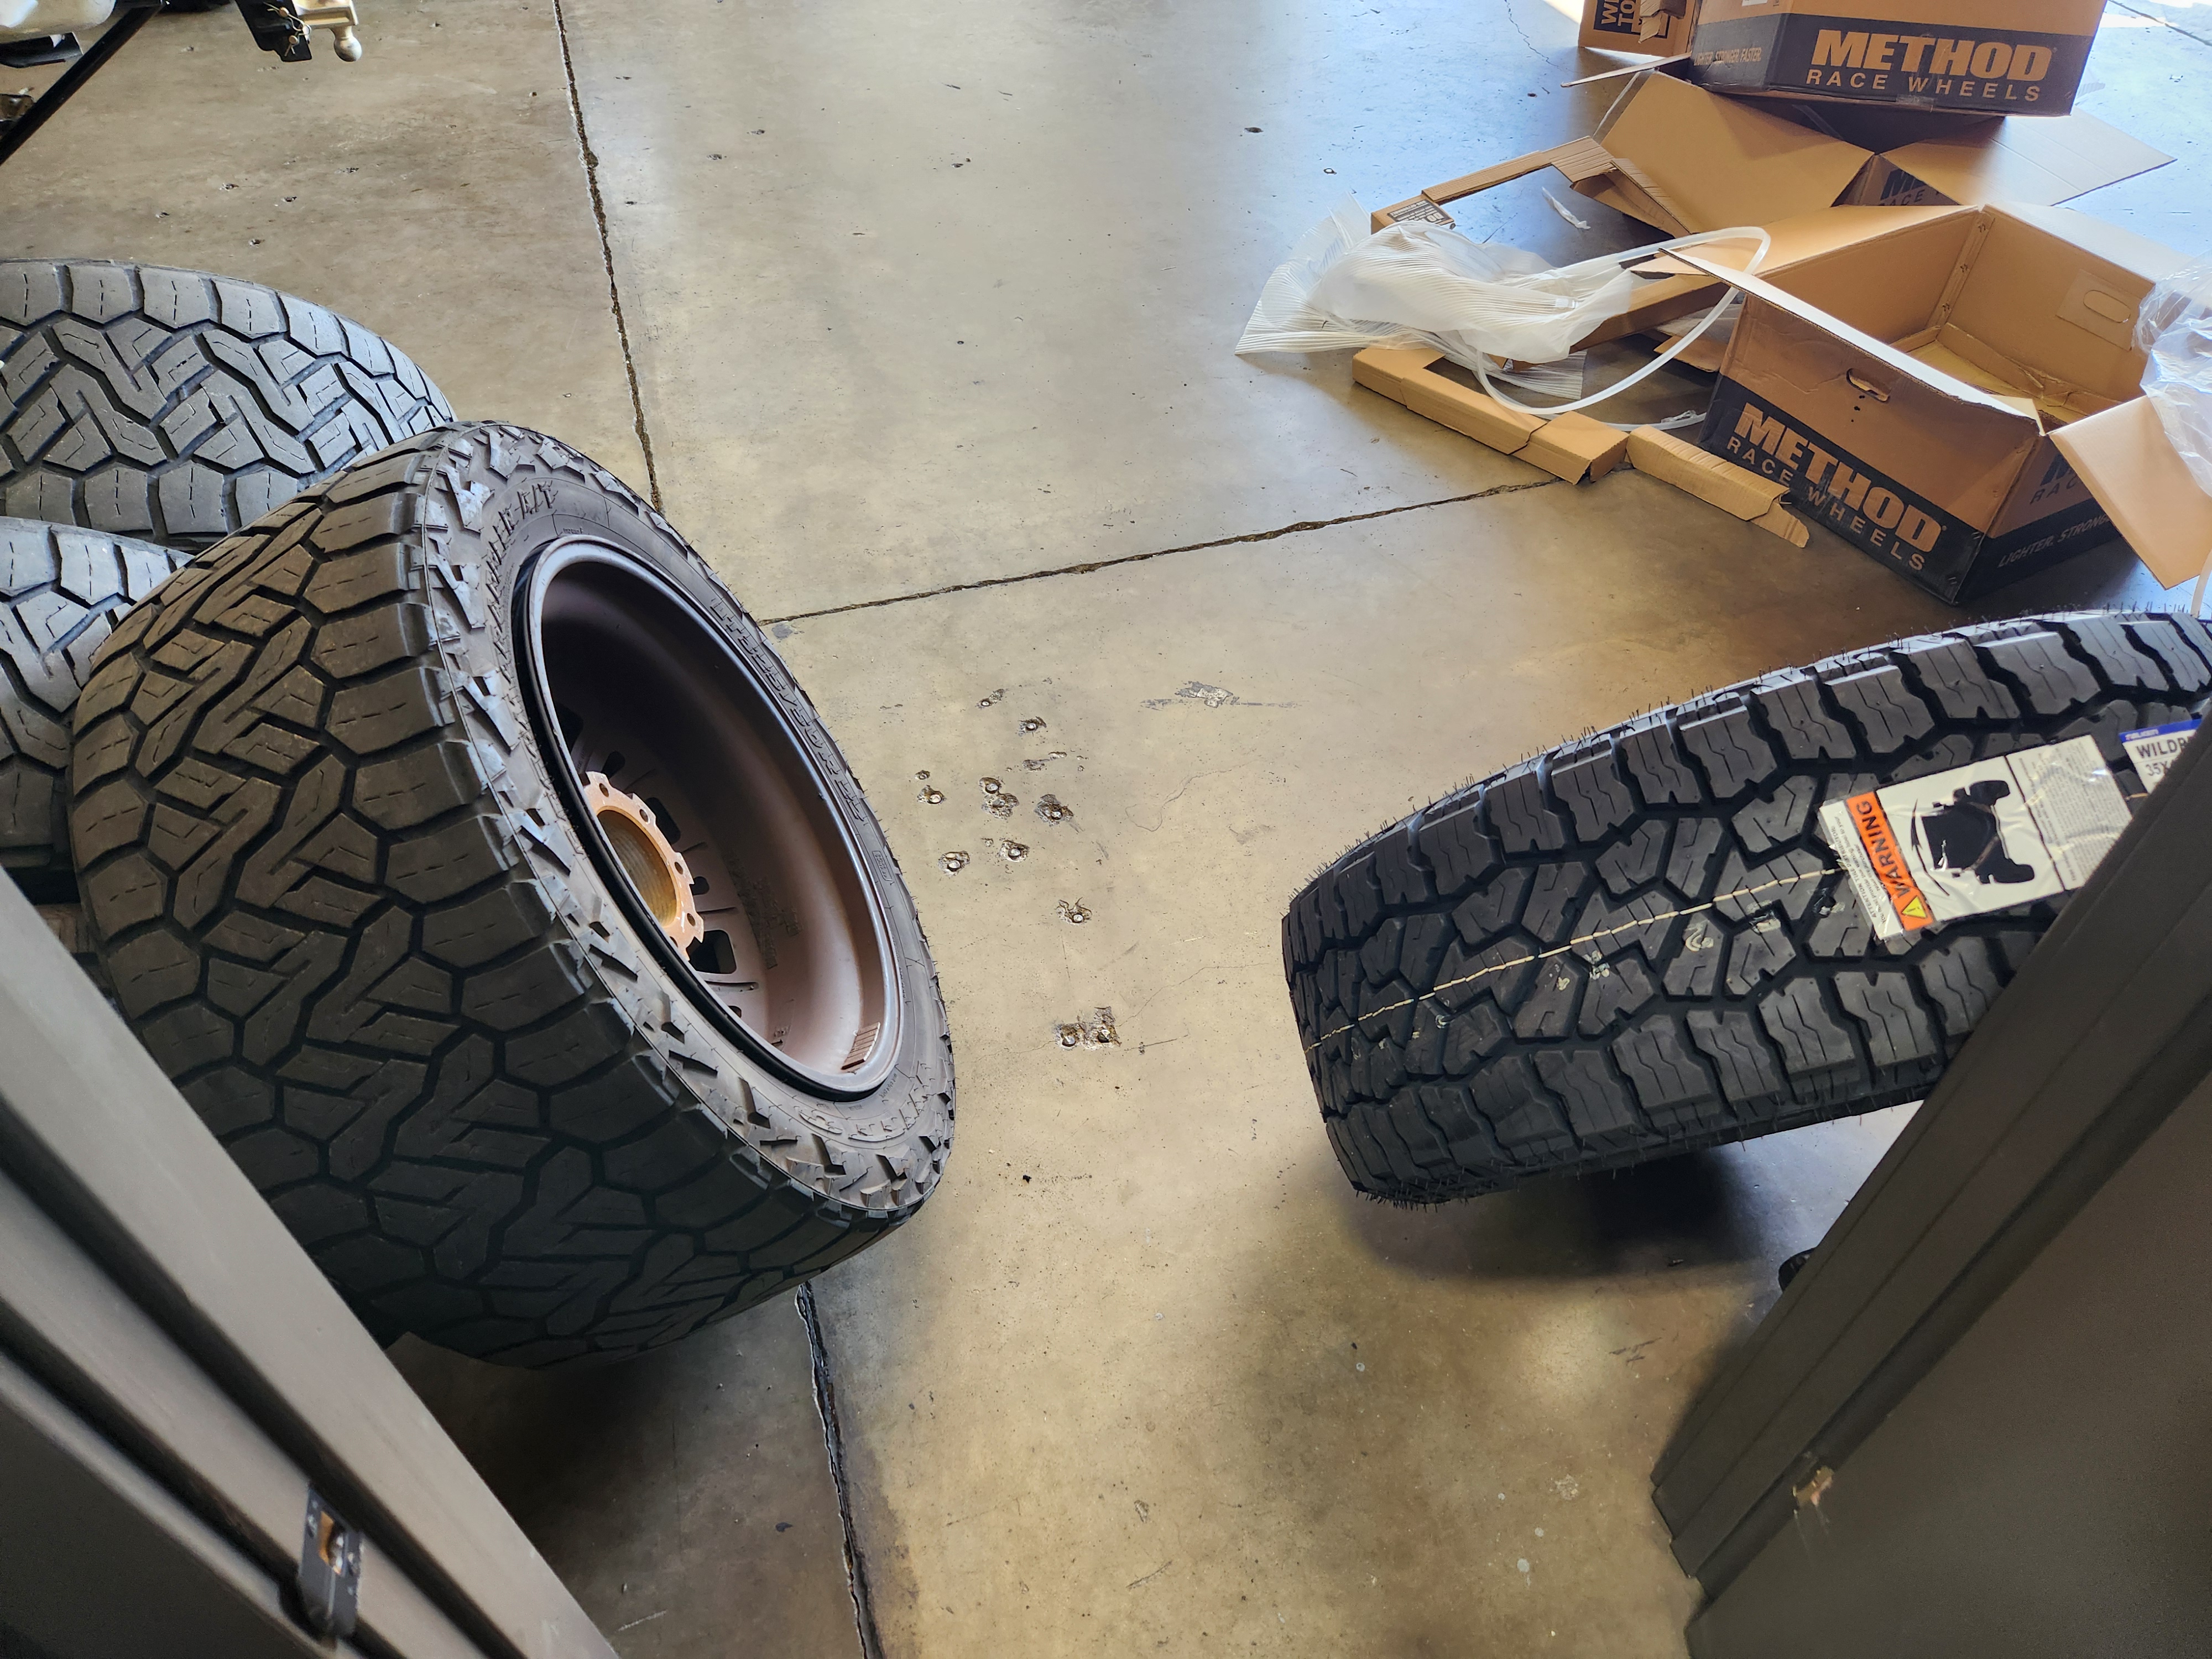
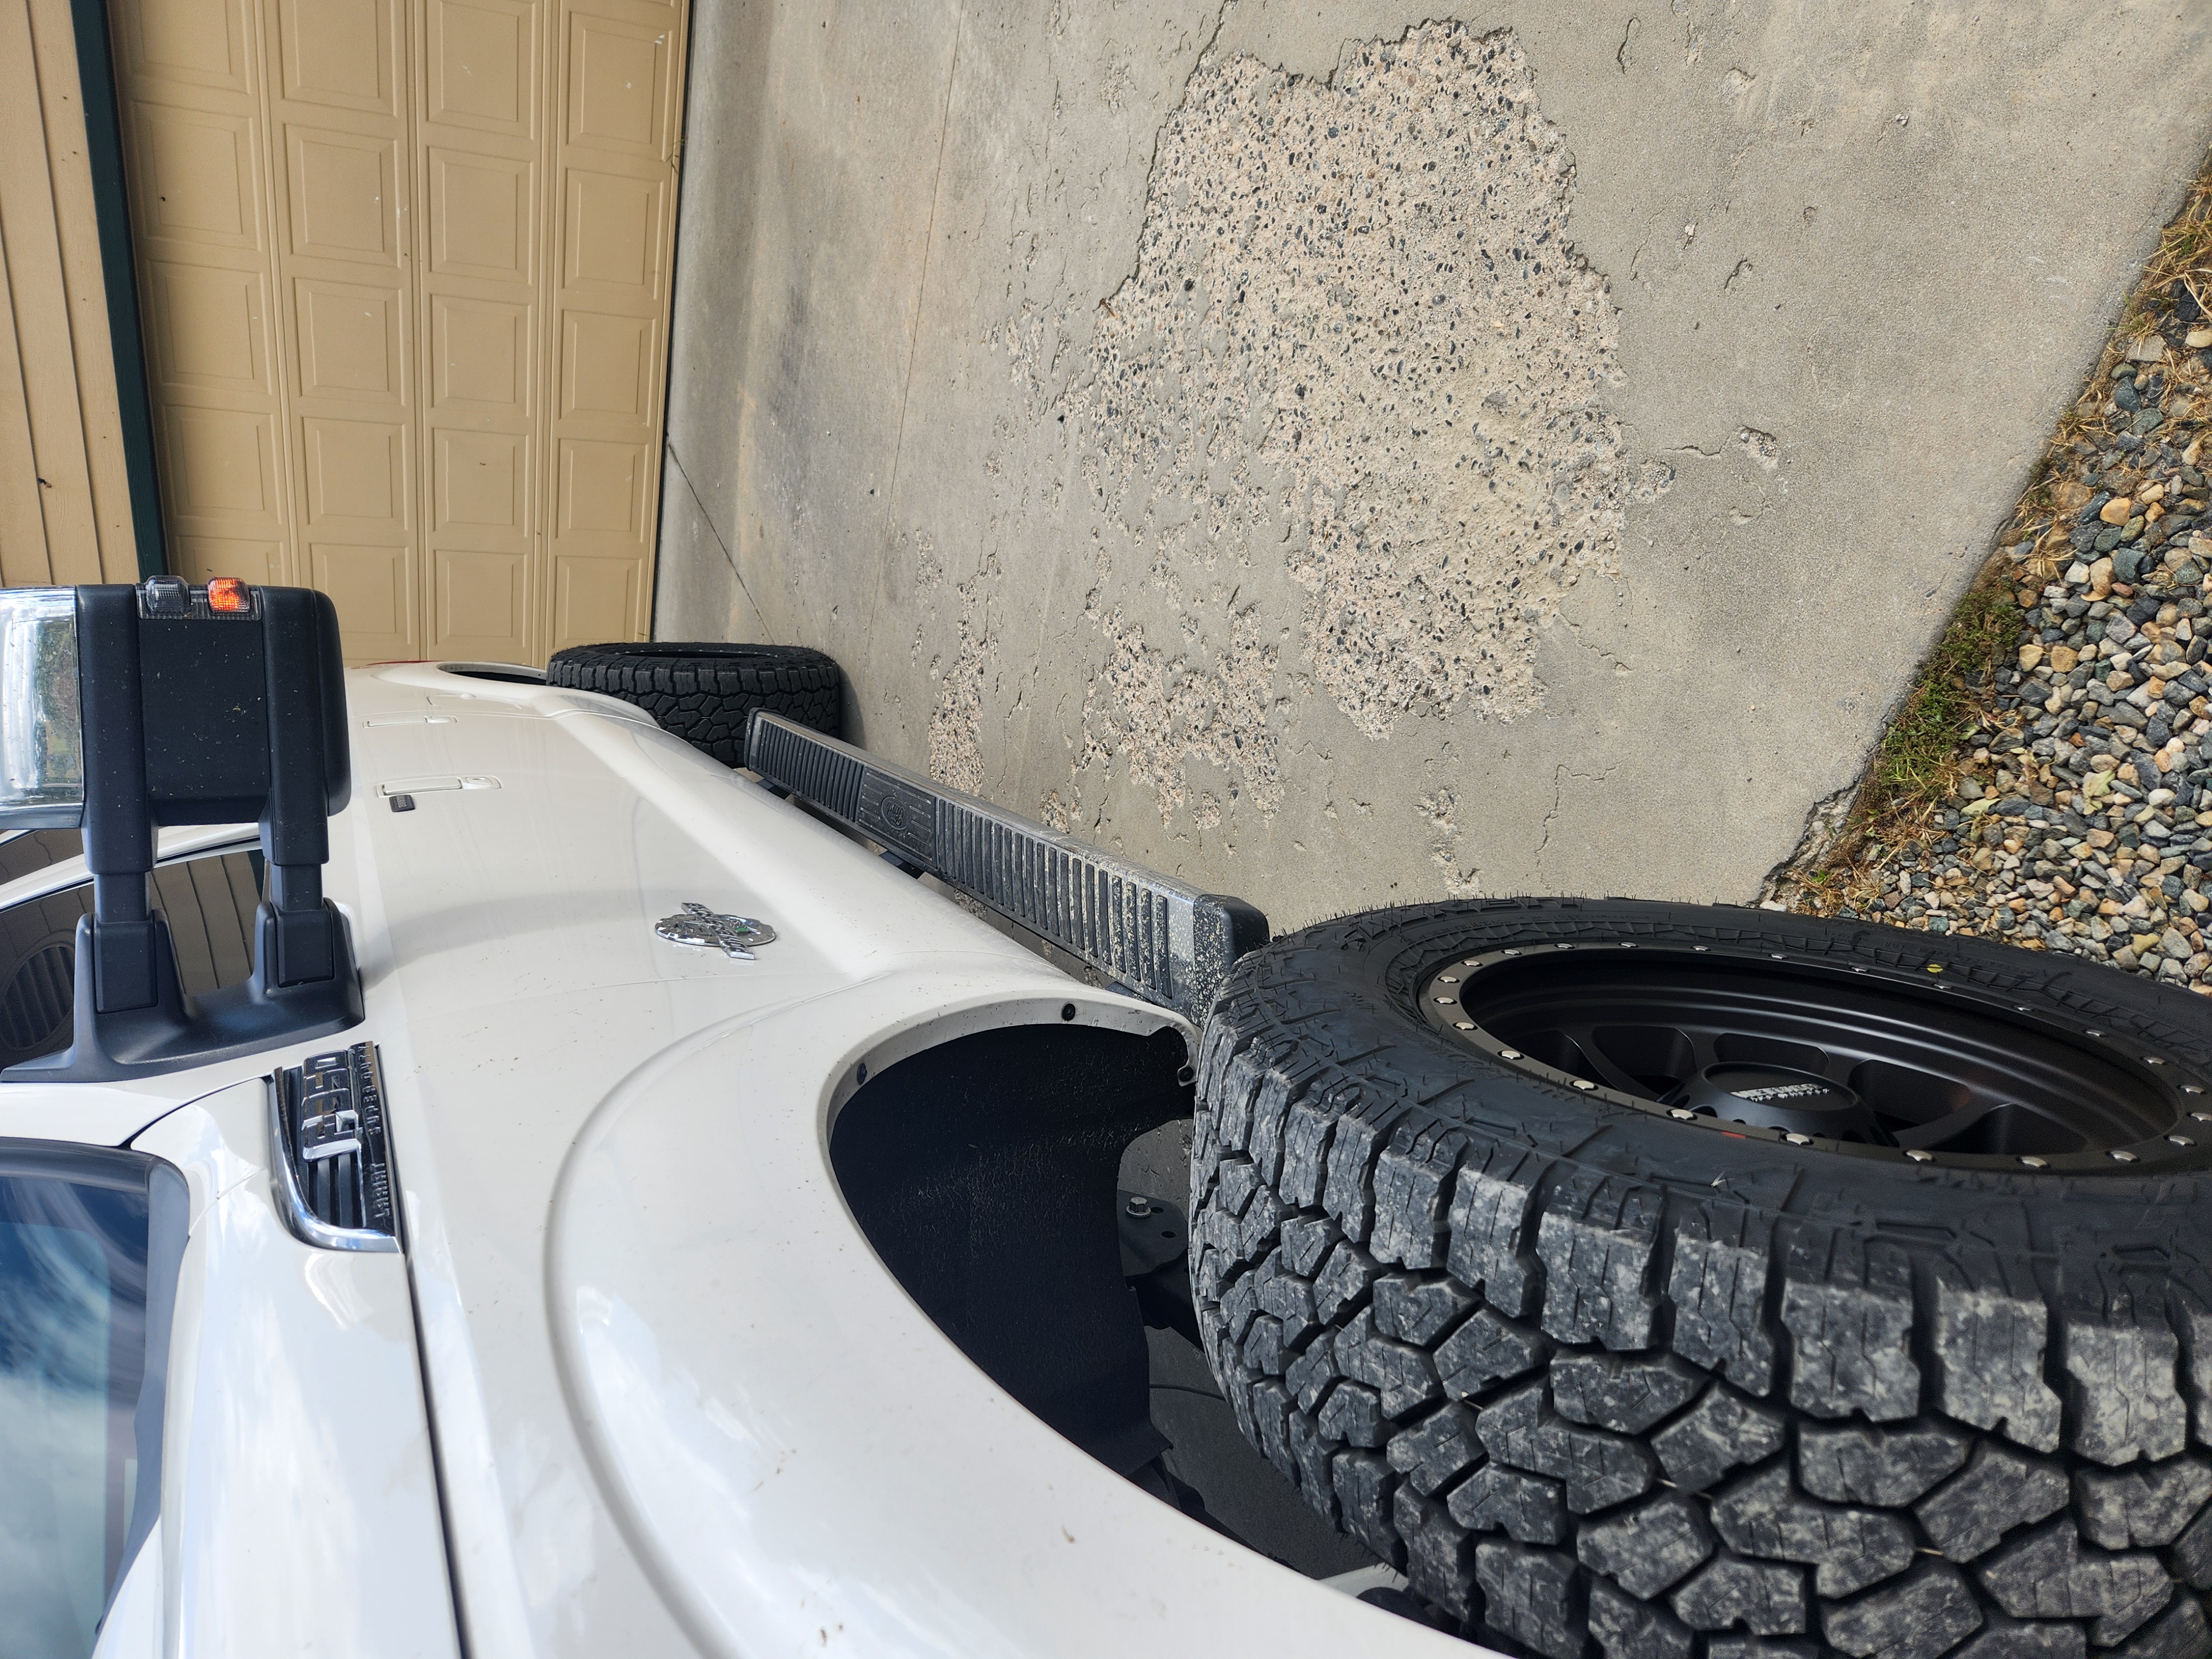
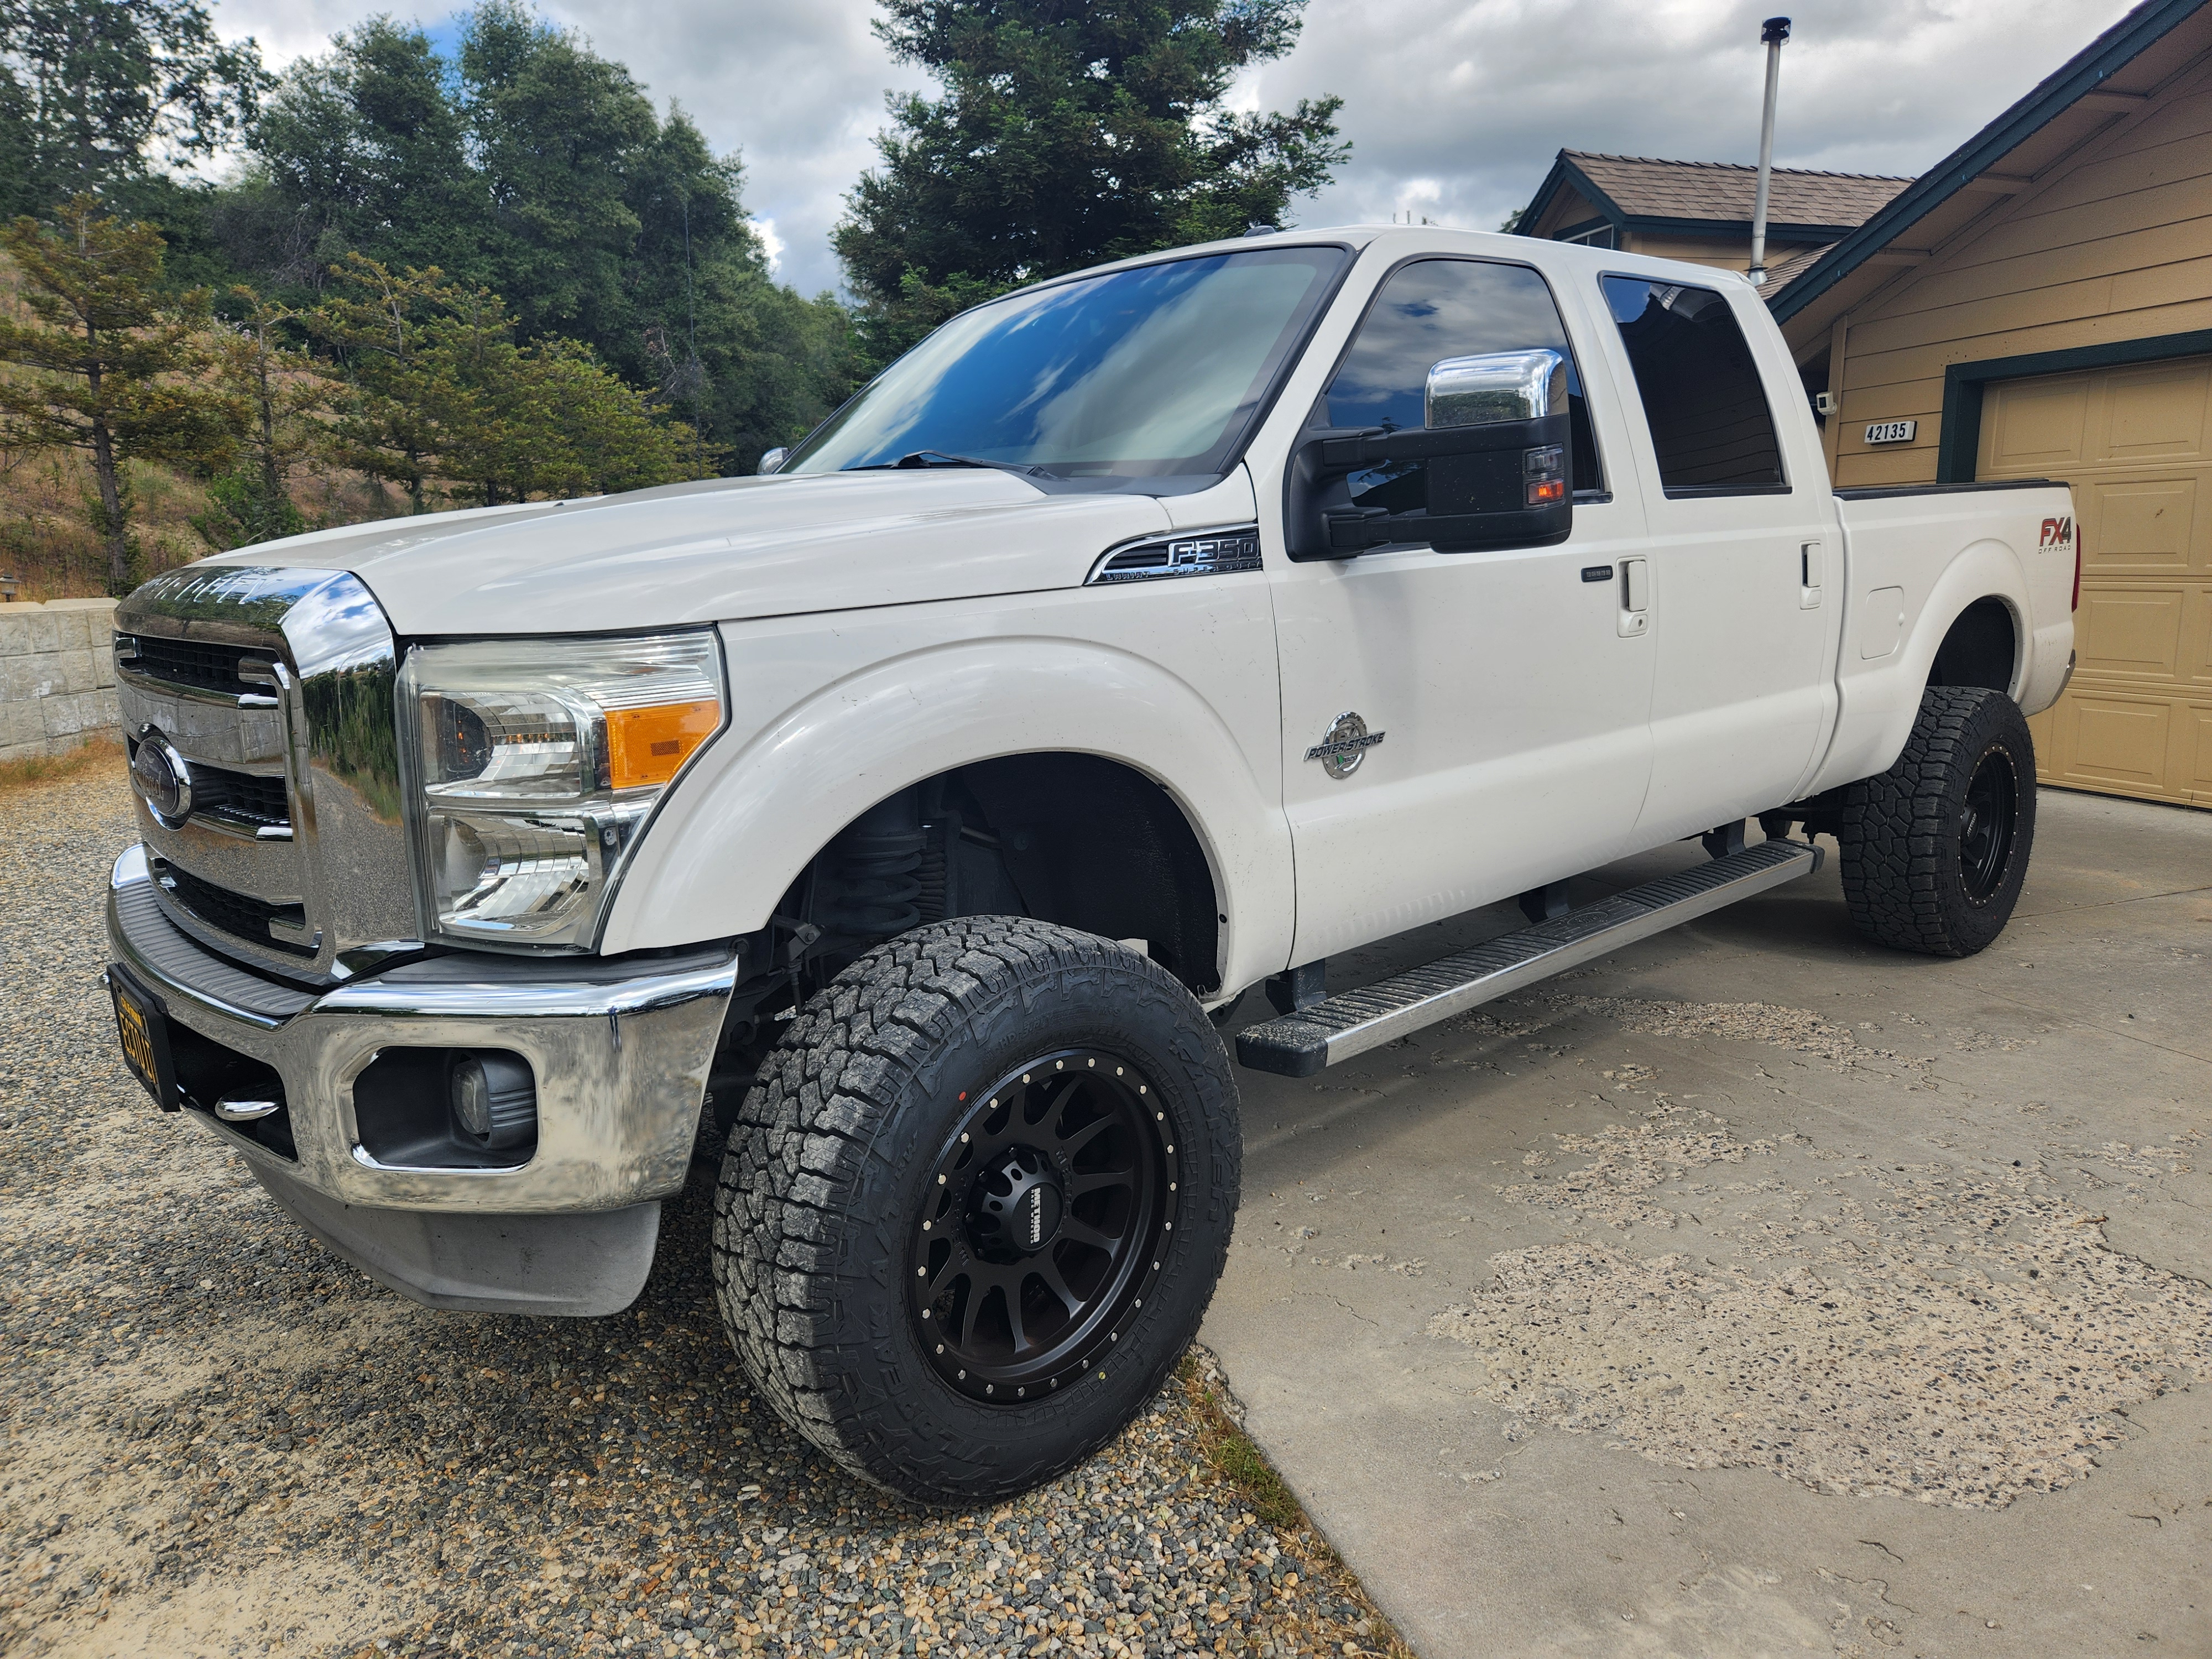
Yes, it was indeed time for a change, tossing those huge 22×12 -44 wheels and tires, and replacing them with a set of beautiful 20×10 -24 Method NV 605 wheels, and 35×12.50 Falken Wildpeak A/T4W tires. Swapped and installed by the awesome team at Original Wheels and Accessories in Rocklin CA.
It was a bit of a drive to Rocklin, but well worth the trip.
The truck rides and drives so much better now and for the first time I can turn the wheel, lock to lock and not rub the tires. Makes for much more confident maneuvering around tight quarters.